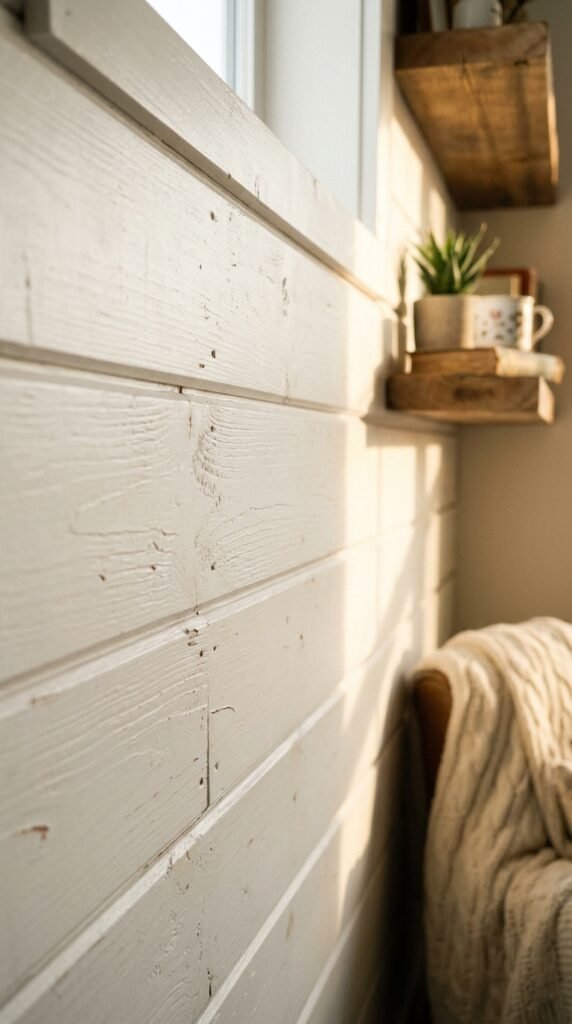
Shiplap walls have moved far past their farmhouse roots and into nearly every room style you can imagine. The horizontal planks bring texture, shadow lines, and a handmade feel that flat drywall can’t match. Homeowners love shiplap because it works in tight budgets and big renovations alike. Whether you want a full accent wall, a small nook treatment, or a creative twist on a classic look, there’s a shiplap idea that fits your space and your wallet. Below are 25 ways to bring this timeless material into your home, room by room, with real tips you can use this weekend.
1. Classic White Shiplap Accent Wall
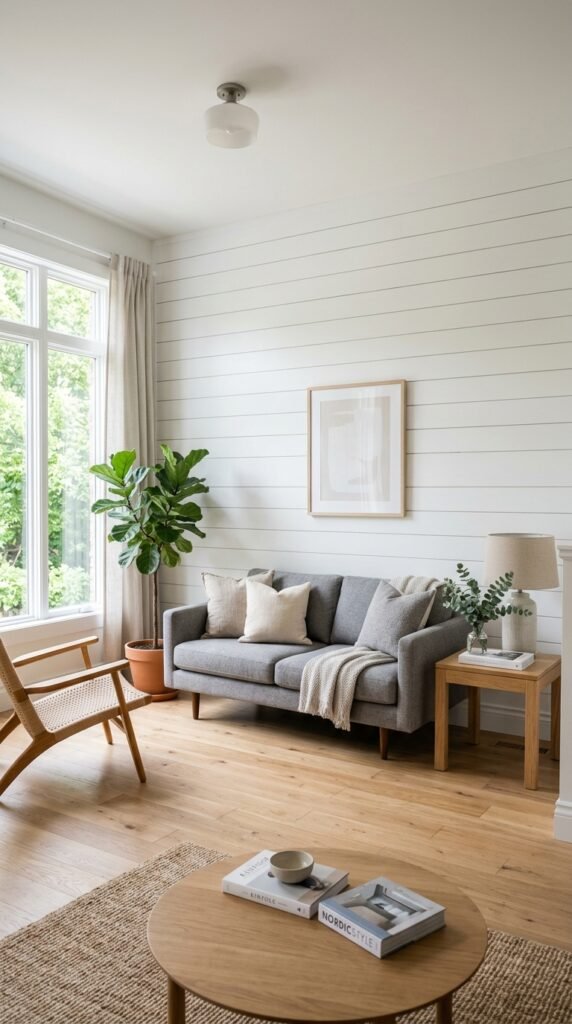
A white shiplap wall is the easiest way to add texture without adding color. Pick one wall, usually behind a bed or sofa, and leave the rest plain. This keeps the room from feeling busy. Budget tip: use pre-primed MDF planks instead of real pine to cut costs in half. A DIY weekend project for most homeowners. Paint with a satin finish so light catches the grooves. Add simple frames or a mirror once it’s done, and the wall becomes the room’s quiet focal point without shouting for attention.
2. Dark Painted Shiplap for Moody Rooms
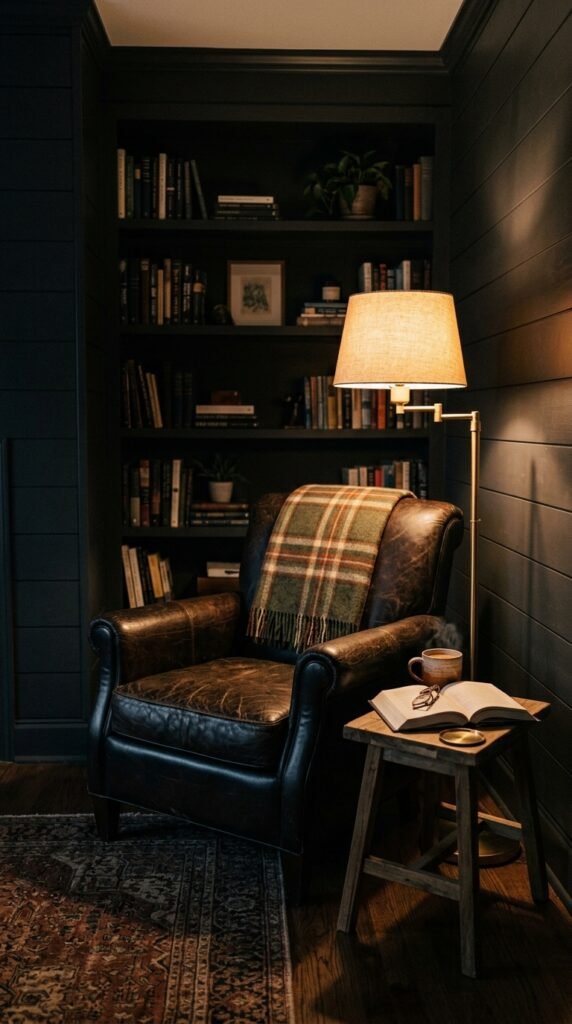
Dark shiplap flips the traditional farmhouse look into something dramatic. Try navy, charcoal, or deep green in a small den or home office. Dark tones make the grooves pop under lamp light. DIY tip: paint the planks before installing them, it’s faster than painting after nailing them up. Stick to one wall so the room doesn’t feel closed in. Pair with brass or gold fixtures for contrast. This works great in powder rooms too, where a bold, small space can handle a stronger color choice.
3. Shiplap Ceiling Treatment
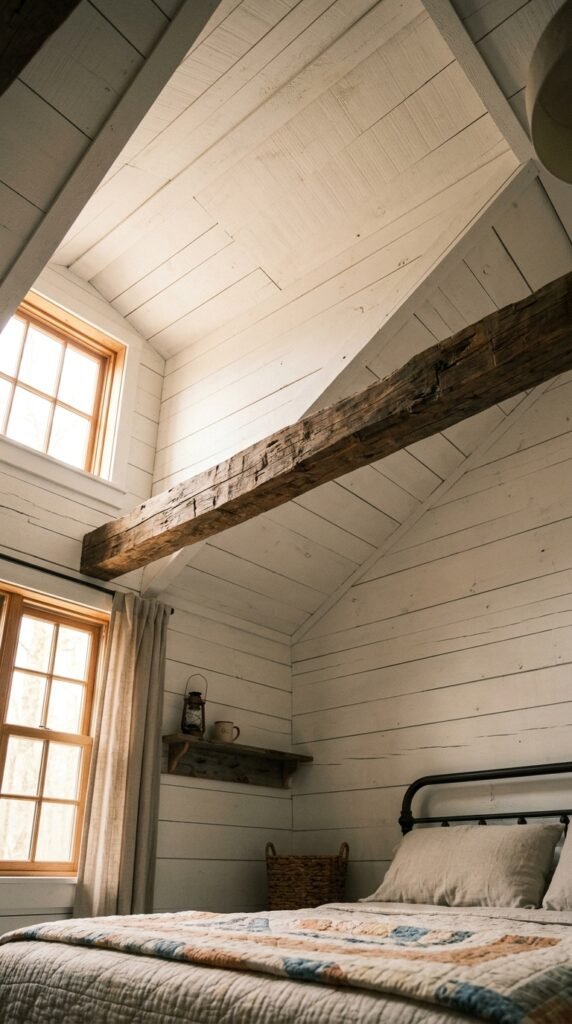
Skip the wall and put shiplap overhead instead. A shiplap ceiling adds warmth to a plain room in a way paint never can. Bedrooms, porches, and kitchens all benefit from this treatment. Budget tip: use thin plank strips, they’re lighter and easier to install solo with a nail gun. Paint it white to keep the room bright, or match the wall trim for a seamless look. This is a great weekend project if you already have a ladder and basic tools on hand.
4. Shiplap Kitchen Backsplash
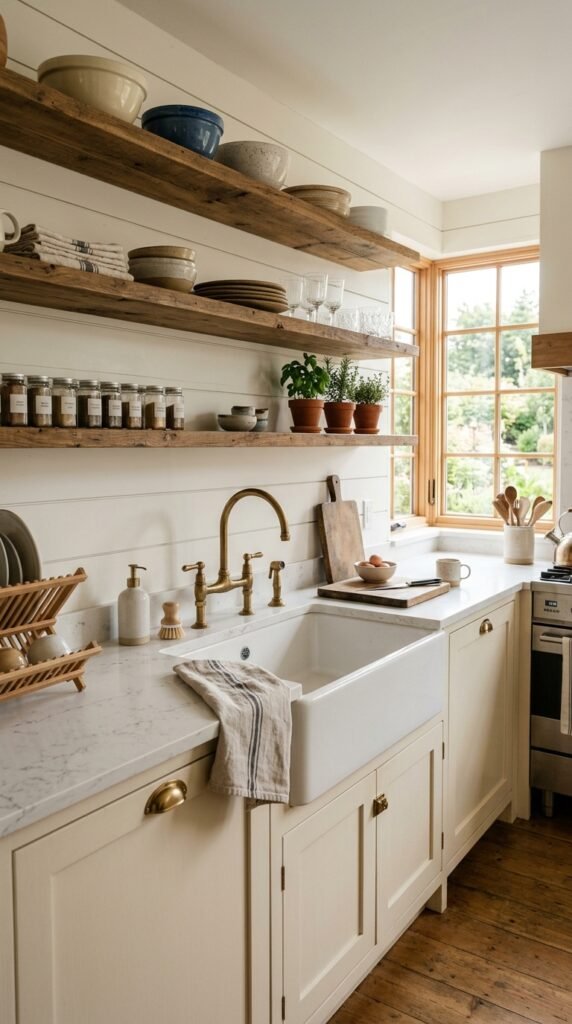
Swap tile for shiplap behind your sink or stove for a softer, cottage feel. Seal the planks well so they hold up against splashes. DIY tip: use a water-resistant sealant or beadboard-style vinyl planks near wet areas for easy cleanup. This works best away from direct grease splatter, so keep it a few inches from the stovetop. Pair with open shelving and simple hardware. It’s a low-cost way to swap out dated tile without a full kitchen renovation or hiring a contractor.
5. Vertical Shiplap for Height Illusion
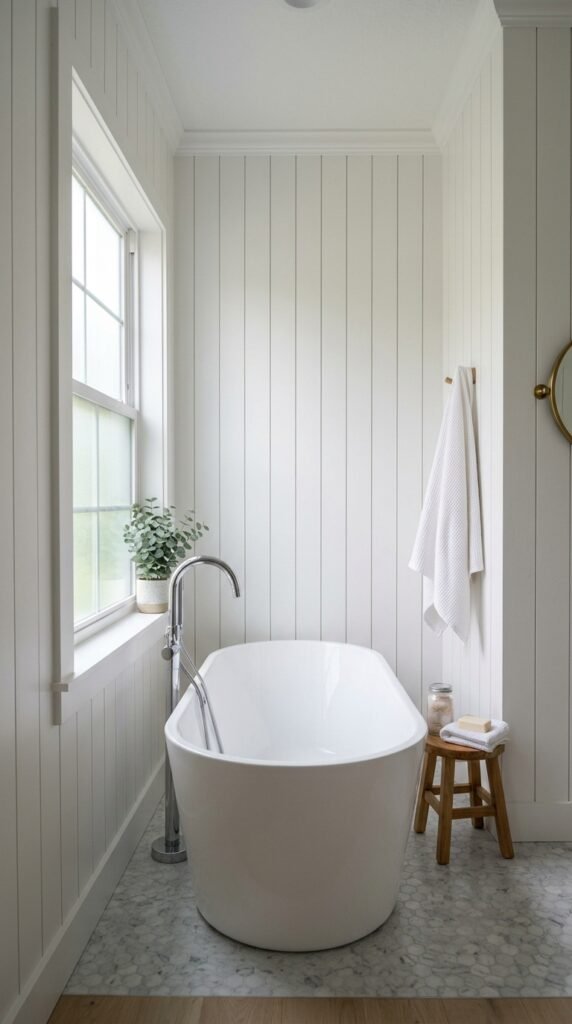
Running shiplap planks vertically instead of horizontally tricks the eye into seeing a taller room. This works well in low-ceiling bathrooms or hallways. Budget tip: buy planks in bulk from a home improvement store and cut them yourself with a circular saw. Vertical lines also pair nicely with a chair rail, splitting the wall into two textures. Paint it a single color from floor to ceiling for the strongest height effect. Small rooms benefit the most from this simple directional switch.
6. Shiplap Fireplace Surround
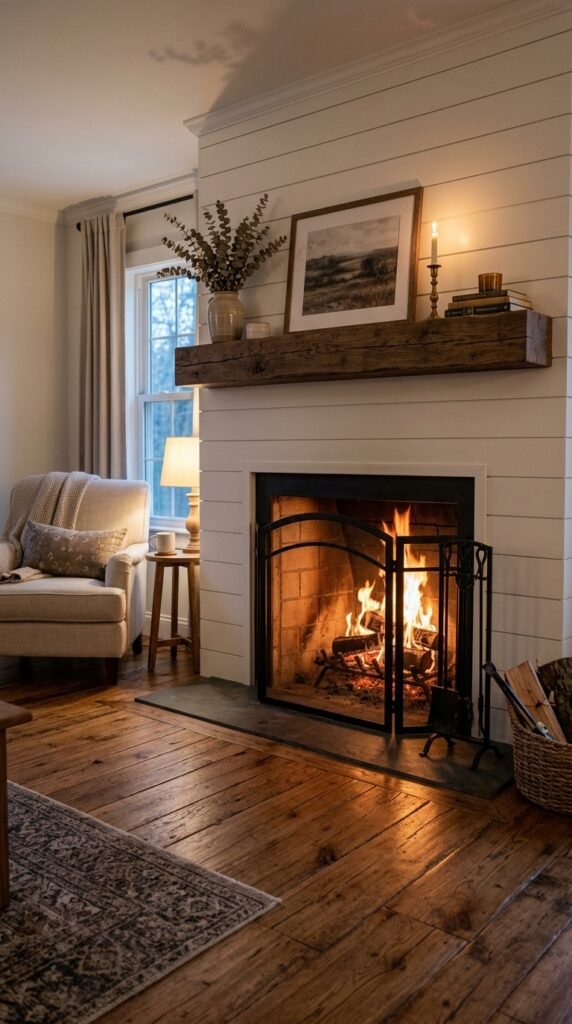
A shiplap surround turns a plain fireplace into the room’s centerpiece. Frame the firebox with planks running up to the mantel or all the way to the ceiling. DIY tip: use cement board behind the shiplap near the firebox for fire safety, then finish with heat-safe paint. Keep the mantel simple, wood shelf, black hardware. This project usually takes a weekend and under $200 in materials if you’re working with an existing fireplace frame and just adding the wood detail.
7. Shiplap Headboard Wall
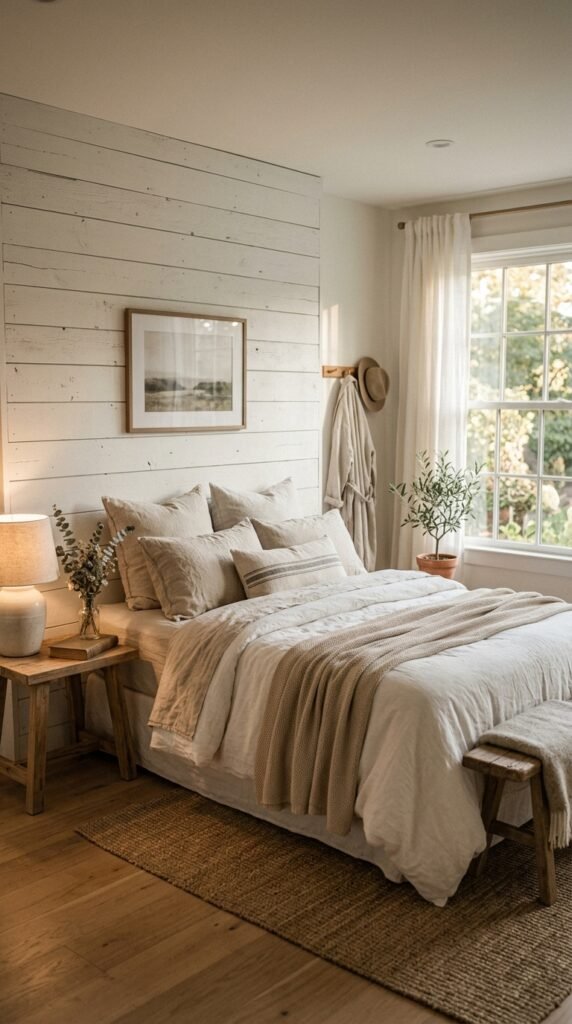
Skip buying a headboard and let the wall do the work. Install shiplap just behind and slightly wider than the bed frame. This creates a built-in headboard look for a fraction of furniture store prices. Budget tip: use leftover plank scraps from other rooms to save on materials. Paint it to match your bedding palette for a coordinated feel. Add wall sconces on either side instead of table lamps to free up nightstand space and complete the cozy, tailored look.
8. Herringbone Shiplap Pattern
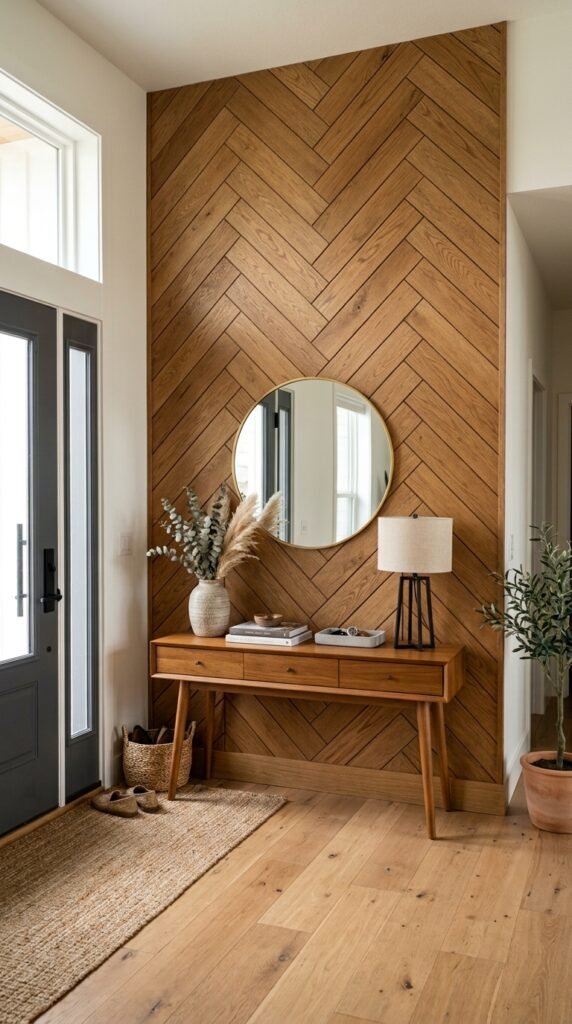
Instead of straight horizontal lines, angle the planks into a herringbone pattern for a more custom, high-end look. This works best on a smaller feature wall since the cuts take more time. DIY tip: use a miter saw and measure twice, herringbone requires precise 45-degree angles to line up cleanly. Stain the wood instead of painting to show off the pattern’s natural grain. This is a step up in difficulty but delivers a designer look without a designer price tag.
9. Shiplap Half Wall with Chair Rail
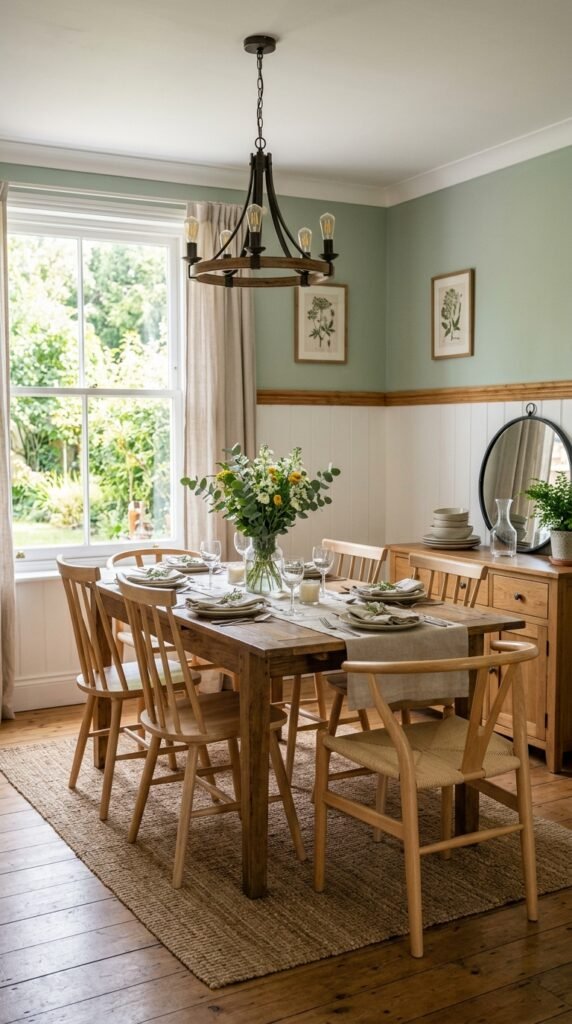
A half-wall treatment keeps costs down while still adding texture. Install shiplap from the floor to about waist height, then cap it with a simple chair rail. Paint the upper wall a contrasting color. Budget tip: this uses roughly half the material of a full wall, cutting your plank costs significantly. It works especially well in dining rooms and hallways that see daily wear. The chair rail also protects the painted upper wall from scuffs and furniture bumps.
10. Shiplap Accent Behind Open Shelving
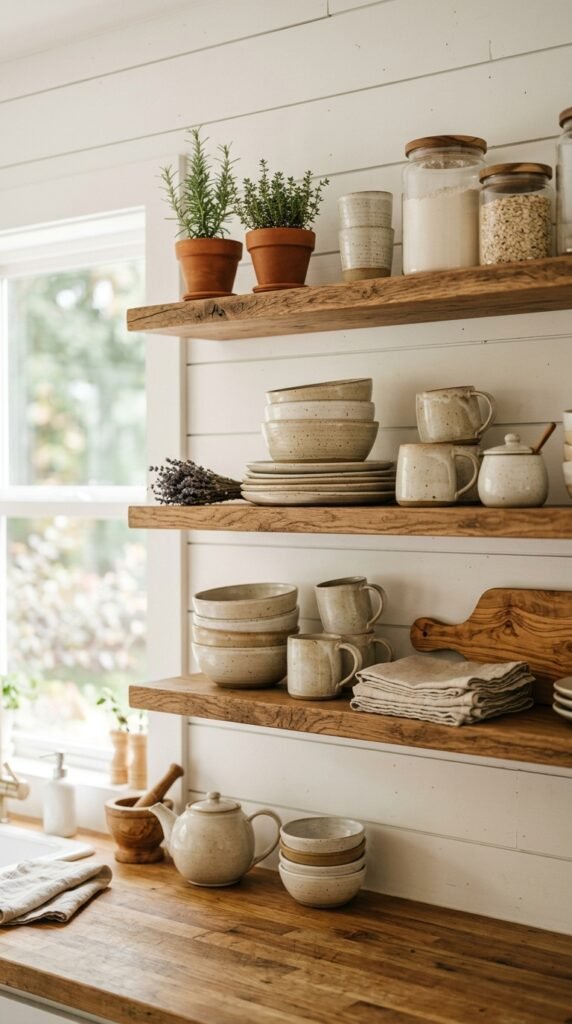
Give your open shelves a backdrop that makes them pop. Install a small shiplap section behind floating shelves in a kitchen or living room. DIY tip: measure the shelf width and add a few inches on each side so the shiplap frames the shelving naturally. Paint it white or a soft pastel to keep dishware and decor the visual focus. This is a low-material project, often under $50, since you’re only covering a few square feet of wall space.
11. Shiplap Closet Interior
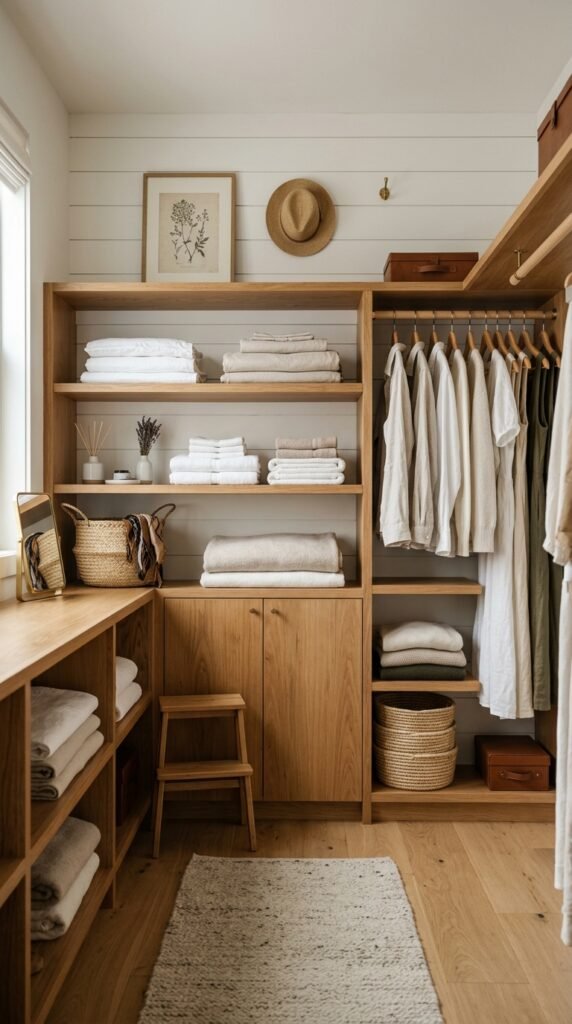
Closets are often overlooked, but a shiplap accent inside makes them feel finished. Add it to the back wall of a walk-in closet or reading nook. Budget tip: use short plank offcuts from bigger projects since closet walls are usually small. Paint it a soft, calming color like sage or blush. This tiny upgrade makes a functional space feel intentional, and it’s an easy way to use up leftover materials from your last shiplap project elsewhere in the house.
12. Reclaimed Wood Shiplap Look
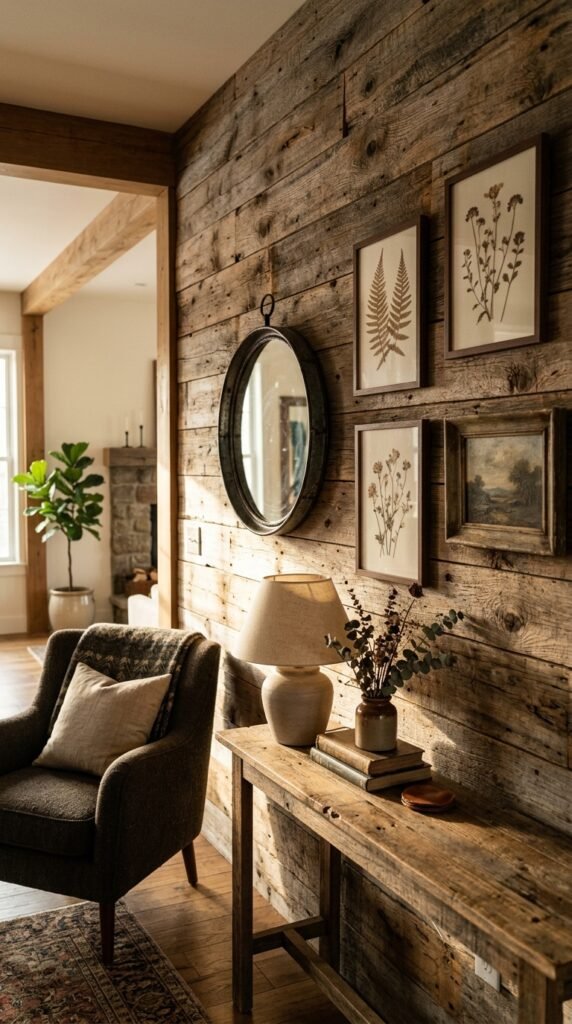
For a lived-in, authentic feel, use reclaimed or barnwood-style planks instead of fresh lumber. Each board carries its own color variation and texture. DIY tip: check local salvage yards or online marketplaces for free or cheap reclaimed wood before buying new. Seal it with a clear coat to lock in the character without changing the color. This look pairs well with industrial or farmhouse decor and skips the painting step entirely, saving both time and money on the project.
13. Shiplap Accent in a Home Office
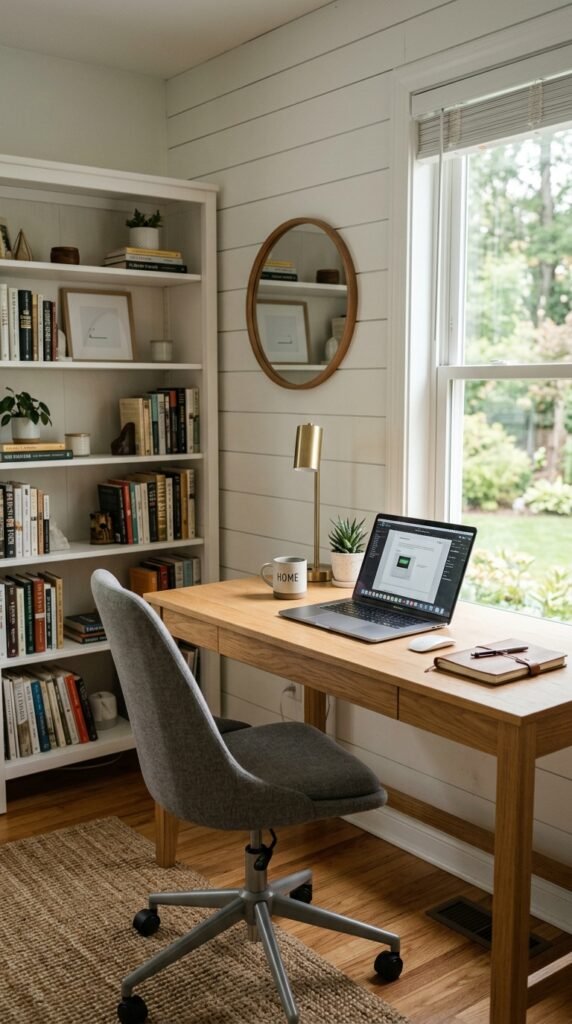
A shiplap wall behind your desk adds texture to video calls and daily work sessions. Keep the rest of the office simple so the wall doesn’t compete with your workspace. Budget tip: a partial wall treatment, just behind the desk chair’s camera view, saves on materials while still upgrading the space. Paint it a calm neutral. Add a single shelf or piece of art for balance. This small investment upgrades both your workspace and how it looks on camera.
14. Shiplap Wainscoting in a Hallway
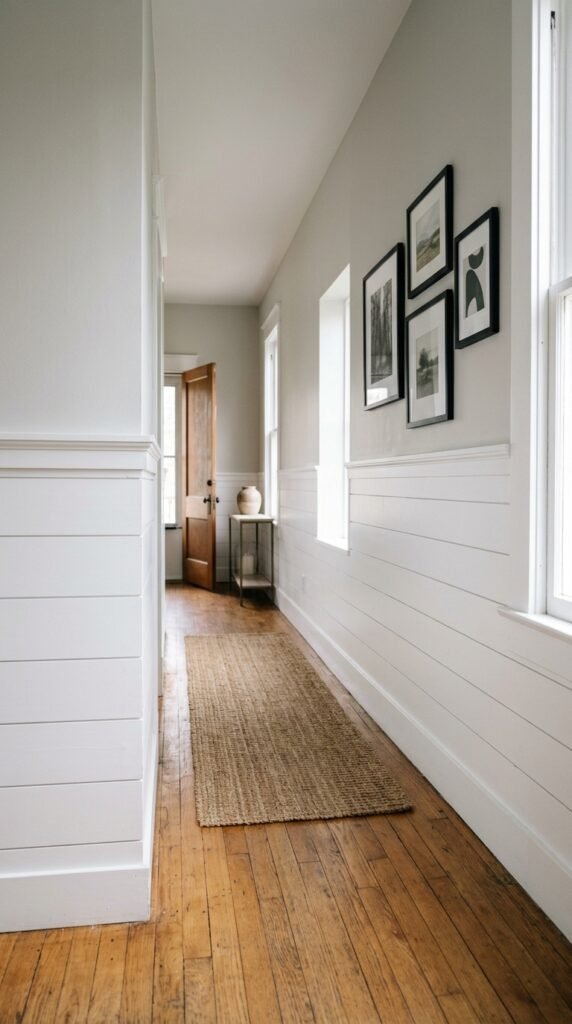
Hallways take a beating from foot traffic, so a lower shiplap treatment protects walls while adding style. Install it wainscoting-height, about 32 to 36 inches. DIY tip: pre-measure your hallway length and buy planks in one trip to avoid mismatched batches or color variation. Cap it with a simple wood ledge for displaying small frames or plants. This project is beginner-friendly since hallway walls are usually straight and free of obstacles like outlets or switches.
15. Shiplap Feature Wall in a Nursery
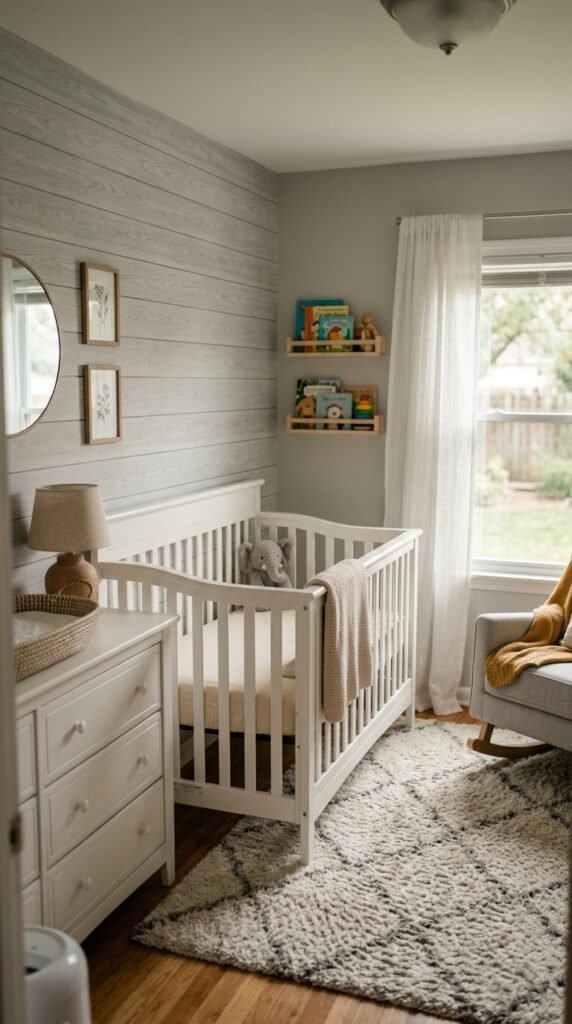
A shiplap wall in soft gray, blush, or sage brings texture to a nursery without needing patterned wallpaper. It’s calming and grows well with the child. Budget tip: use paintable wallpaper with a shiplap texture if you want the look without cutting real wood, it installs faster and costs less. Keep furniture simple so the wall stands out. This treatment also works as a gender-neutral option since the texture itself does the visual work, not the color.
16. Shiplap Around Windows
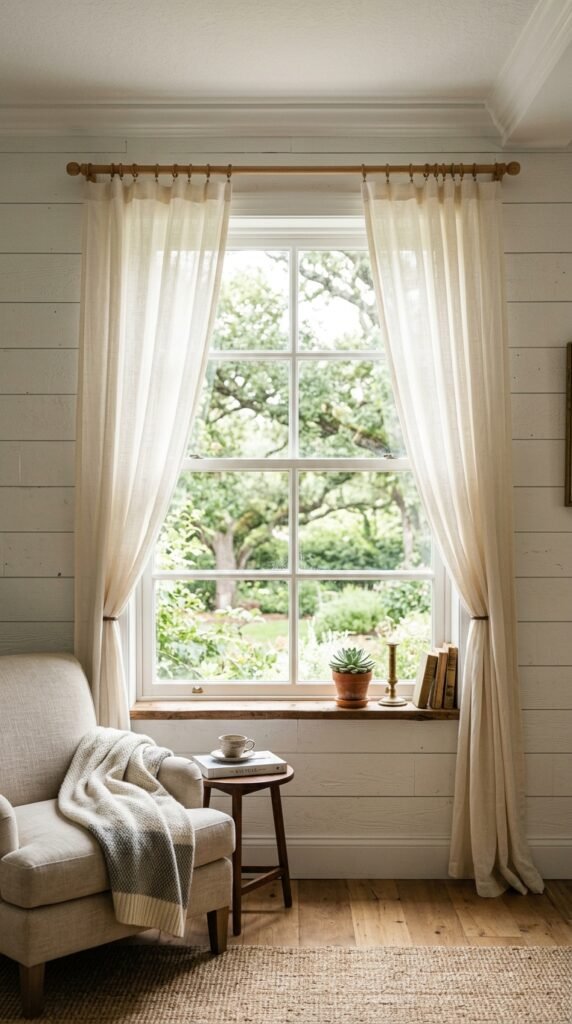
Instead of stopping shiplap at a window, wrap the planks around it for a built-in, custom feel. This works well in reading nooks or window seats. DIY tip: use a coping saw for tight corner cuts around window trim, it’s more precise than a regular handsaw for detail work. Paint the shiplap and trim the same color for a seamless look. This treatment makes a window feel like part of the architecture rather than an afterthought in the wall.
17. Shiplap Bathroom Accent Above Tile
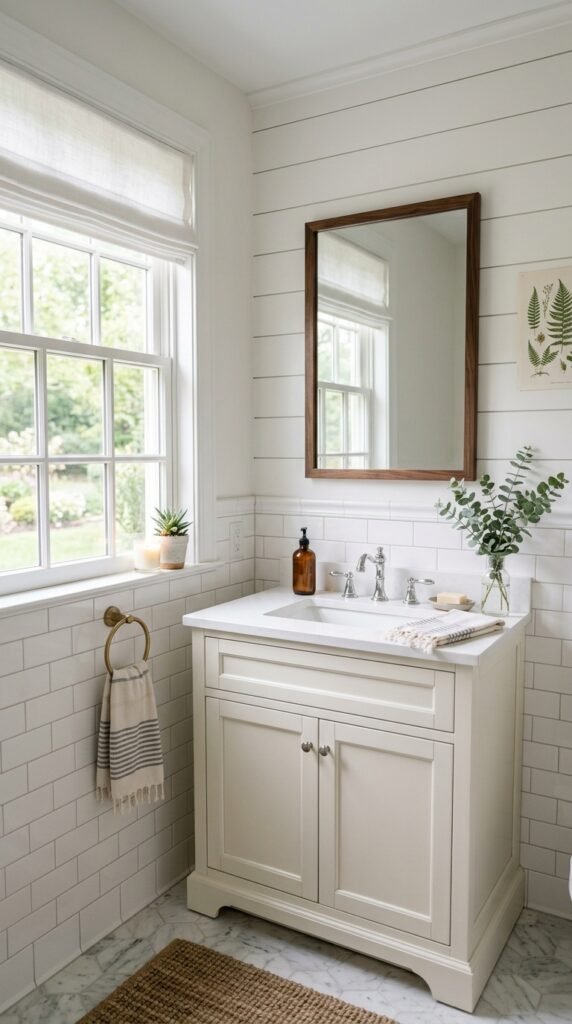
Pair shiplap with tile for a layered look in a bathroom. Tile handles the wet zone near the tub or sink, shiplap covers the drier upper wall. Budget tip: use moisture-resistant PVC shiplap panels in bathrooms to avoid warping over time. This combo adds texture without the cost of tiling an entire wall. Keep the transition line clean with a simple wood trim strip. It’s a practical way to add character to a small, functional room.
18. Shiplap Built-In Bookshelf Backing
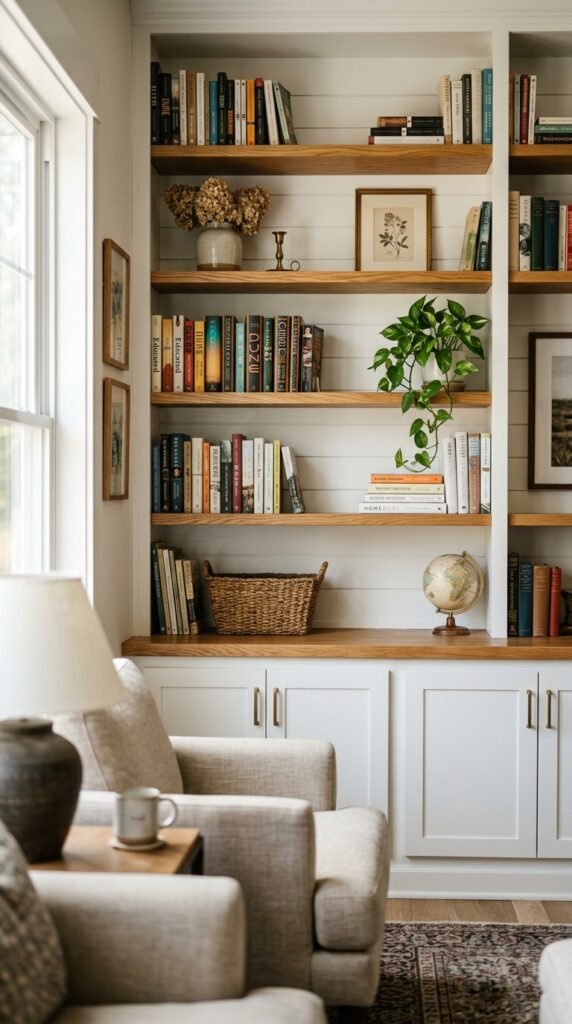
Line the back of built-in shelving with shiplap for a finished, custom-cabinetry look. This is a small but high-impact detail. DIY tip: cut planks to fit each shelf cubby individually rather than one large sheet, it’s easier to maneuver in tight shelving spaces. Paint it a contrasting color, like navy or black, to make books and decor stand out. This project uses minimal material since you’re only covering the shelf backs, not a full wall.
19. Shiplap Mudroom Wall
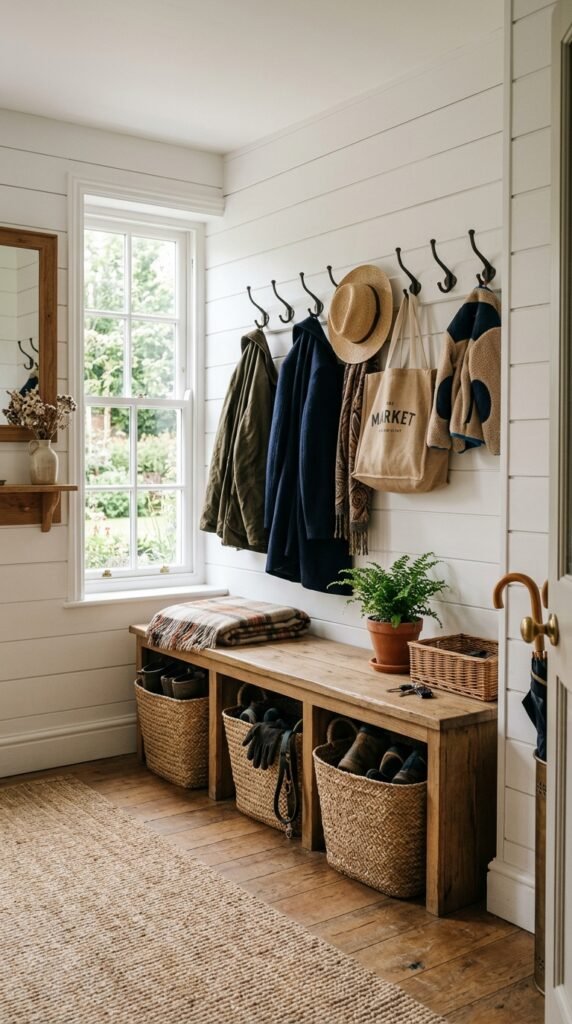
Mudrooms take daily abuse from shoes, bags, and coats, so shiplap adds durability along with style. Install it as a backdrop behind hooks and benches. Budget tip: use leftover paint from another room to unify the mudroom with the rest of the house at no extra cost. Add a wood ledge above for hats or mail. This is a practical upgrade that makes a functional entry space feel as considered as the rest of your home.
20. Shiplap Accent Behind a TV
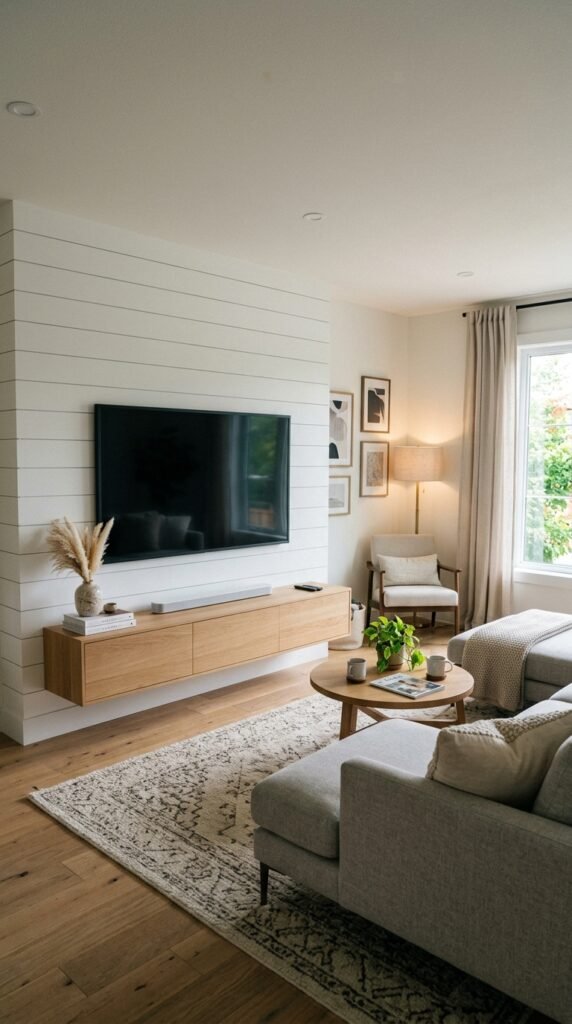
A shiplap wall behind the television hides cords visually and softens the tech-heavy focal point. The horizontal lines complement a mounted screen nicely. DIY tip: install a cord channel behind the shiplap before mounting the boards to keep cables completely hidden. Paint it a mid-tone gray to reduce glare from the screen. This treatment works in both living rooms and bedrooms and instantly makes a TV wall feel styled instead of just functional.
21. Shiplap Staircase Wall
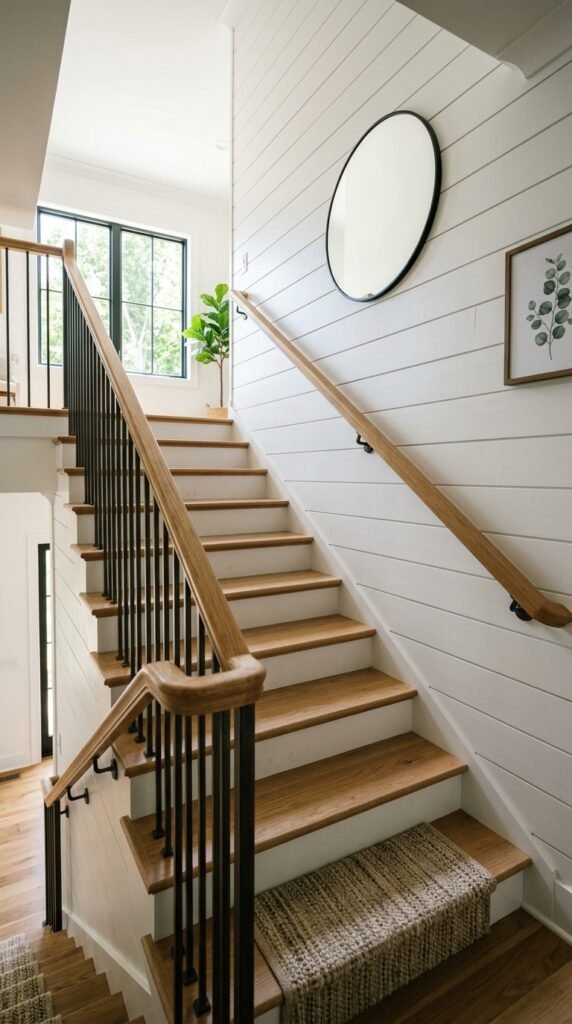
Staircase walls are often blank and forgotten, but shiplap fills that space with texture. Run the planks horizontally alongside the stairs for a cohesive line. Budget tip: tackle this in sections over a few weekends rather than all at once, since stair walls involve more cutting and angled trim work. Paint it white to keep the stairwell bright. Add a gallery wall of frames once finished for a finished, personal touch.
22. Shiplap Pantry Door Wall
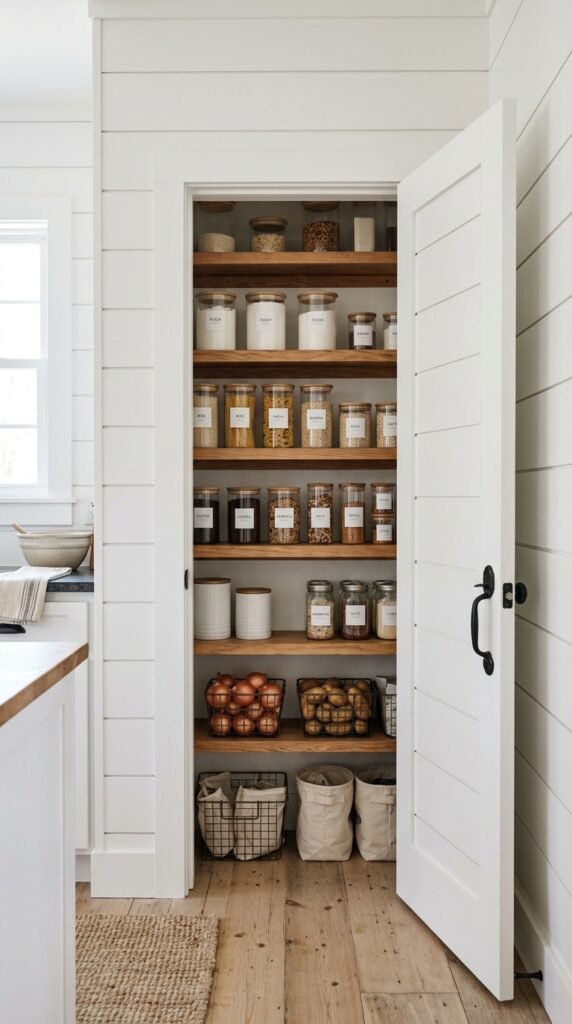
Give your pantry door personality by covering it and the surrounding wall in shiplap. This small detail makes a utility space feel styled. DIY tip: use thin, lightweight plank strips on the door itself so it doesn’t add too much weight to the hinges. Paint the door a slightly different shade than the wall for subtle contrast. This is a low-cost weekend project since pantry doors are typically small and require minimal material.
23. Shiplap Outdoor Porch Ceiling
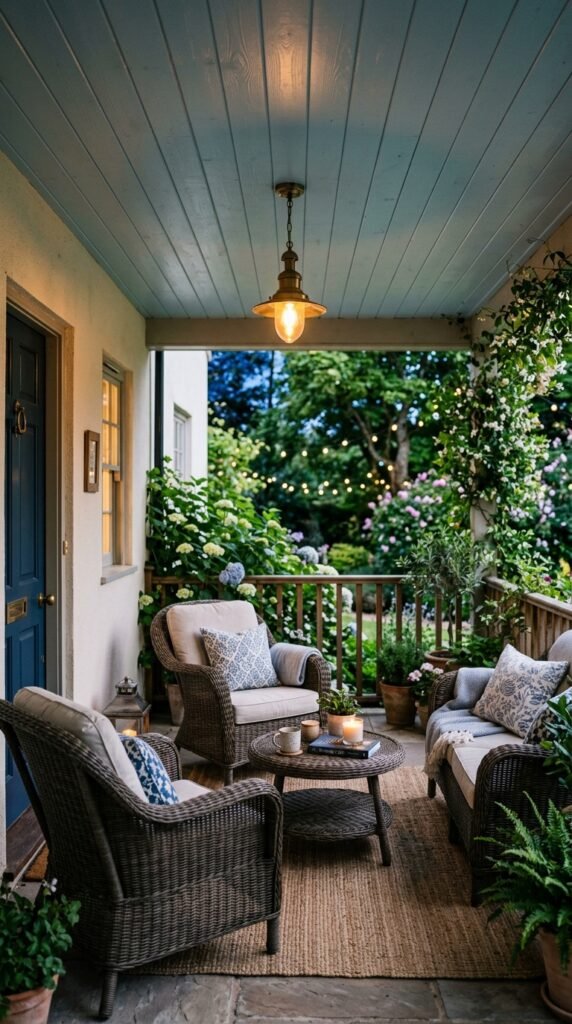
Outdoor spaces benefit from shiplap too, especially painted “haint blue” on a covered porch ceiling. This classic Southern touch also helps deter insects, according to tradition. Budget tip: use exterior-grade plywood planks and marine-grade paint to handle weather changes without warping. This upgrade adds real curb appeal for a modest material cost. Pair with simple furniture and a hanging light fixture to complete a porch that feels finished and welcoming year-round.
24. Shiplap Accent Wall in a Laundry Room
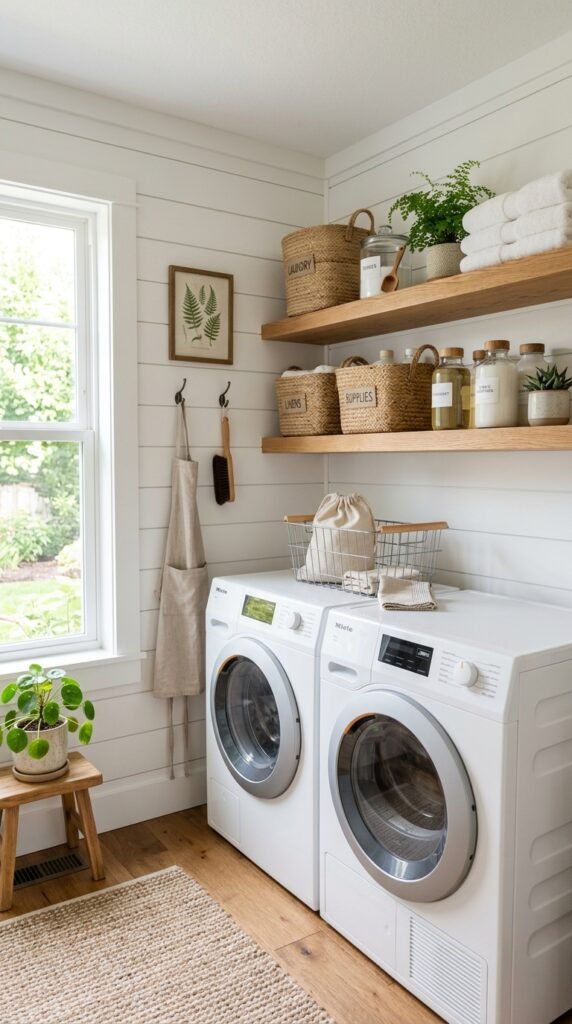
Laundry rooms are small, which makes them a low-cost place to experiment with shiplap. One accent wall can transform the whole space. DIY tip: use precut plank kits from a hardware store, they’re sized for small rooms and reduce waste from custom cutting. Paint it a cheerful color since laundry rooms rarely get natural light otherwise. Add a shelf above the machines for detergent and baskets to keep the space both functional and good-looking.
25. Shiplap Accent for a Built-In Window Seat
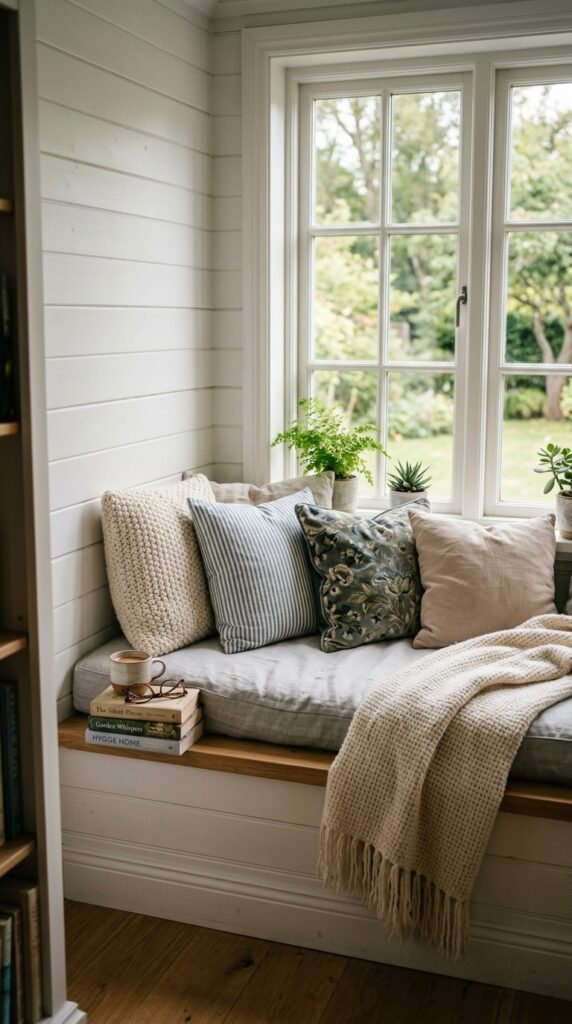
A window seat feels custom-built when shiplap lines the wall behind it. This works in a bay window, dormer nook, or converted closet space. Budget tip: build the seat base from plywood and add shiplap only to the visible back panel to save on material. Add a cushion and a few pillows for comfort. This project blends carpentry and finishing work, but even a simple version creates a reading nook people actually want to use every day.
Conclusion
Shiplap walls prove that one simple material can adapt to almost any room, style, and budget. From bold painted accents to quiet half-wall treatments, each idea on this list shows how a few planks and a weekend of work can change how a space feels. Start small, one wall, one nook, or even a closet, and build confidence before tackling a bigger room. Grab your measuring tape, pick a spot in your home, and turn one of these 25 shiplap ideas into your next weekend project.