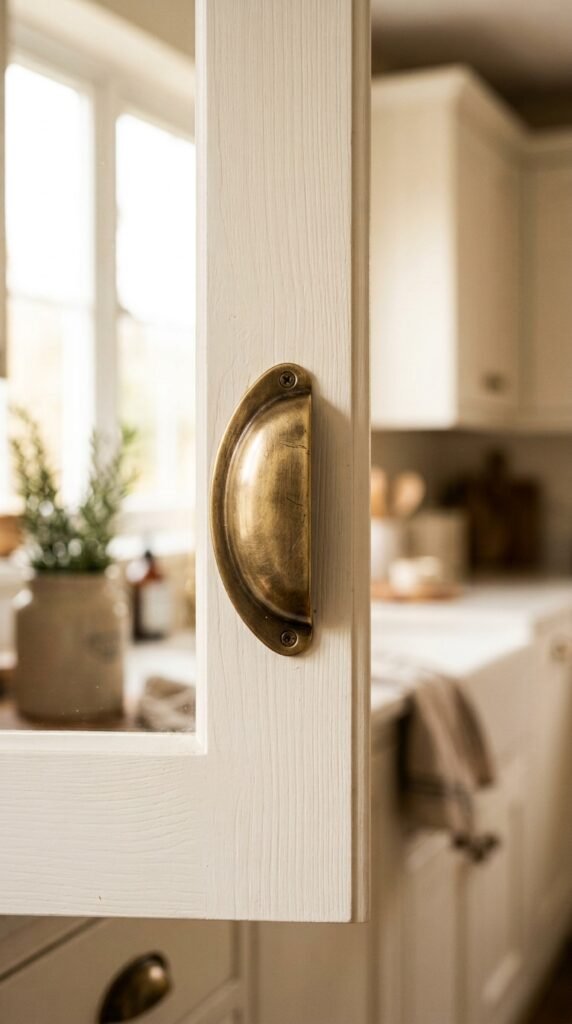
Small changes can change how a whole kitchen or bathroom feels. Swapping out old cabinet hardware is one of the fastest, cheapest ways to update a space without a full renovation. A new handle or knob changes the way light hits a cabinet face. It changes the mood of a room in an afternoon. This list covers 20 practical hardware swaps anyone can do on a weekend, with real tips for saving money and picking styles that actually match your space. Whether you rent or own, these ideas work with a screwdriver and a little patience.
Swap Brass Knobs for Matte Black Pulls
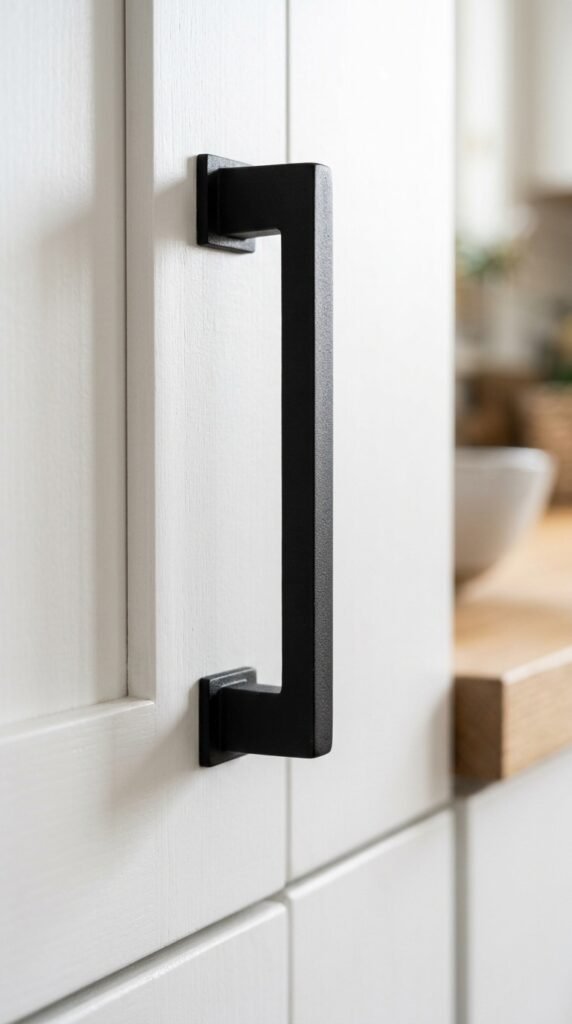
Matte black hardware works in almost any kitchen. It reads modern but doesn’t fight with older cabinets. This swap costs under $50 for a standard kitchen. Buy a multi-pack online instead of individual pieces. Check that your existing screw holes match the new pull’s spacing. If they don’t, you’ll need to fill and redrill, which adds time but not much cost. Start with one cabinet as a test. Live with it for a day before finishing the rest. This helps you catch spacing issues early and avoid redoing work later.
Add Leather Pulls for Warmth
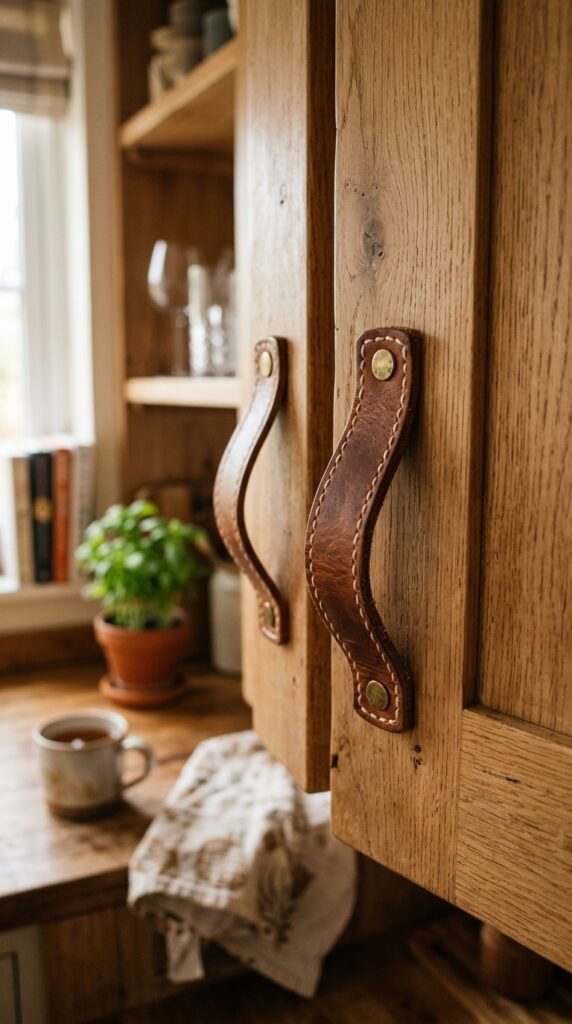
Leather pulls bring texture that metal can’t. They soften a kitchen that feels too cold or clinical. Look for vegetable-tanned leather straps at craft stores if you want a DIY option. Attach them with small screws through pre-punched holes. This works best on drawers rather than heavy cabinet doors. Leather wears in nicely over time, developing a patina. Wipe with a damp cloth occasionally to keep it clean. This swap costs very little if you make the straps yourself using leftover belts or leather scraps from a craft supply shop.
Try Unlacquered Brass for an Aged Look
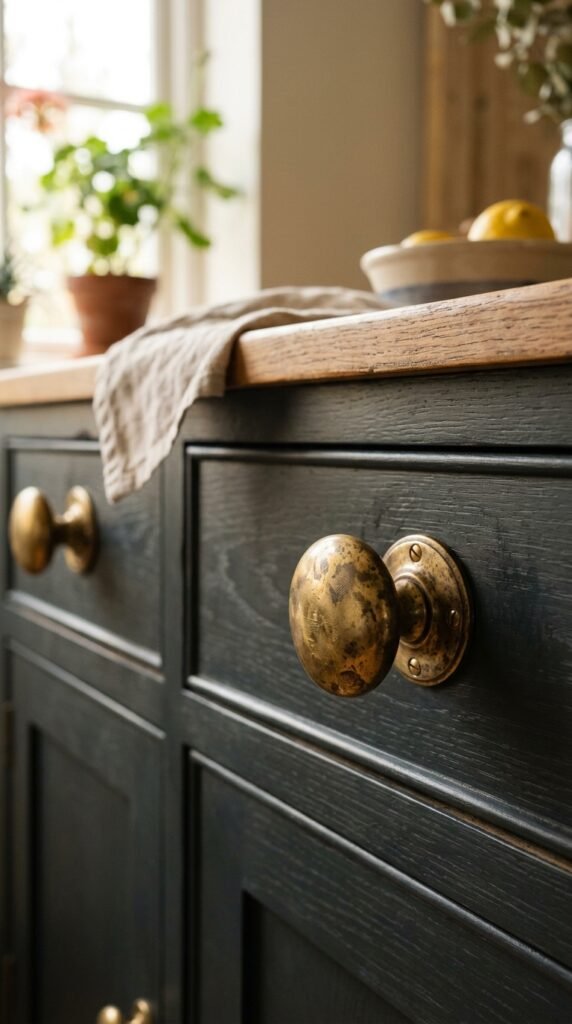
Unlacquered brass ages with use. It develops spots and a soft glow over months. Some people love this lived-in look. Others polish it back to shine whenever it dulls. Either way, it gives cabinets a story. Buy unlacquered brass online from hardware specialty shops rather than big box stores for better quality. Expect to pay a bit more per piece, but the character makes up for it. This works especially well in farmhouse or traditional kitchens where a slightly worn look fits the overall style.
Install Bin Pulls on Drawers
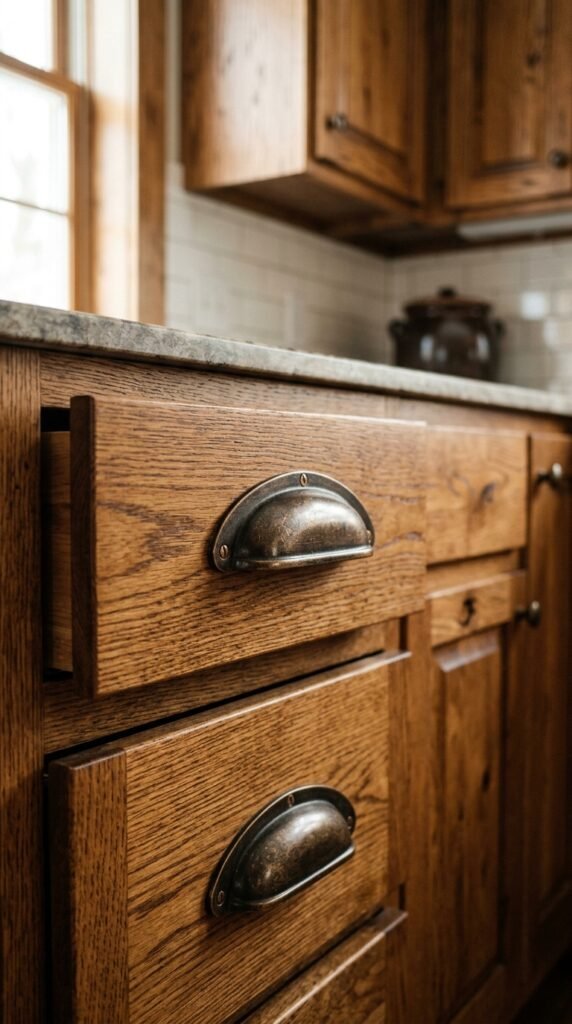
Bin pulls have a curved, cup-like shape. They were common on old dressers and now show up in kitchens again. They’re comfortable to grip and look good on wide drawers. Measure your drawer width before ordering to make sure the pull fits proportionally. A pull that’s too small looks lost on a large drawer front. Budget around $8 to $15 per pull depending on finish. This is an easy weekend project since bin pulls usually use standard screw spacing that matches most existing hardware holes.
Go Bold with Colored Ceramic Knobs
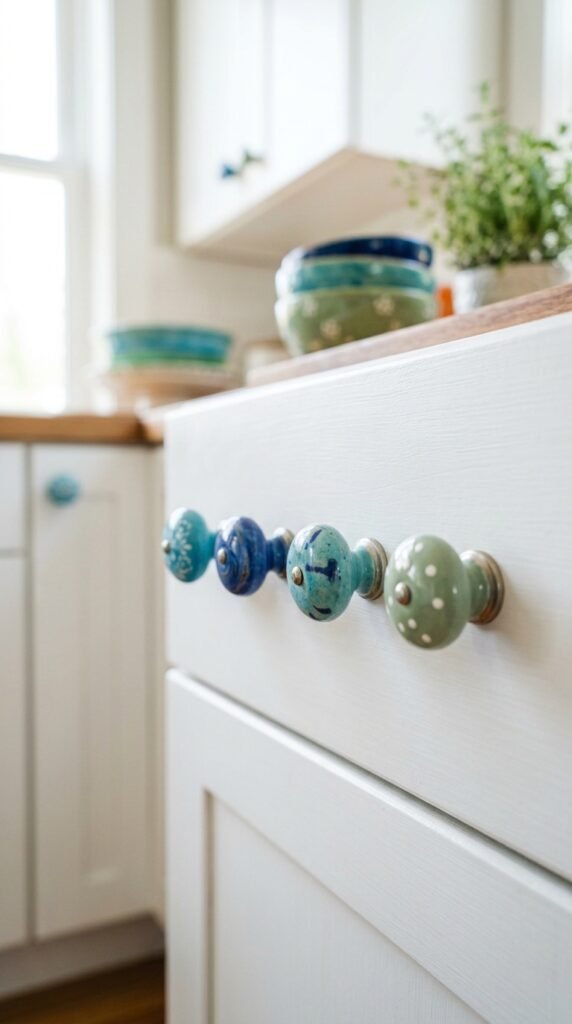
Ceramic knobs add color without paint. They’re a low-risk way to bring personality into a kitchen or bathroom. Mix two or three colors across different cabinets for a playful look. Or stick to one color for a calmer, cohesive feel. Ceramic knobs are usually inexpensive, often under $5 each. Check that the finish is glazed so it holds up to kitchen grease and moisture. This swap works especially well in kids’ bathrooms or a pantry where a little whimsy feels appropriate.
Upgrade to Integrated Edge Pulls
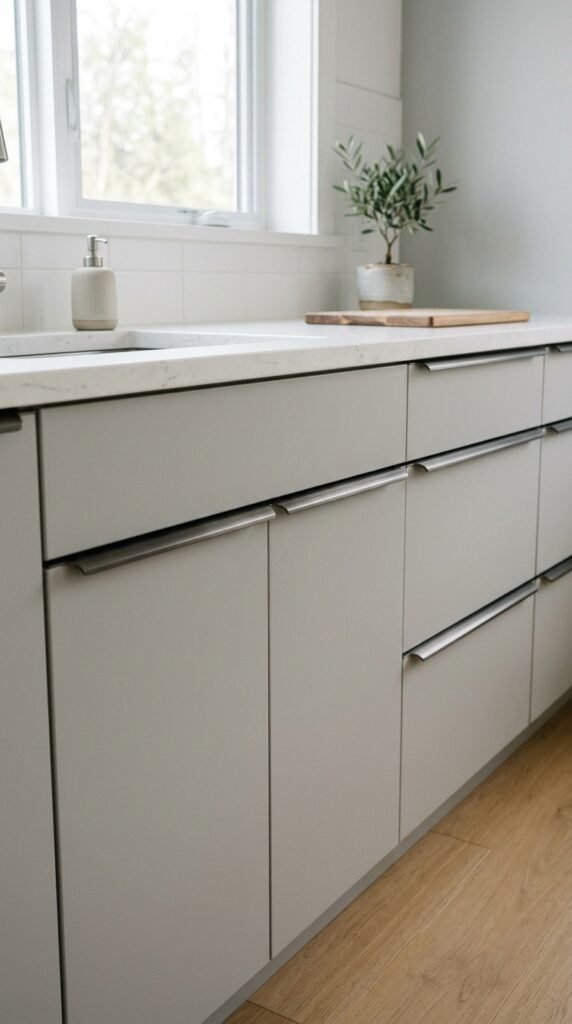
Edge pulls sit along the top edge of a cabinet door. They create a seamless, handle-free look. This style fits modern kitchens that want clean lines. Installation is a bit more involved since you’re often mounting along the door’s edge rather than its face. Measure twice before drilling. This project works best if you’re comfortable with basic tools or want to hire a handyman for an hour. The visual payoff is worth it if your kitchen leans toward minimalism.
Mix Metals Across Cabinets
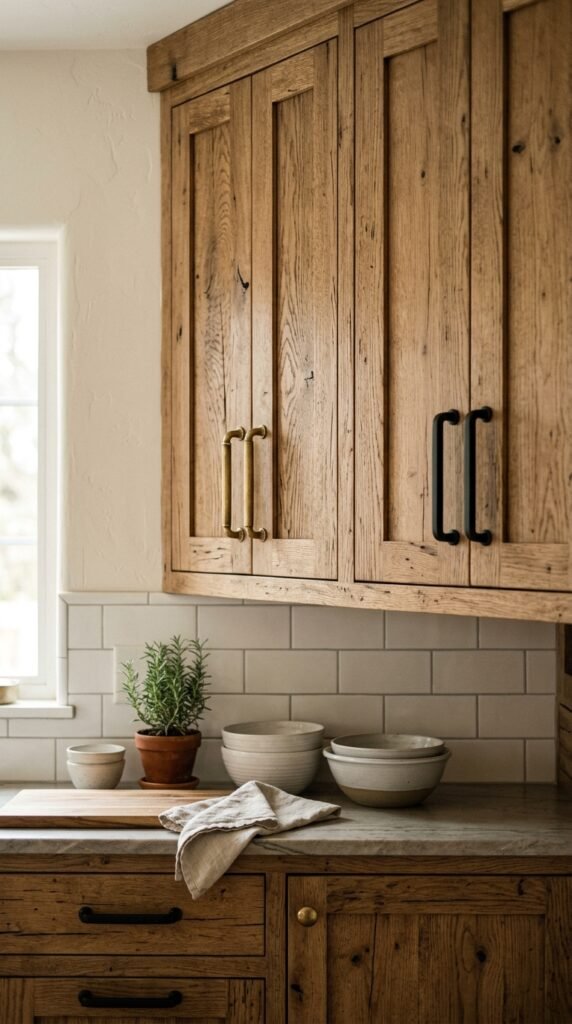
Mixing metals isn’t a mistake anymore. It’s a design choice. Try brass on upper cabinets and black on lower ones. Or alternate finishes across an island. This works if you keep a consistent shape across all the hardware, like all bar pulls or all knobs. The metal finish changes but the silhouette stays the same. This trick lets you use hardware you already own alongside new pieces, cutting your budget in half compared to buying everything new.
Add Oversized Pulls to a Kitchen Island
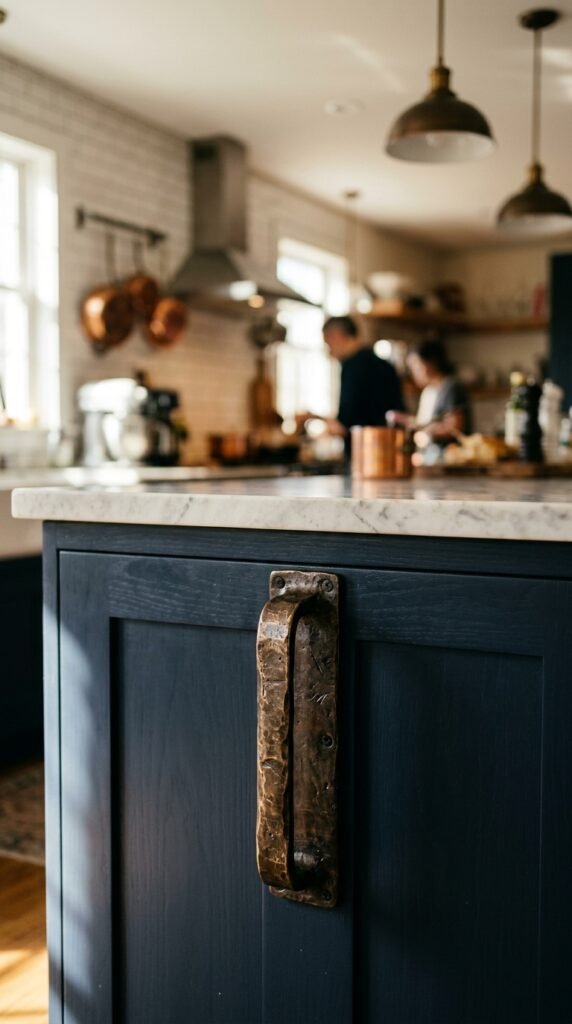
An island is a focal point, so give it hardware that matches. Oversized pulls, longer than your standard drawer hardware, make a statement. They also work well practically since islands see more traffic and grip use than perimeter cabinets. Order pulls in the 8 to 12 inch range for island drawers. Double check screw spacing since oversized hardware often needs different hole placement. This swap costs more per piece but you only need a handful for one island.
Swap to Cup Pulls in a Bathroom
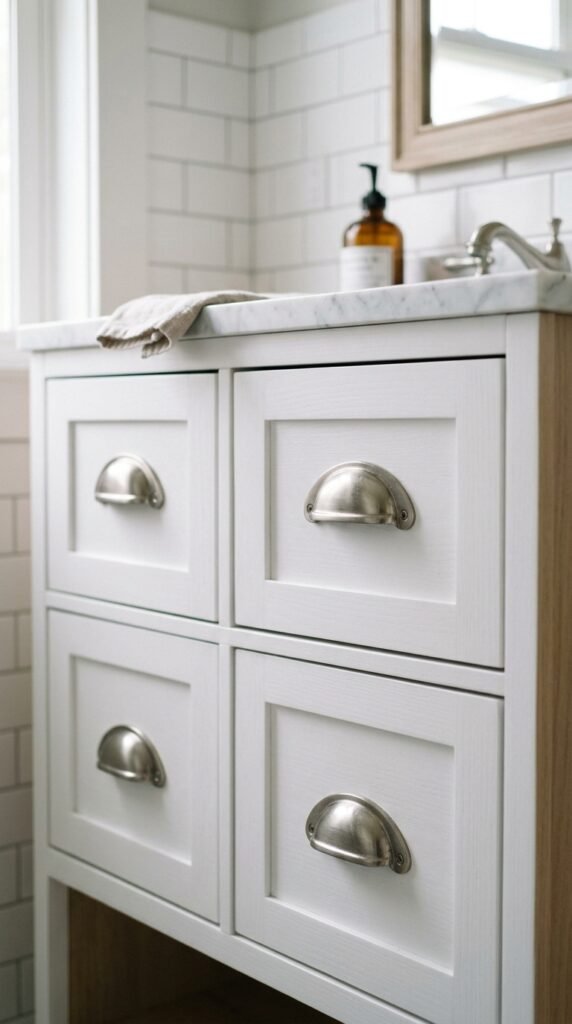
Cup pulls give bathroom vanities a vintage touch. They’re small, practical, and don’t take up much visual space. Nickel or chrome finishes hold up well against bathroom humidity. Avoid unfinished brass in bathrooms since moisture speeds up tarnishing unless you like that look. This is one of the easiest swaps on this list because bathroom vanities usually have just a few drawers. You can finish an entire vanity in under 30 minutes with a basic screwdriver.
Try Two-Tone Knobs
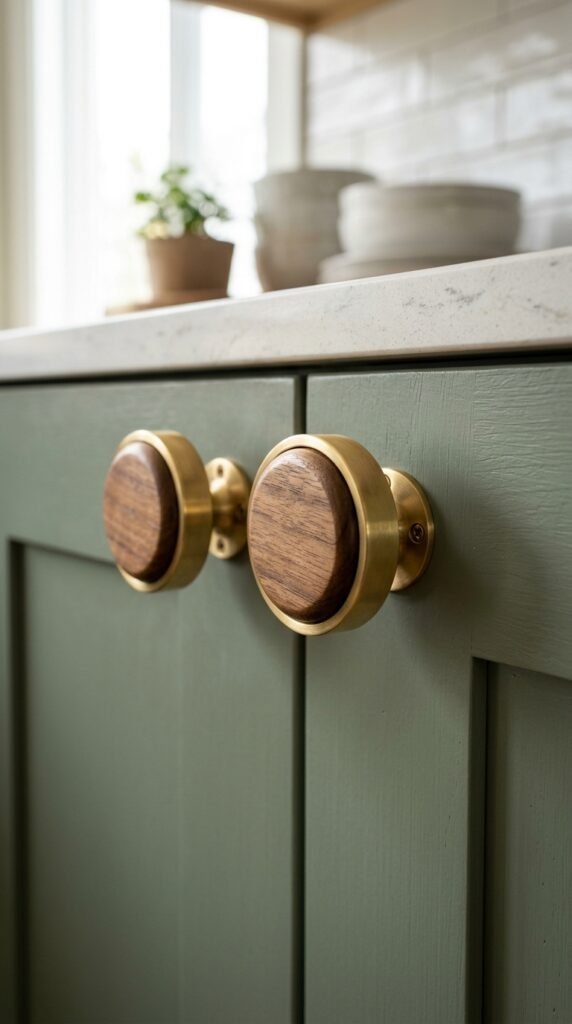
Two-tone knobs combine wood with metal, or matte with polished finishes. They add detail without being loud. These work well in kitchens that already have wood accents like open shelving or a butcher block island. The wood portion echoes what’s already in the room. Prices vary, but expect $6 to $12 per knob. This is a subtle swap that rewards close-up viewing, so it fits kitchens where people spend real time at the counters, not just passing through.
Update Pantry Doors with Recessed Pulls
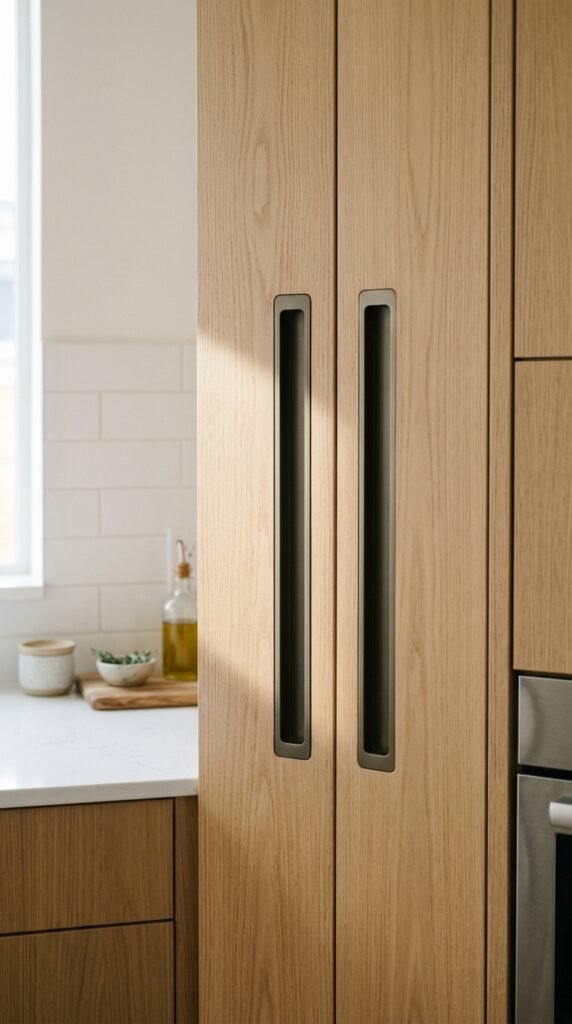
Recessed pulls sit flush with the door surface. There’s no protruding handle to catch on clothing or bump into. This works well for pantry doors that open into a walkway. Installation requires a router or a pre-cut door, so this project leans more toward a weekend build than a five-minute fix. If your pantry door is flat and unfinished, this is a good opportunity to add the hardware as part of a small paint refresh too.
Go Vintage with Glass Knobs
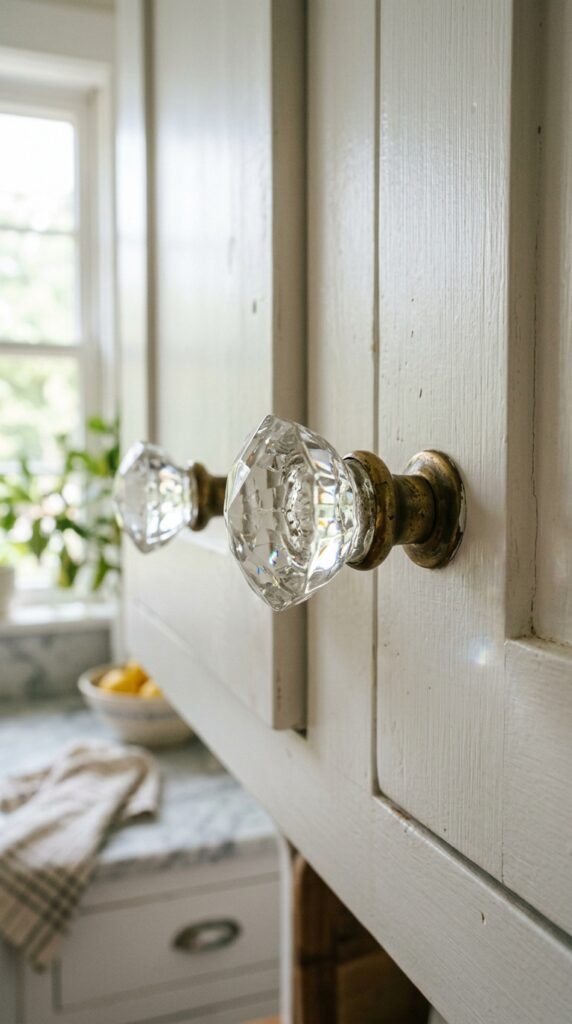
Glass knobs bring light and texture. They catch sunlight and add a small sparkle to plain cabinet faces. These are common finds at flea markets and estate sales, often for a dollar or two each. Mismatched glass knobs actually look intentional if the base metal, usually brass, stays the same across pieces. This is a good project if you enjoy hunting for secondhand items. It also keeps the cost of a full kitchen well under $30.
Add Hardware to a Furniture Piece
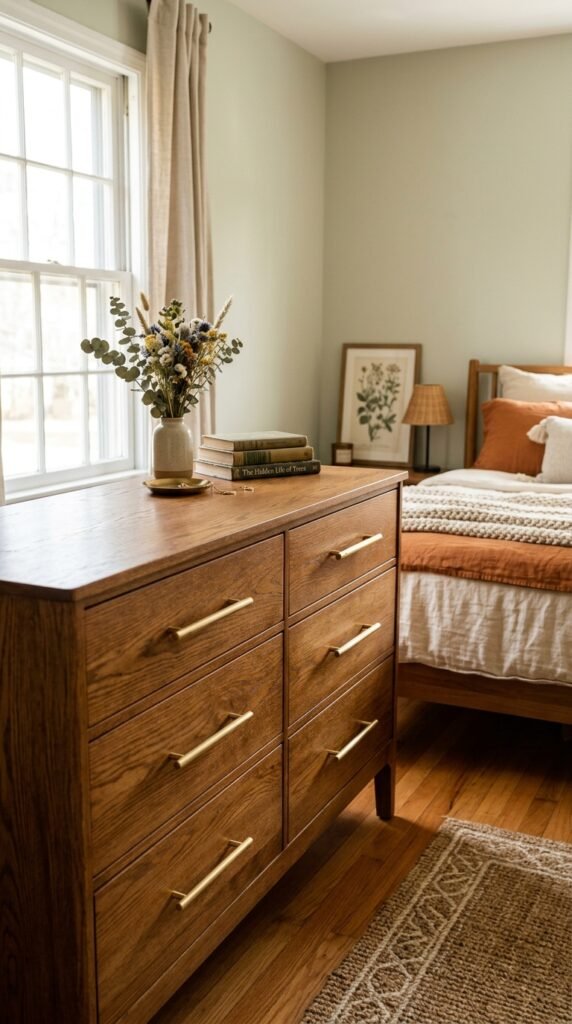
Old dressers and sideboards often get a second life with new hardware alone. If you have a secondhand furniture piece with dated pulls, swap them out before considering paint. Sometimes hardware alone changes the whole look. This is a low-cost way to test a style before committing to a full kitchen renovation. Try the pulls on a dresser drawer first to see how they photograph in your actual lighting before buying the full set for kitchen cabinets.
Choose Brushed Nickel for a Neutral Look
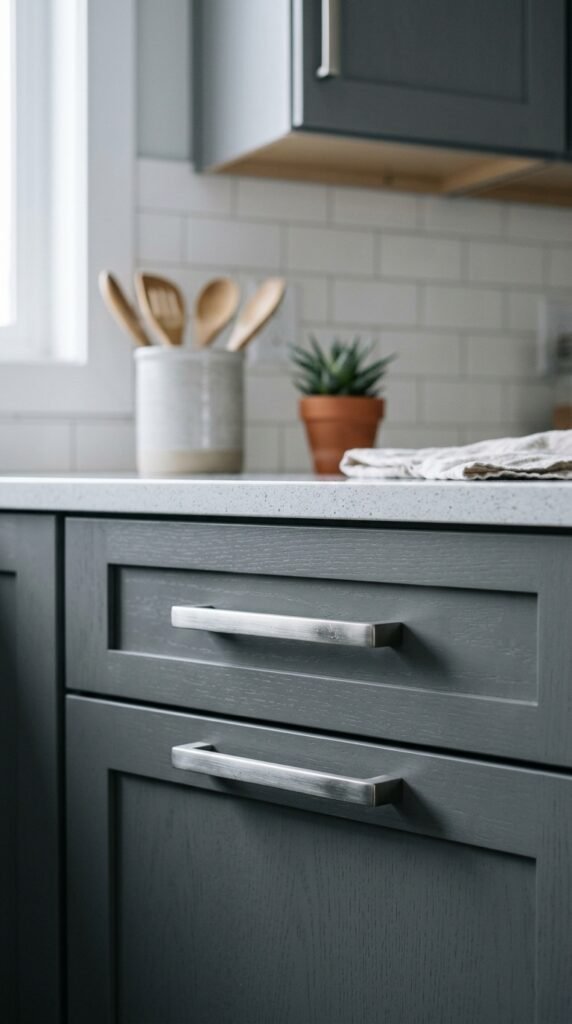
Brushed nickel doesn’t compete with other finishes in a room. It works with stainless steel appliances and most countertop colors. This is a safe pick if you’re planning to sell your home soon and want broad appeal. It’s also budget-friendly, often the cheapest metal option at hardware stores. If you’re unsure what finish to pick, brushed nickel is a reasonable default that won’t clash with existing lighting fixtures or faucets.
Add Wire Pulls for an Industrial Feel
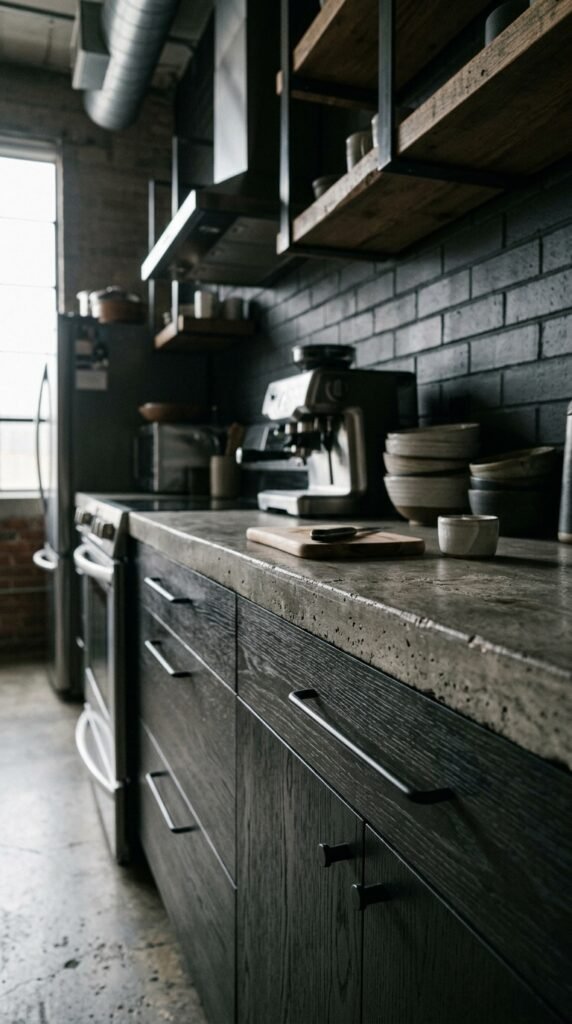
Wire pulls are thin, simple, and a little utilitarian. They fit kitchens with exposed brick, concrete counters, or metal shelving. This hardware style is usually inexpensive since it uses less material than chunky handles. Wire pulls also install fast because they’re lightweight. This swap pairs well with dark cabinet colors like charcoal or navy, since the thin metal line stands out clearly against a darker background.
Refresh a Media Console with New Knobs
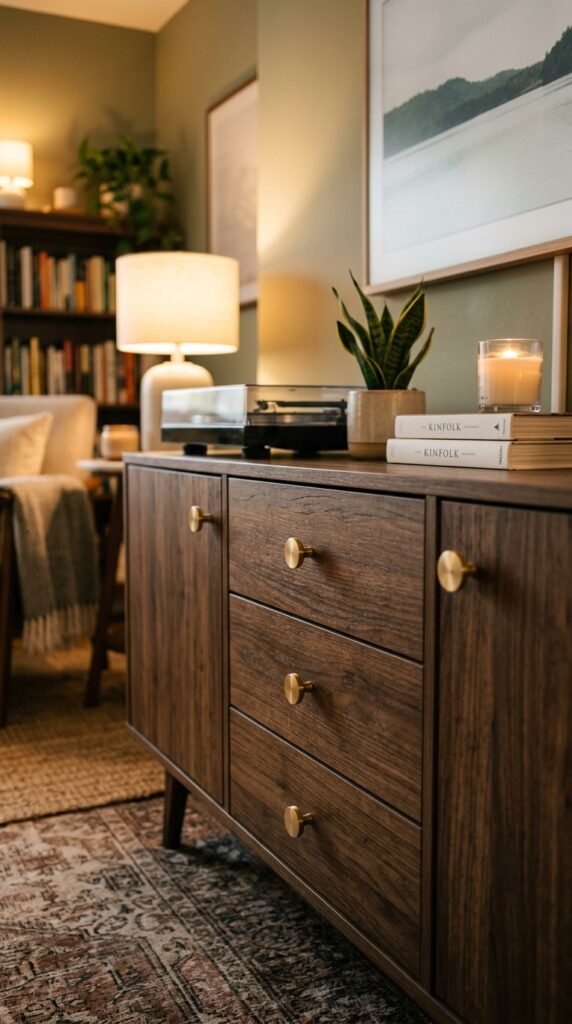
A media console gets a lot of daily use but rarely gets attention. New knobs are an easy fix. Matte gold or brass knobs add a small upgrade without repainting the whole piece. This project takes less than 15 minutes for a standard console with four to six doors. It’s a good starter project if you’ve never swapped hardware before, since there’s low risk and low cost involved.
Try Square Knobs for a Modern Grid Look
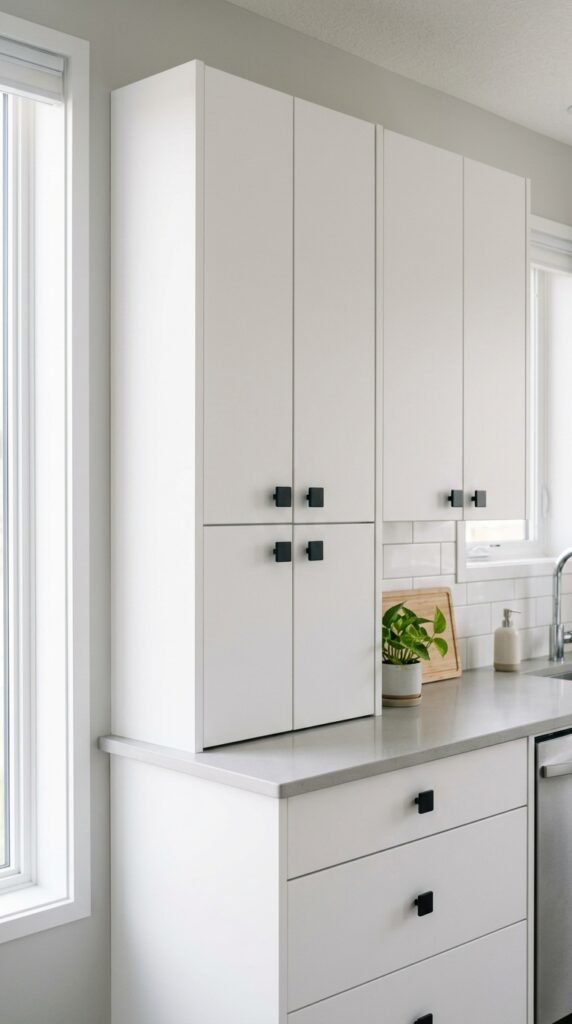
Square knobs create a grid pattern across cabinet faces. This works especially well on flat-panel or shaker doors where clean lines already exist. The repetition of square shapes feels ordered and calm. This is a good option for kitchens that already lean modern or minimalist. Square knobs are widely available and usually priced the same as round versions, so this swap won’t add extra cost to your project.
Add Hardware to Open Shelving Brackets
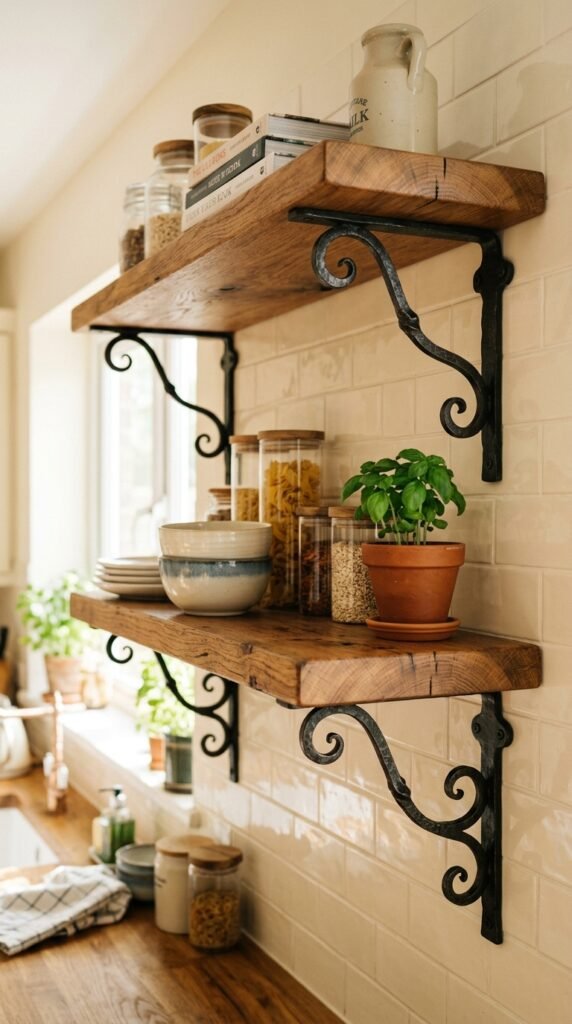
Open shelves need brackets, and those brackets can double as design details. Swap plain brackets for a decorative metal style that matches your cabinet hardware. This ties the whole kitchen together visually. Brackets are simple to install with basic tools and a stud finder. Budget around $10 to $20 per bracket depending on finish and size. This project pairs naturally with any of the hardware swaps above since it reinforces the same finish throughout the room.
Use T-Bar Pulls for a Streamlined Kitchen
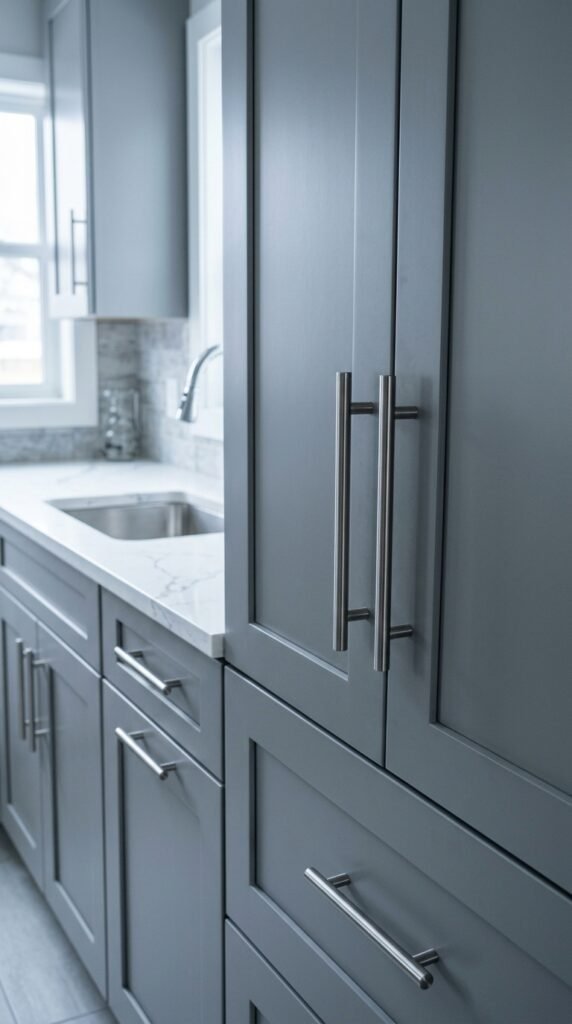
T-bar pulls have a straightforward shape, a straight bar mounted on two posts. They work in almost any kitchen style without standing out too much. This is a practical, no-fuss option if you want new hardware but don’t want to make a big style statement. T-bar pulls are widely stocked at hardware stores, so you can usually complete this project in one trip without waiting on a special order.
Add a Statement Pull to a Single Feature Cabinet
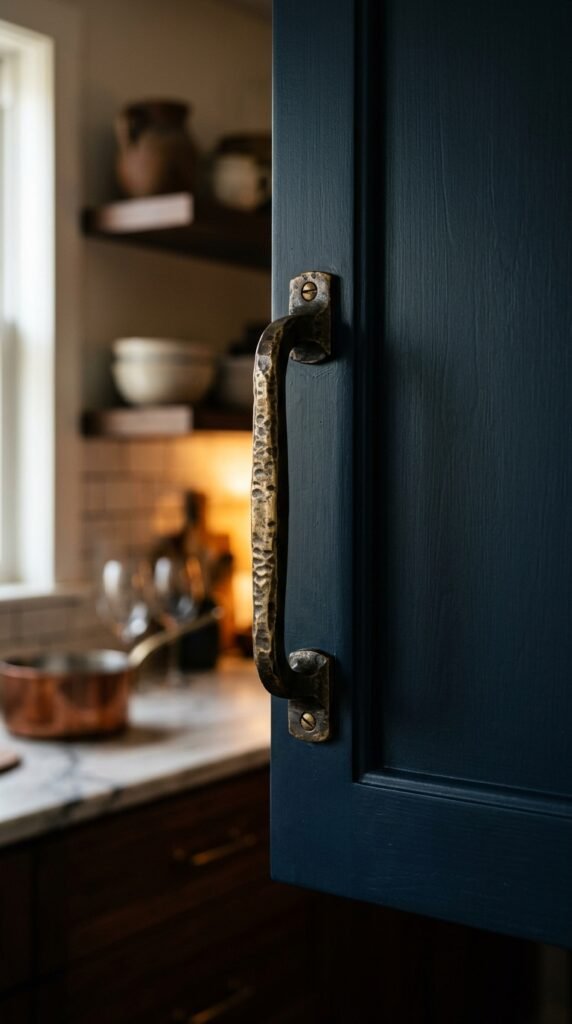
Not every cabinet needs new hardware. Sometimes one feature cabinet, like an island end panel or a glass-front display cabinet, benefits from a single standout pull. This draws the eye without redoing the whole kitchen. It’s also the cheapest option on this list since you’re only buying one piece. Pick a finish that contrasts slightly with the rest of your hardware to make it clear this is an intentional accent.
Replace Hinges Along with Pulls
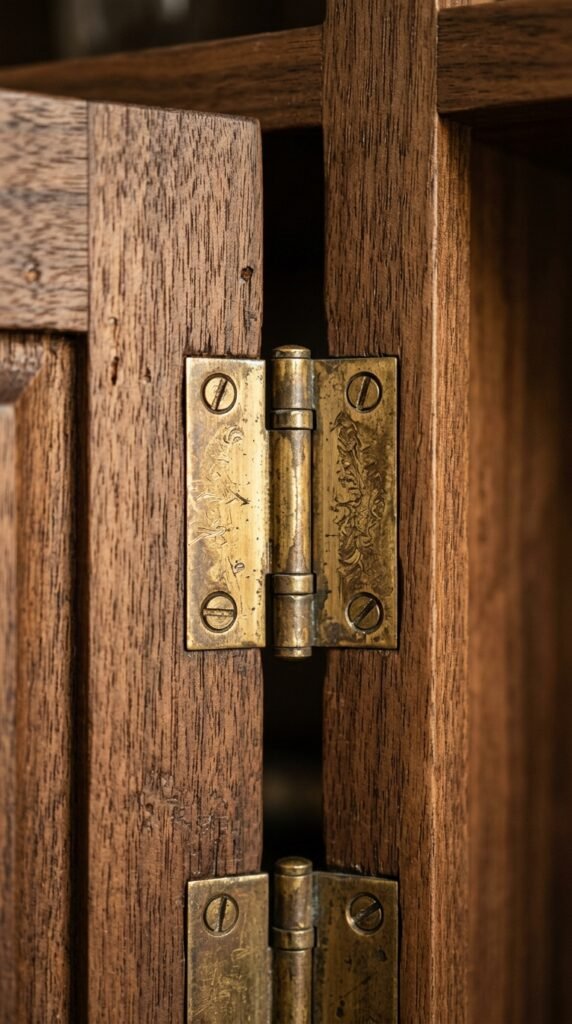
Hinges get overlooked, but old or mismatched hinges show just as much as pulls do. If your cabinets have visible hinges, swap them at the same time as your knobs and pulls. This keeps the whole look consistent. Matching hinge and pull finishes is a small detail that makes a big difference up close. Hinges are inexpensive, and swapping them is usually just a few extra screws per door compared to pulls alone.
Add Hardware to a Bar Cart or Cabinet
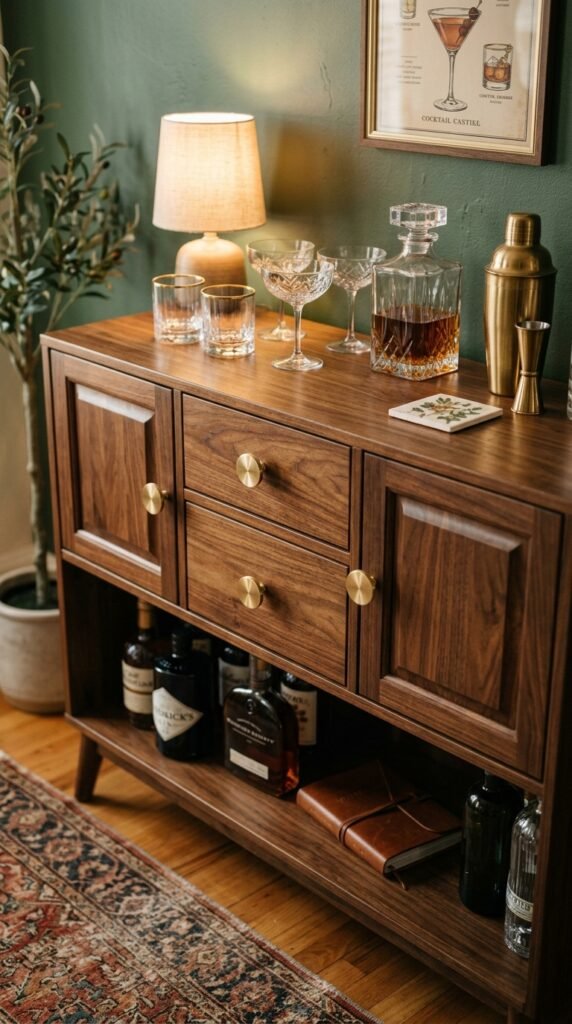
Bar cabinets and carts are small, so hardware changes show up fast. A few new knobs can turn a plain bar cabinet into a small feature piece in a living or dining room. This project usually takes less than 10 minutes and costs under $20 total. It’s a good practice project if you’re testing a finish before committing to it for a full kitchen renovation.
Personalize Kids’ Room Dressers with Playful Pulls
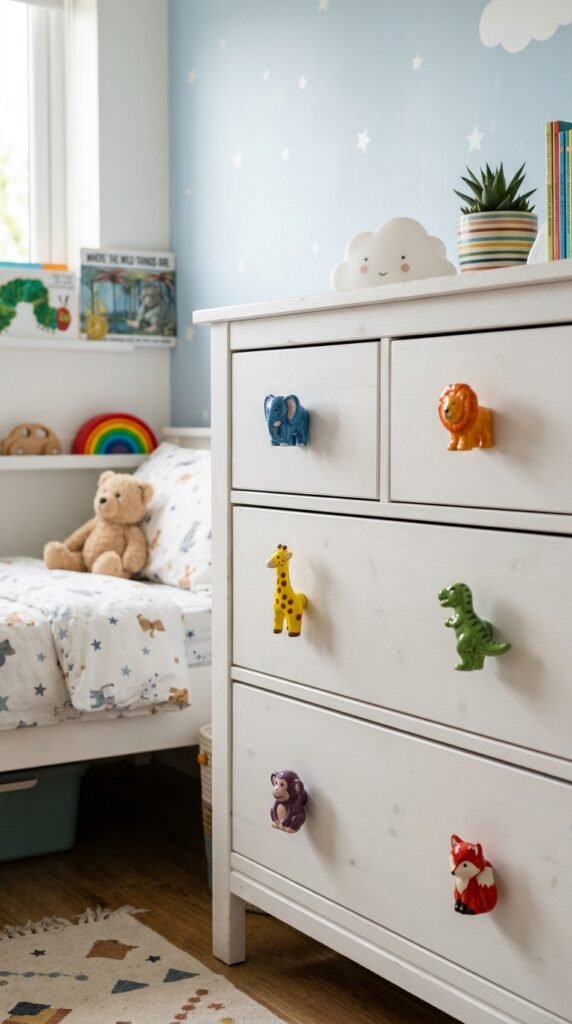
Kids’ furniture is a fun place to experiment with hardware. Animal shapes, bright colors, or simple wood knobs add personality without permanent changes. These knobs are usually cheap, often sold in themed sets for under $15. This is also a good hands-on project to do together with a child, since installation is simple enough for basic supervision and teaches them how furniture goes together.
Finish the Look with Matching Cabinet Latches
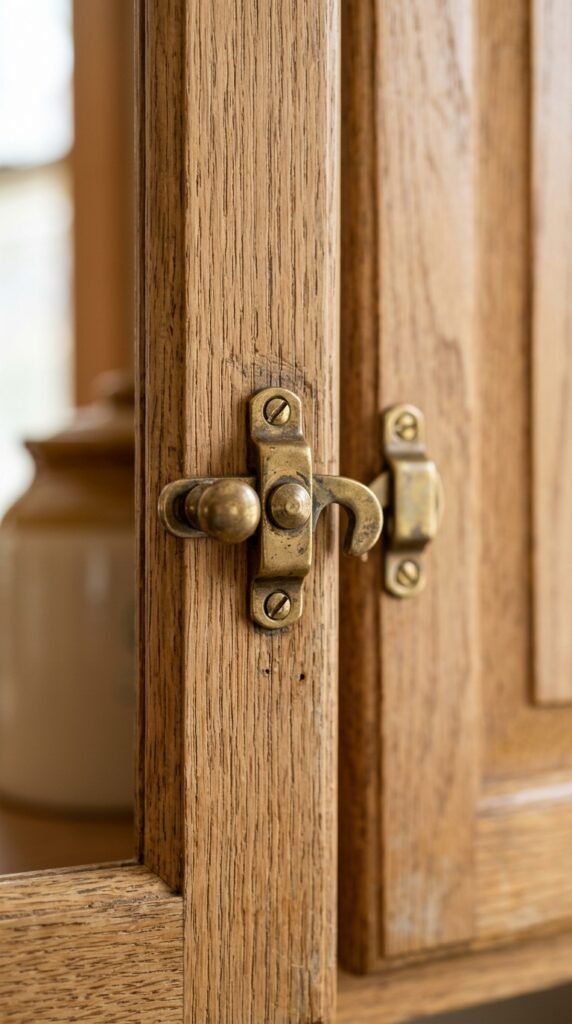
Latches are a small detail that some kitchens still use, especially in farmhouse or vintage-style spaces. Swapping an old latch for one that matches your new pulls finishes the look completely. This is a minor project, usually just two screws per latch, but it removes any leftover mismatched hardware that might otherwise stand out. Check that the new latch still functions well before committing to it across every cabinet.
Conclusion
New cabinet hardware changes how a room feels, and it does that without the cost or time of a full renovation. Each swap on this list works on its own or paired with a few others for a bigger transformation. Start small with one drawer or one cabinet. See how the new hardware looks in your actual lighting before buying enough for the whole kitchen or bathroom. A few dollars and an afternoon can genuinely update the whole feel of your home.