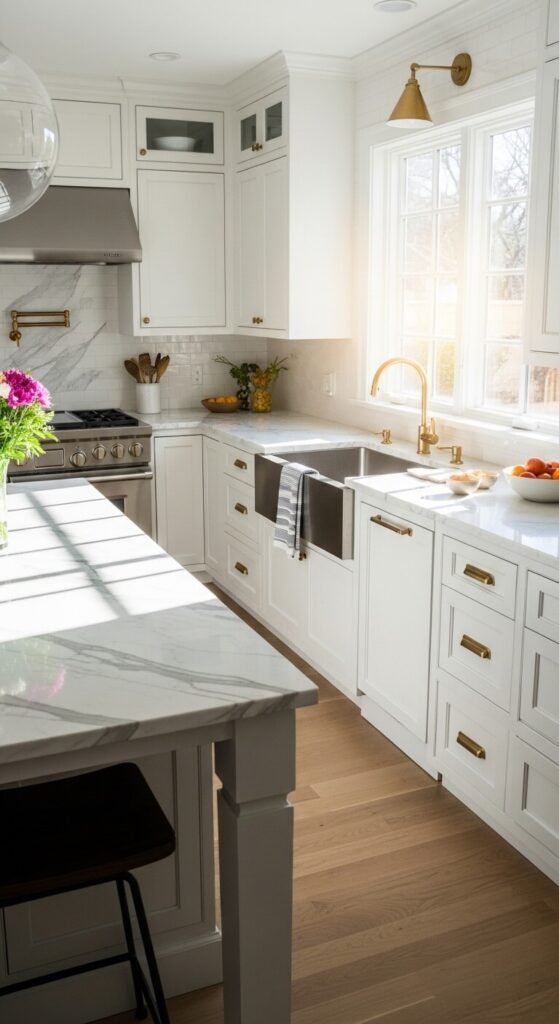
Tired of staring at dull, outdated kitchen cabinets every morning? You don’t need a full renovation — just a weekend, the right supplies, and a little patience. Painting your kitchen cabinets is one of the highest-impact, budget-friendly upgrades you can make to your home. Done right, it looks professional and lasts for years.
Why Painting Cabinets Is Worth It
A full cabinet replacement can cost thousands of dollars. A quality paint job? A fraction of that. Beyond the savings, painting gives you complete control over the final look — from classic white to moody navy to trendy sage green. It’s one of the few DIY projects where the result genuinely looks like a professional did it — if you follow the right steps.
Step 1: Gather Your Supplies Before You Start
Don’t skip the prep shopping trip. Having everything on hand before you begin keeps the project moving smoothly. Here’s what you’ll need:
- Deglosser or TSP cleaner — cuts through grease and grime
- 120- and 220-grit sandpaper — for scuffing and smoothing
- Primer — a bonding primer made for cabinetry works best
- Cabinet-specific paint — look for alkyd, enamel, or hybrid formulas
- A mini foam roller and angled brush — for a smooth, streak-free finish
- Painter’s tape and drop cloths
- Screwdriver — for removing doors and hardware
Skimping on paint quality is the #1 mistake DIYers make. Buy the good stuff — your cabinets take daily abuse, and cheap paint chips fast.
Step 2: Remove Everything and Clean Thoroughly
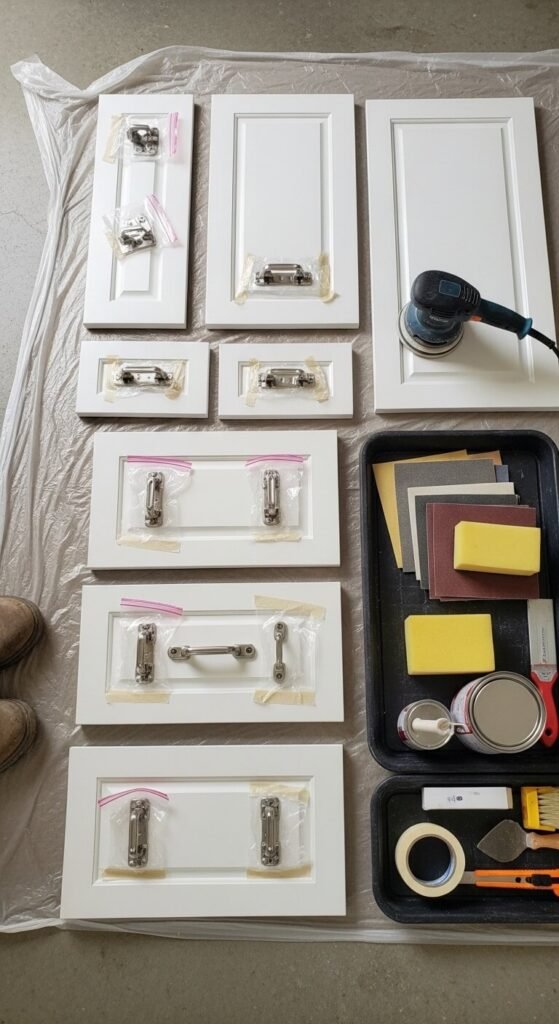
Take off all cabinet doors, drawers, and hardware. Number them with masking tape on the back so reinstallation is effortless. Then clean every surface with a degreaser. Kitchen cabinets collect invisible layers of cooking grease and steam — paint won’t stick properly over that film no matter how good your primer is.
Let everything dry completely before moving on. Rushing this step is where most paint jobs go wrong.
Step 3: Sand, Prime, Sand Again
This is the unglamorous part — and also the most important.
- Lightly sand all surfaces with 120-grit to scuff the existing finish
- Wipe away all dust with a tack cloth
- Apply a thin, even coat of bonding primer
- Let it dry fully (check the label — usually 2–4 hours)
- Sand again lightly with 220-grit for an ultra-smooth surface
- Wipe clean before painting
The second sanding after priming is what separates a good cabinet paint job from a great one. It eliminates brush marks in the primer and gives your topcoat a flawless base.
Step 4: Paint with Thin, Even Coats
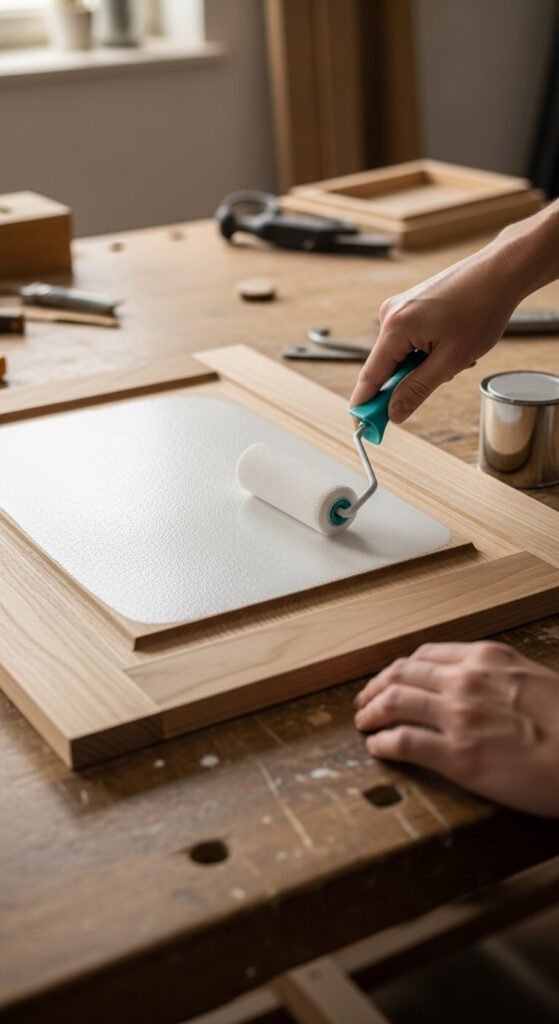
Apply your first coat of cabinet paint using a foam roller for flat panels and a brush for edges and grooves. Keep coats thin — thick paint sags and takes forever to dry.
- Two to three thin coats beats one heavy coat every time
- Allow full drying time between each coat
- Lightly sand with 220-grit between coats for best adhesion
- Always paint in the same direction as the wood grain
Choose your color in good lighting. Colors look different under warm kitchen lighting than they do on a paint chip in the store. Order a sample and live with it for a day before committing.
Step 5: Reattach and Upgrade Your Hardware
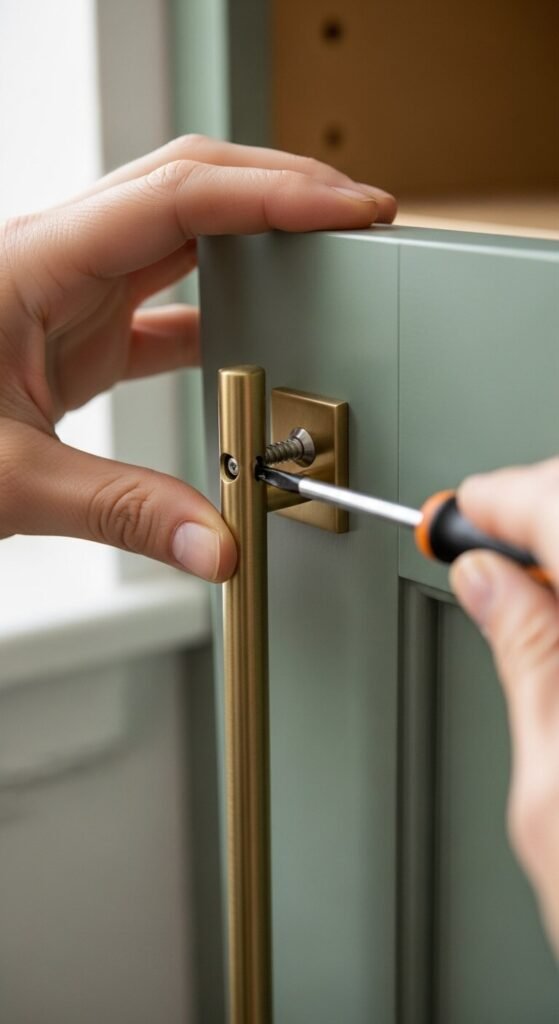
Once your final coat is fully cured (give it 24–48 hours, not just dry-to-touch), rehang your doors and reinstall the drawers. This is the perfect moment to swap out dated hardware for something fresh — brushed brass, matte black, or sleek stainless can transform the look even further.
The Finish Line
Stand back and take it in. Same cabinets. Completely different kitchen.
The secret to a lasting finish is patience: clean properly, prime properly, and let each coat dry fully. Cut corners here, and you’ll be repainting in a year. Do it right, and your kitchen will look brand new for a decade.
Ready to transform your kitchen? Save this guide, grab your supplies, and start this weekend — your dream kitchen is closer than you think.