Painting a room sounds simple — until you’re three hours in, your back hurts, and there are streaks everywhere. The truth is, most people don’t paint slowly. They just paint wrong. With the right prep, the right tools, and a smart order of operations, you can transform a room in a single day and have it look like you hired someone to do it.
Here’s exactly how to do it — fast, clean, and with results you’ll actually be proud of.
Gather Everything Before You Start
The biggest time-waster in any paint job is stopping mid-project to run to the hardware store. Get everything together before you open a single can.
Here’s your checklist:
- Paint (calculate your square footage — most rooms need 2 gallons for two coats)
- Primer (if you’re making a dramatic color change or painting over a dark wall)
- Angled brush (2.5″ is the sweet spot for cutting in)
- 9″ roller with a 3/8″ nap for smooth walls, 1/2″ nap for textured
- Roller tray and liners
- Painter’s tape (ScotchBlue or Frog Tape are worth the extra dollar)
- Drop cloths — canvas, not plastic (plastic slides around and is a hazard)
- Spackle and a putty knife for any nail holes
Having everything ready means you stay in the flow and finish in one clean session.
Prep the Room — This Is Where Pros Win
Here’s the honest truth: professional painters spend more time prepping than actually painting. That prep is exactly what separates a polished result from an amateur one.

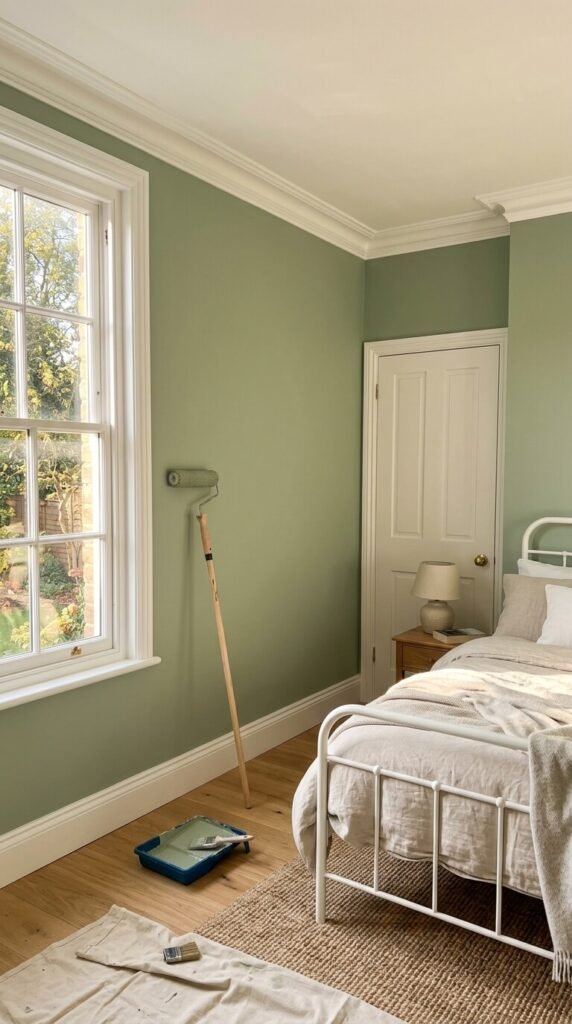
- Move furniture to the center of the room and cover it with drop cloths.
- Remove outlet covers and switch plates — painting around them is sloppy and takes longer.
- Fill holes and dents with spackle, let it dry, then sand smooth.
- Wipe down walls with a damp cloth. Dust and grease cause paint to peel.
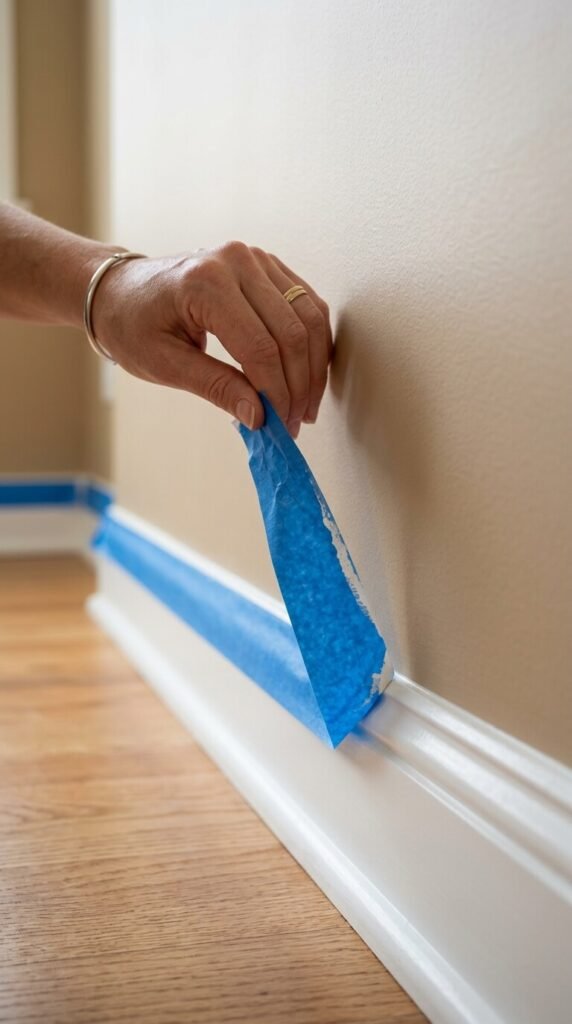
- Apply painter’s tape along trim, baseboards, and ceilings — press the edge down firmly with a putty knife for a truly clean line.
Rushing prep is how you end up repainting. Do it right once.
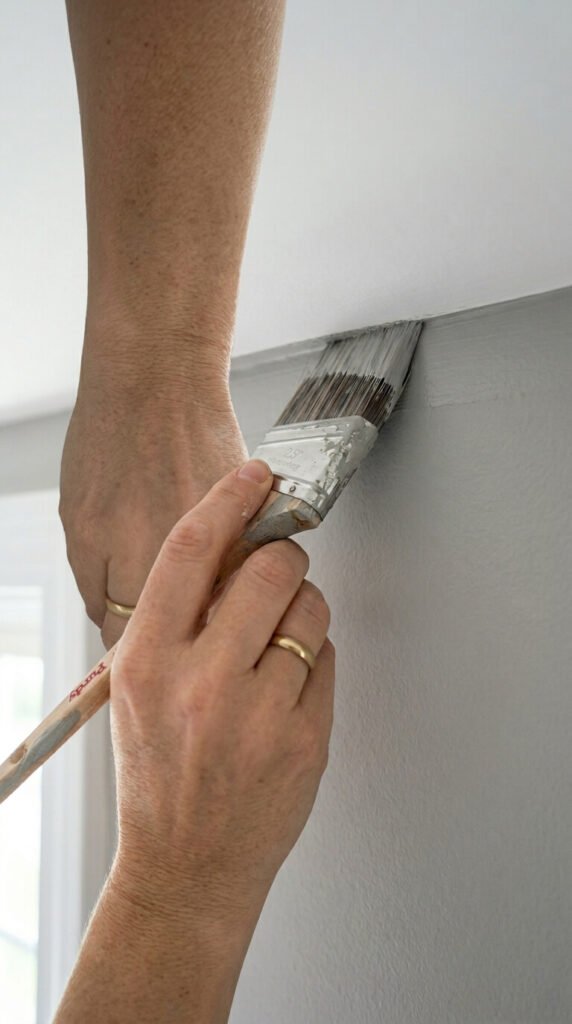
Cut In First, Then Roll
This is the technique that makes the biggest difference in how fast you move and how clean the result looks. Never alternate between cutting in and rolling — finish one, then do the other.
Cutting in means using your angled brush to paint a 2–3 inch band along all the edges: ceiling line, corners, baseboards, and around window and door frames.
Once the cut-in is done for the entire room, then you pick up the roller. Work in large W or M shapes across the wall and fill them in without lifting the roller. Keep a wet edge — don’t let sections dry before overlapping them or you’ll see lap marks.
Apply Two Coats — But Do It Smart
One thick coat always looks worse than two thin ones. The first coat doesn’t need to be perfect — it just needs to cover. Let it dry fully (usually 2 hours for latex paint), then apply the second coat for that smooth, even finish.
A few tips to speed up drying:
- Open windows for airflow
- Run a fan pointed at the wall
- Avoid painting on humid days if you can help it
While the first coat dries, clean your brush and roller cover with water (for latex paint) so they’re fresh for coat two.
Remove Tape at the Right Moment
Most people pull painter’s tape after the paint is bone dry — and end up peeling off chunks of paint with it. Instead, remove the tape while the final coat is still slightly tacky. Pull it back at a 45-degree angle, slow and steady, and you’ll get a perfectly crisp line every time.
The Takeaway
Painting a room fast isn’t about rushing — it’s about working smarter. Prep thoroughly, cut in before you roll, and apply two thin coats instead of one thick one. Those three habits alone will take your results from “obviously DIY” to genuinely professional.
Pin this guide before your next paint project and save yourself hours of frustration — your walls deserve it!