Let’s be honest — wallpaper used to have a reputation. Tricky to hang, impossible to remove, and best left to the professionals. But modern wallpaper has completely changed the game, and today even a first-timer can achieve results that look like they hired someone with 20 years of experience.
The secret isn’t talent — it’s preparation. Get your prep right, follow the steps in order, and you’ll be smoothing your last seam with confidence before the afternoon is over. Here’s everything you need to know.
Choose the Right Wallpaper for Your First Project
Not all wallpaper is created equal, and your choice of material will make or break your first experience.
For beginners, these are the best options:
- Peel-and-stick wallpaper — The most beginner-friendly option. No paste, no mess, fully repositionable. Perfect for renters or anyone nervous about commitment.
- Pre-pasted wallpaper — The paste is already on the back; just activate it with water. Easier to handle than traditional paste wallpaper.
- Non-woven wallpaper — Slightly more advanced but very forgiving. It doesn’t stretch when wet, which means cleaner seams and easier removal later.
Avoid vinyl-coated or natural fiber wallpapers for your first project — they’re less forgiving and harder to work with.
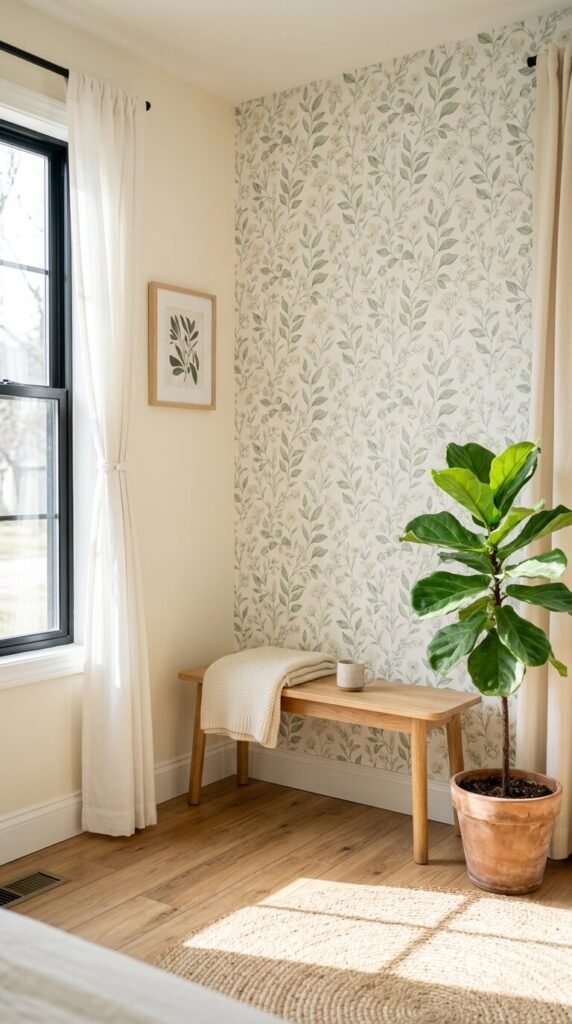
Also consider your pattern. Small-scale or no-repeat patterns are much easier to align than large statement prints. Save the dramatic oversized botanical for your second project.
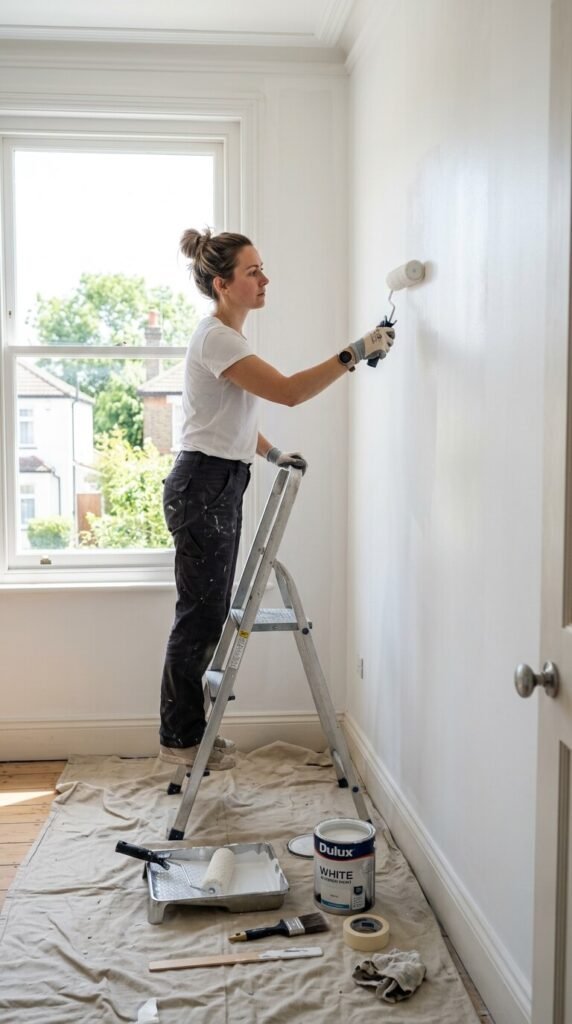
Prep Your Wall — This Step Makes Everything Easier
Here’s the truth most beginner guides skip: the wall does half the work. A poorly prepped wall will cause bubbles, peeling edges, and misaligned seams no matter how carefully you hang.
Follow these prep steps every single time:
- Clean the wall — Wipe down with a damp cloth to remove dust, grease, and any residue
- Fill holes and cracks — Use lightweight spackle and sand smooth once dry
- Apply primer or sizing — This seals the wall surface and gives the wallpaper adhesive something strong to grip; skip this and you’ll regret it
- Find and mark your vertical — Use a level to draw a perfectly straight plumb line on your wall before hanging a single strip; this is your guide for the entire project
Let your primer dry completely — usually two to four hours — before you even unroll your wallpaper.
Measure, Cut, and Paste Like You Mean It
Measure your wall height and add four inches — two inches at the top and two at the bottom for trimming allowance. Cut all your strips before you begin hanging so you’re not rushing mid-project.
A few golden rules for this stage:
- Always cut more than you think you need — you can trim; you can’t add
- Number the back of each strip lightly in pencil so you know the hanging order
- Match your pattern before cutting — lay strips side by side on the floor to confirm alignment before a single piece goes on the wall
- For paste wallpaper, apply paste to the wall rather than the paper for cleaner, more controlled application

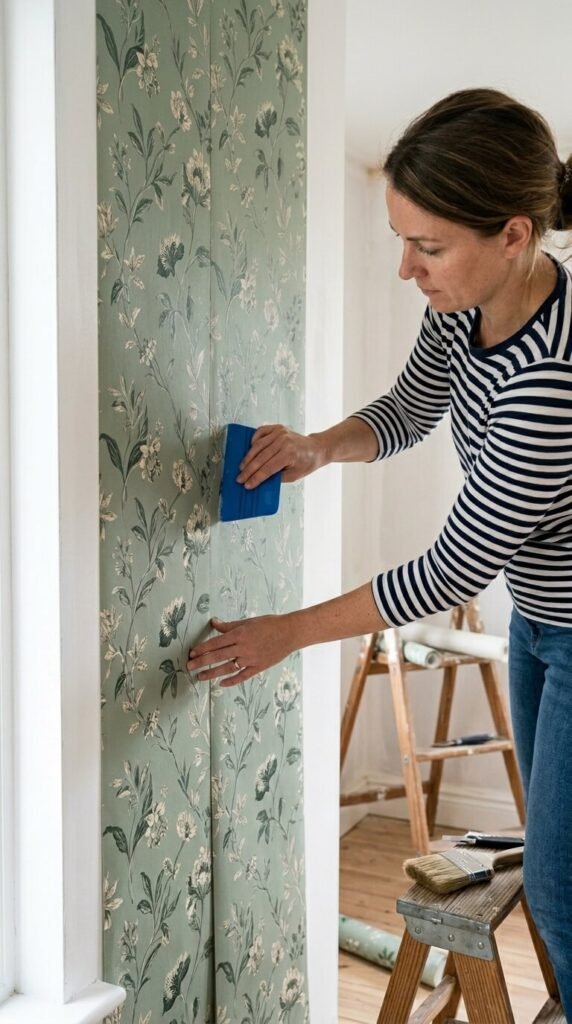
Hanging Your First Strip — Slow and Steady Wins
This is the moment everything comes together. Take a breath, work slowly, and remember: most wallpaper can be repositioned within the first few minutes, so don’t panic if your first placement isn’t perfect.
- Start at your plumb line and align the edge of your first strip perfectly to it
- Unfold the top half first, pressing gently from the center outward to push out air bubbles
- Use a smoothing brush or plastic smoother — never your bare hands, which can stretch the paper
- Work top to bottom, unfolding the lower half once the top is set
- Butt seams tightly together — don’t overlap strips; edges should meet cleanly without gaps
Once your strip is up, use a sharp craft knife and straight edge to trim the excess at the ceiling and baseboard. A fresh blade makes all the difference here — dull blades tear instead of cut.
Finishing Touches That Separate Beginners from Pros
Once all your strips are hung, these final steps elevate the result:
- Roll all seams with a seam roller for a flat, invisible finish
- Wipe away any paste residue immediately with a clean damp sponge — dried paste dulls the surface
- Step back and check for bubbles, lifted edges, or misaligned patterns in natural light
- Seal the edges around outlets, switches, and trim with a tiny bead of clear caulk for a truly polished look
Small bubbles often disappear on their own as the wallpaper dries — don’t prod at them obsessively before the paper has had 24 hours to fully set.
Hanging wallpaper for the first time is one of those DIY projects that feels intimidating right up until the moment you finish — and then you immediately want to wallpaper every room in your house. Save this guide, grab your supplies, and pick one wall to transform this weekend. You’ve got this.