Tired of shelves that wobble, sag, or come crashing down the moment you add a few books? You don’t need a contractor or a toolbox full of mystery gadgets to fix that. With the right hardware and a little know-how, anyone can hang shelves in drywall that are sturdy enough to hold real weight — no professional required.
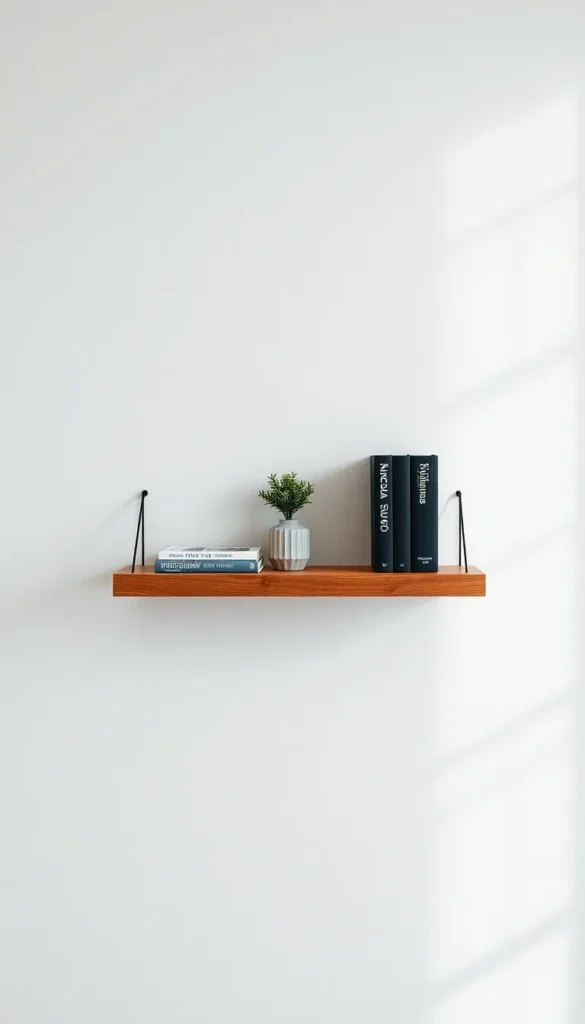
Drywall has a bad reputation for being flimsy, but the truth is, it’s all about using the right anchors in the right spots. Let’s walk through exactly how to do it right the first time.
Why Drywall Needs Special Hardware
Unlike solid wood, drywall is hollow and crumbly, which means a regular nail or screw will pull right out under weight. That’s where anchors come in.
- Drywall alone can hold very light items only (think small frames)
- Wall studs are the strongest anchor point, but they’re not always where you need them
- Anchors bridge the gap, letting you mount heavier shelves anywhere on the wall
Understanding this difference is the first step to a shelf that actually stays put.
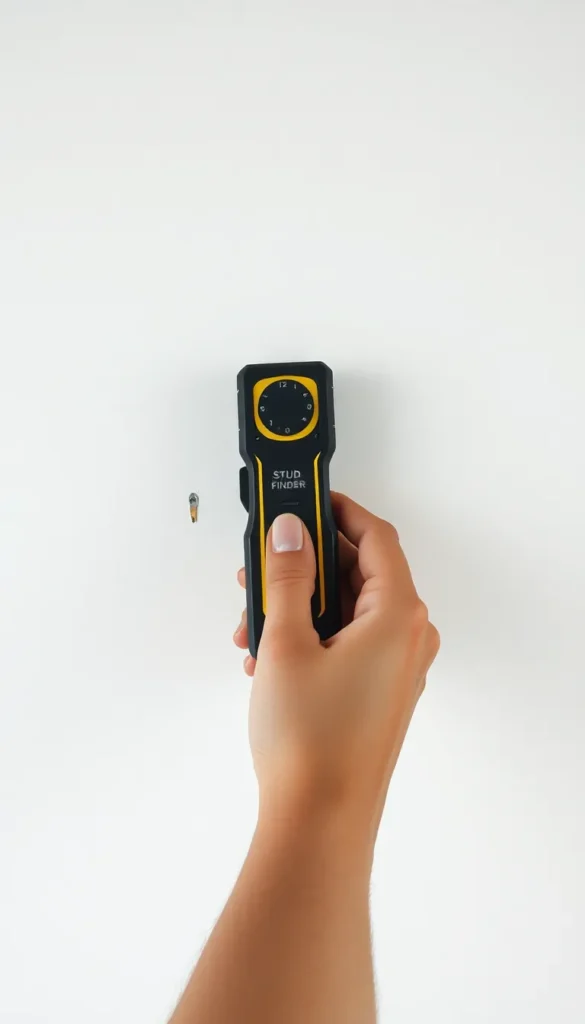
Step 1: Find Your Studs First
Before reaching for anchors, always check if a stud is hiding behind your drywall — it’s the strongest, most reliable support you’ll find.
- Use a stud finder and slide it slowly across the wall
- Studs are typically spaced 16 inches apart, center to center
- Double-check by tapping the wall — a solid sound means stud, a hollow sound means empty space
- Mark stud locations lightly with a pencil
If your shelf brackets line up with a stud, you’re already halfway to a secure install.
Step 2: Choose the Right Anchor for the Job
No stud where you need one? No problem. The right drywall anchor can hold serious weight on its own.
- Plastic anchors — good for light shelves (up to 10–15 lbs)
- Self-drilling anchors — easy to install with a screwdriver, mid-range weight capacity
- Toggle bolts — heavy-duty option, ideal for shelves holding books or decor (up to 50+ lbs)
- Molly bolts — strong and reusable, great for medium to heavy loads
A good rule of thumb: always size your anchor based on the heaviest weight you’ll ever put on that shelf, not just what’s on it today.
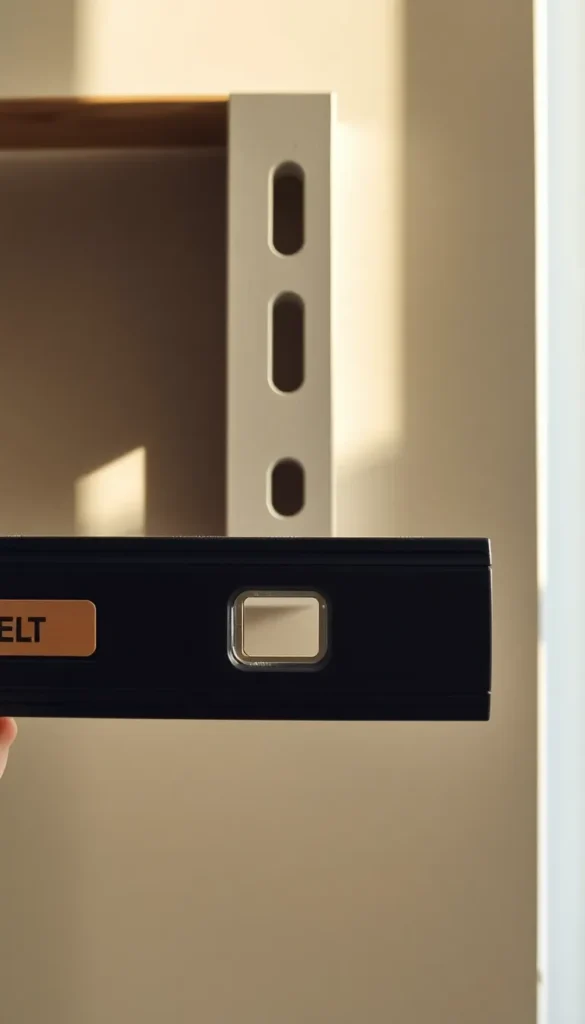
Step 3: Mark and Measure Before You Drill
This is the step people rush — and regret. Take your time here.
- Hold the shelf bracket against the wall at your desired height
- Use a level to make sure it’s perfectly horizontal
- Mark each screw hole with a pencil
- Double-check spacing matches your shelf or bracket exactly
A few extra minutes of measuring saves you from extra, unnecessary holes in your wall.
Step 4: Drill and Install the Anchor
Now for the satisfying part — actually putting everything in place.
- Drill a pilot hole slightly smaller than your anchor
- Insert the anchor and tap or screw it in until flush with the wall
- For toggle bolts, fold the wings and push through the drilled hole, then tighten
- Attach your bracket directly to the anchor with the provided screws
Go slow and steady. Over-tightening can crack the drywall around the anchor.
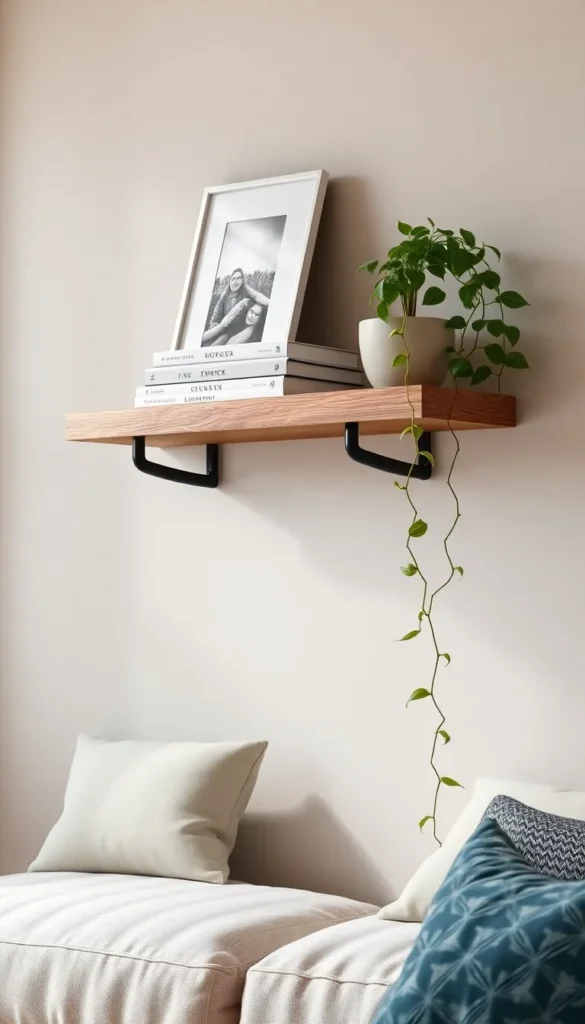
Step 5: Attach the Shelf and Test the Weight
Once your bracket is secure, it’s time to add the shelf itself.
- Slide or screw the shelf onto the bracket according to its design
- Give it a gentle wiggle test before adding anything to it
- Start with lighter items and gradually add weight to check stability
- Recheck the level once everything is loaded
If it feels solid with everyday items, you’ve done it right.
Bonus Tips for Long-Lasting Shelves
A few extra tricks to make sure your shelf stands the test of time:
- Avoid placing heavy items only on one side — distribute weight evenly
- Repaint or patch any visible anchor marks for a clean finish
- For extra security on heavy shelves, use two anchors per bracket instead of one
- Recheck tightness every few months, especially in humid climates
Small maintenance now means no surprise crashes later.
Final Thoughts
Hanging shelves securely in drywall isn’t about luck — it’s about using the right tools for the job. With studs, anchors, and a little patience, you can create sturdy, stylish storage anywhere in your home without calling in a pro.
Ready to give your walls a functional upgrade? Save this guide for your next home project, and get those shelves up this weekend!