There’s nothing worse than stepping back to admire your freshly installed floating shelf — only to realize it’s doing a subtle but unmistakable tilt to the left. We’ve all been there. The good news? Getting shelves perfectly level the first time isn’t some contractor-only secret. With the right tools and a little patience, you can nail it on the first try and skip the wall-patching regret entirely.
Gather Your Tools Before You Start
The biggest mistake most people make is winging it with whatever’s lying around the house. Don’t do that. Set yourself up for success with these essentials:
- A quality bubble level (or a free level app on your phone for a budget option)
- Stud finder
- Pencil
- Measuring tape
- Drill and appropriate drill bits
- Wall anchors (if you’re not drilling into studs)
- Screwdriver
Having everything laid out before you start means no mid-project scrambling and no guesswork.
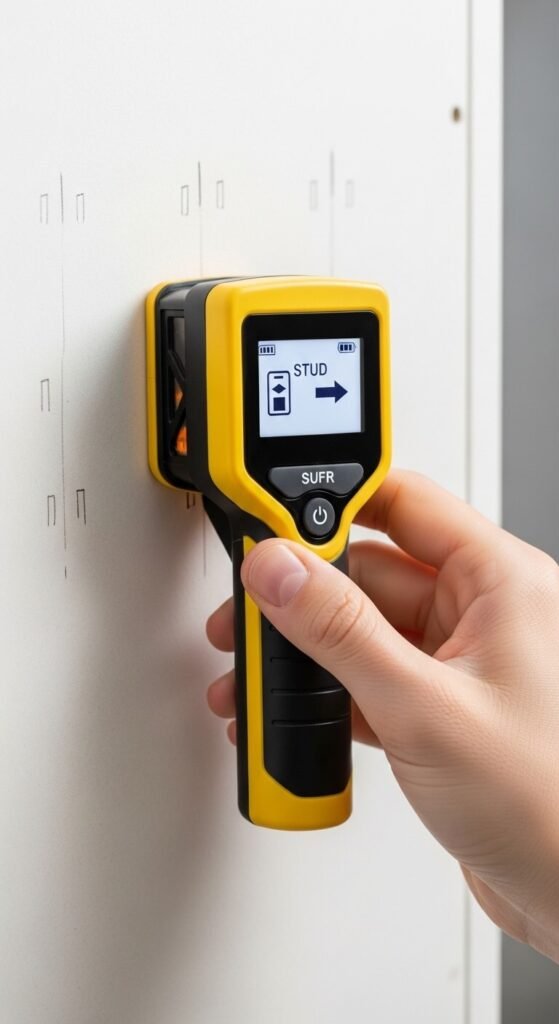
Find Your Studs — or Plan for Anchors
This step determines how much weight your shelf can actually hold. Run your stud finder slowly across the wall and mark each stud with a light pencil dot. Studs are typically spaced 16 inches apart, so once you find one, the others are easy to predict.
If your shelf brackets don’t land on studs, that’s okay — but you’ll need heavy-duty drywall anchors rated for the weight you’re planning to load onto the shelf. Decorative shelf with a few candles? Light anchors work. Shelf holding a stack of hardcover books? Go for toggle bolts.
Measure Twice, Mark Once
Here’s where the magic happens. Decide on the height of your shelf, then use your measuring tape to mark that exact height at two points on the wall — one on the left side where your first bracket will go, one on the right side where the second bracket will go.
Use your level to connect those two marks. Rest the level on a long straight edge or hold it between the two marks and adjust until the bubble sits perfectly centered. Then draw a light pencil line.
Pro tip: Measure from the floor, not the ceiling. Ceilings are rarely perfectly straight — floors are your more reliable reference point.
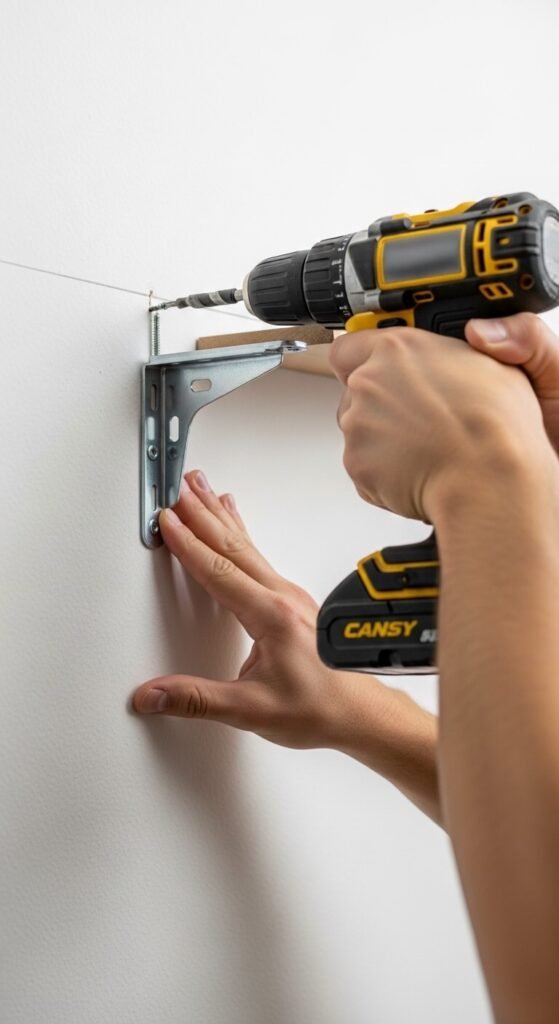
Pre-Drill and Install Your Brackets
Once your line is marked, hold your bracket against the wall, aligning the top with your pencil line. Mark through the bracket’s holes onto the wall with your pencil, then set the bracket aside and pre-drill your holes.
Pre-drilling prevents the drywall from cracking and makes driving screws dramatically easier. Insert your wall anchors if needed, then screw your brackets firmly into place.
Repeat this process for every bracket, checking your level as you go rather than only at the end. It’s much easier to make micro-adjustments bracket by bracket.
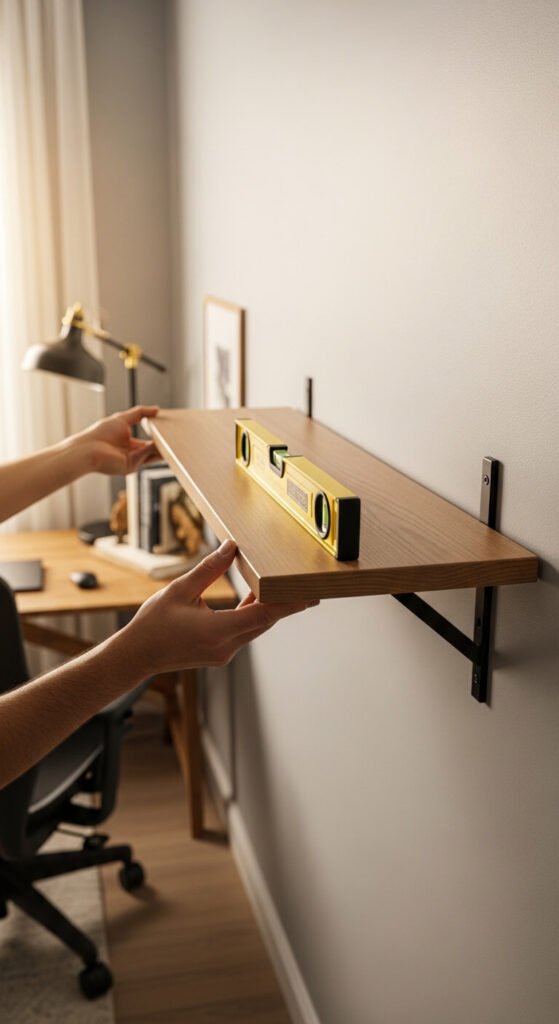
Set the Shelf and Do a Final Level Check
Slide your shelf onto the brackets (or set it in place, depending on your shelf style) and lay your level directly on top of the shelf surface. This is your moment of truth.
If the bubble is centered — congratulations, you nailed it. If it’s slightly off, most bracket systems allow for minor adjustments by loosening a screw and nudging the bracket up or down before tightening again.
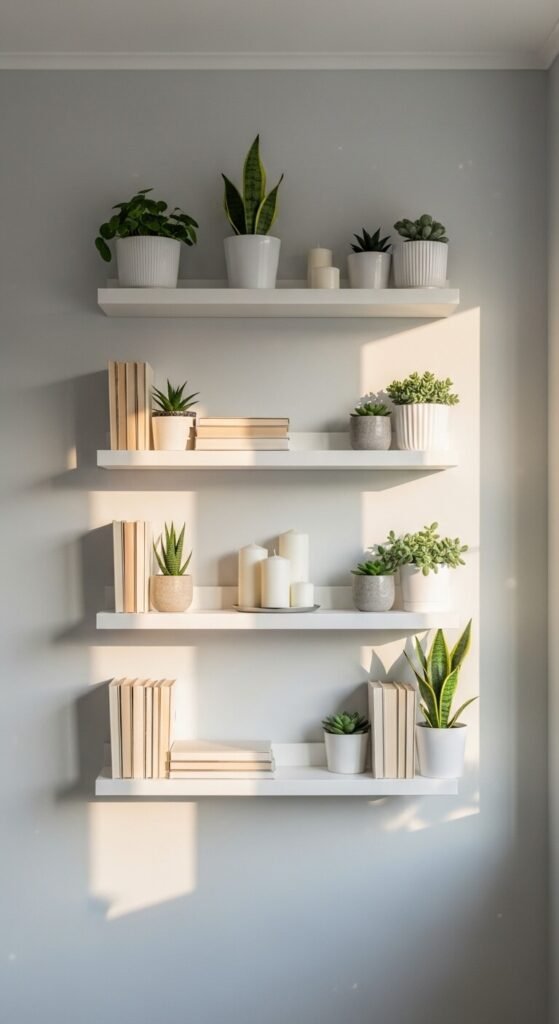
Style It and Step Back
Now for the fun part. Once everything is secure and level, style your shelf with intention — mix heights, add a trailing plant, lean in a small frame. Then step back and take it all in.
You’ve Got This
Perfectly level floating shelves are 100% a DIY-able project, even if you’ve never picked up a drill before. The secret is slowing down on the measuring step — everything else follows naturally from there.
Save this guide for your next home project and share it with a friend who’s been putting off that shelf install for way too long!