Ever notice how the prettiest spaces in magazines always have something grouping the chaos together? That’s the secret trick stylists don’t always talk about: trays. A simple tray can turn a cluttered countertop into a curated little scene in under five minutes — no design degree required.
If you’ve got a tray sitting in a cabinet doing nothing, it’s time to put it to work. Here’s exactly how to use trays to create cozy, photo-worthy vignettes anywhere in your home.
Why Trays Are a Styling Game-Changer
Trays do more than hold things — they create a visual boundary that tells your eye “this is a moment, look here.” That’s why designers call them the unsung heroes of home styling.
A good tray vignette:
- Instantly makes a space feel intentional, not cluttered
- Groups random items into one cohesive story
- Makes cleaning and rearranging ridiculously easy
- Works on literally any surface — counters, ottomans, dressers, tables
Once you start seeing surfaces as “tray opportunities,” you won’t be able to stop.
Step 1: Choose the Right Tray for the Space
Not all trays are created equal, and the one you pick sets the tone for everything else.
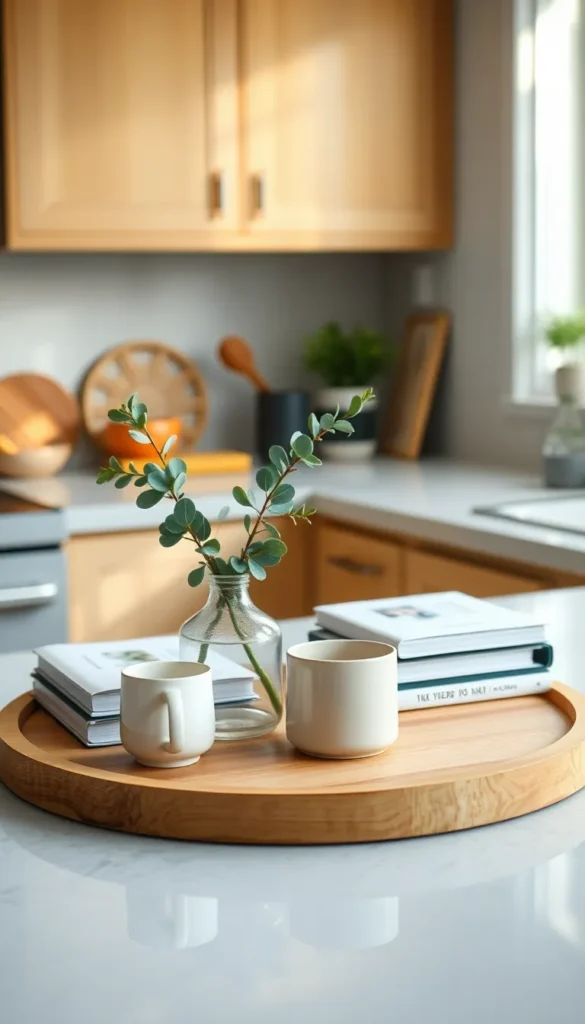
- Wood trays — warm, organic, great for boho or farmhouse looks
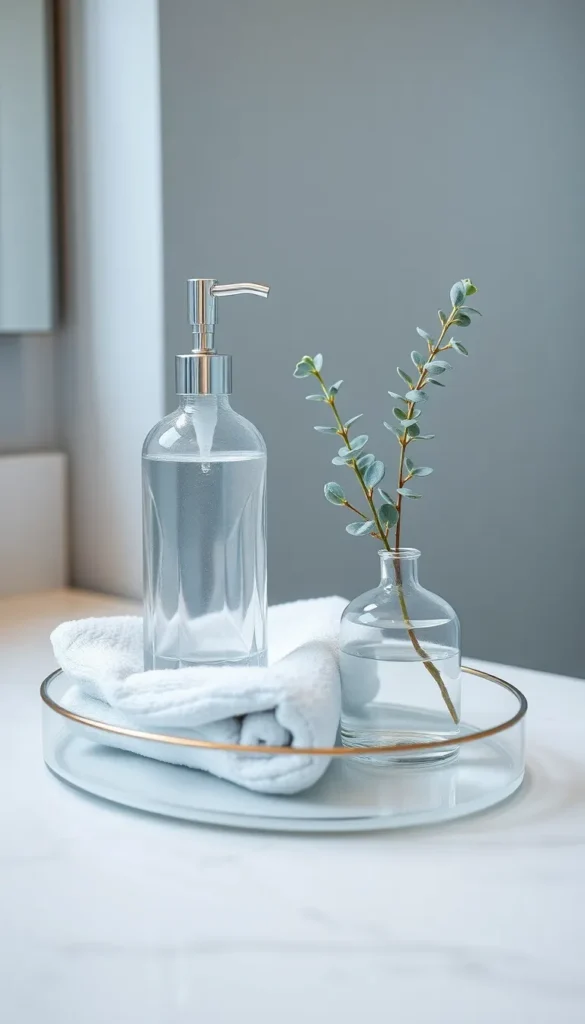
- Marble or stone trays — elevated, perfect for bathrooms and bedrooms
- Woven or rattan trays — coastal and relaxed, lovely on coffee tables
- Metal or mirrored trays — glam and reflective, ideal for vanities
A simple rule of thumb: pick a tray that contrasts slightly with the surface beneath it so it actually stands out instead of disappearing.
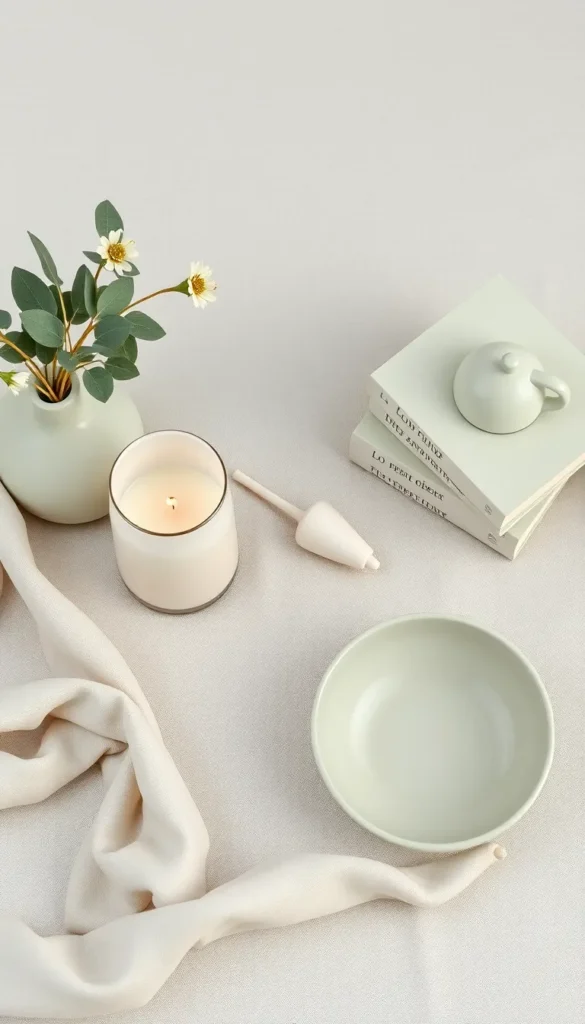
Step 2: Pick a Color Story First
Before you grab random pretty things, decide on 2–3 colors max. This is the difference between “curated” and “cluttered.”
Try pairing:
- Cream + sage + natural wood
- Black + white + brass
- Blush + terracotta + gold
Once your palette is set, everything you add will automatically feel like it belongs together.
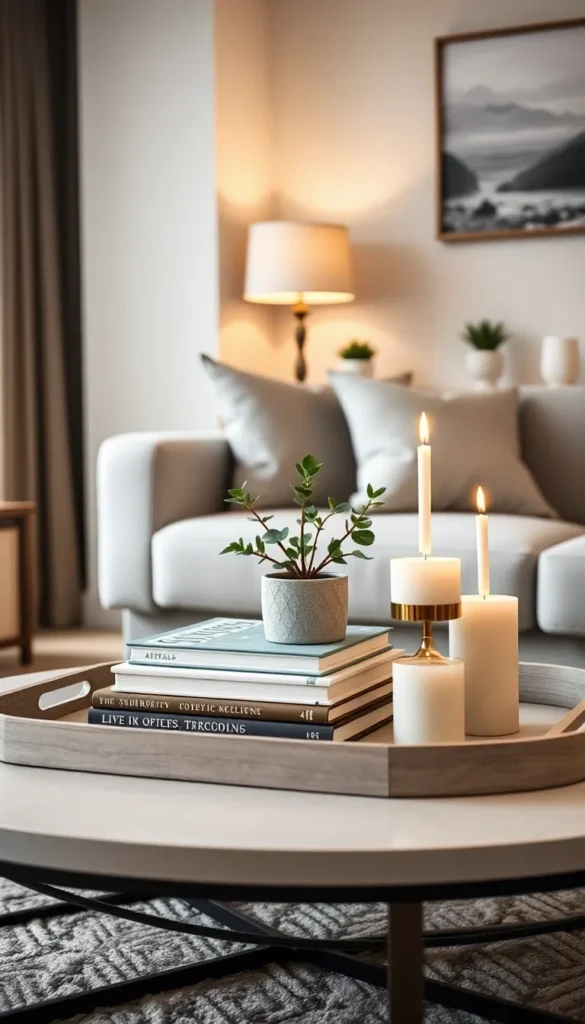
Step 3: Layer with the Rule of Three (and Varying Heights)
This is the heart of every good vignette. Group items in odd numbers — three or five — and vary their heights so your eye travels up and down instead of staying flat.
A foolproof formula:
- One tall item — a vase, candlestick, or small lamp
- One medium item — a stack of books or a small plant
- One small item — a trinket dish, a few stones, or a tiny bowl
If it still looks flat after adding your three items, prop one on top of a book or small stand for instant height variation.
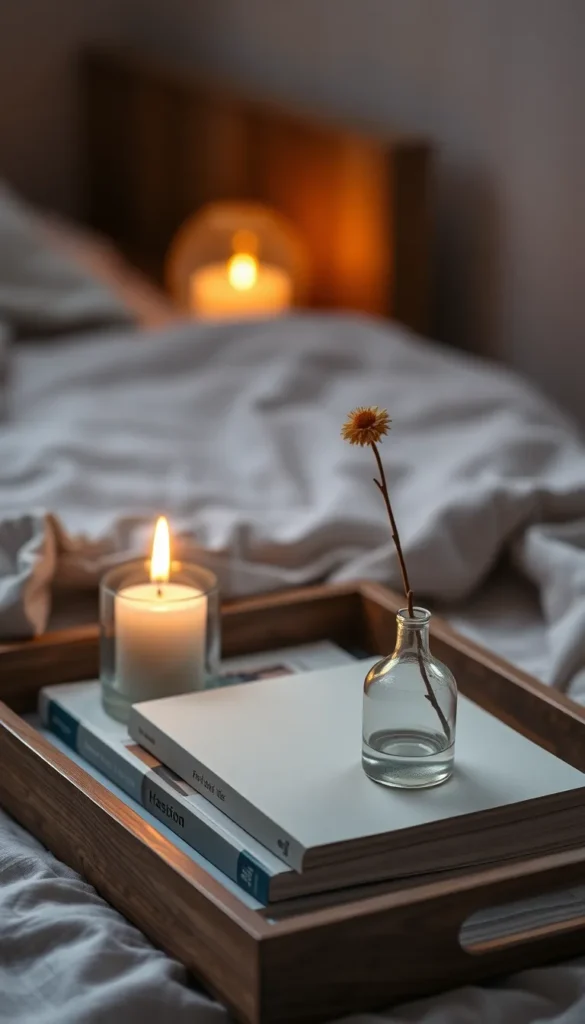
Step 4: Add a Touch of Texture and Life
A vignette without texture feels stiff. This is where you bring in things that feel a little organic and imperfect.
Great texture additions:
- A small stack of linen napkins
- A sprig of fresh or faux greenery
- A textured ceramic dish
- A lit candle for warmth
This is the step people skip — and it’s exactly why some vignettes feel “off” without anyone knowing why. Texture is the difference between staged and styled.
Step 5: Repeat the Look in Multiple Rooms
Once you’ve nailed one tray vignette, the formula travels. Try it in:
- The entryway — keys, a small dish, a candle
- The coffee table — books, a vase, a coaster set
- The bathroom — soap, a rolled towel, greenery
- The nightstand — a lamp, books, a small plant
The beauty of this trick is that it scales. Once you understand the formula — tray, palette, height variation, texture — you can style any surface in your home in minutes.
Quick Tray-Styling Cheat Sheet
- Choose a tray that contrasts with its surface
- Stick to 2–3 colors
- Use odd numbers (3 or 5 items)
- Vary heights with risers or stacked books
- Add one organic, textured element
- Keep it loose — perfection looks staged
Your Turn to Style
Trays are proof that small changes make a big visual impact. You don’t need a full room makeover to feel like your home is pulled together — you just need one tray, a few intentional items, and five minutes.
Pick a surface in your home right now and give this formula a try. Once you see the difference, you’ll be tray-styling every flat surface in sight!
Save this guide for later so you always have a go-to formula for instant home styling!