Empty walls are basically begging for help. A single lonely frame floating in the middle of a big wall? It almost always looks like an afterthought. But cluster a few frames together with intention, and suddenly that same wall becomes the focal point of the entire room.
The good news? You don’t need design school to pull this off. You just need a system. Here are the three main approaches that actually work — grids, asymmetrical clusters, and grouped collections — plus how to choose the right one for your space.
Start With the Right Frame Layout for Your Wall
Before you grab a hammer, figure out which style matches your room’s vibe.
- Grid layouts — clean, symmetrical, modern. Best for minimalist or contemporary spaces.
- Asymmetrical layouts — relaxed, organic, collected-over-time feel. Great for eclectic or boho rooms.
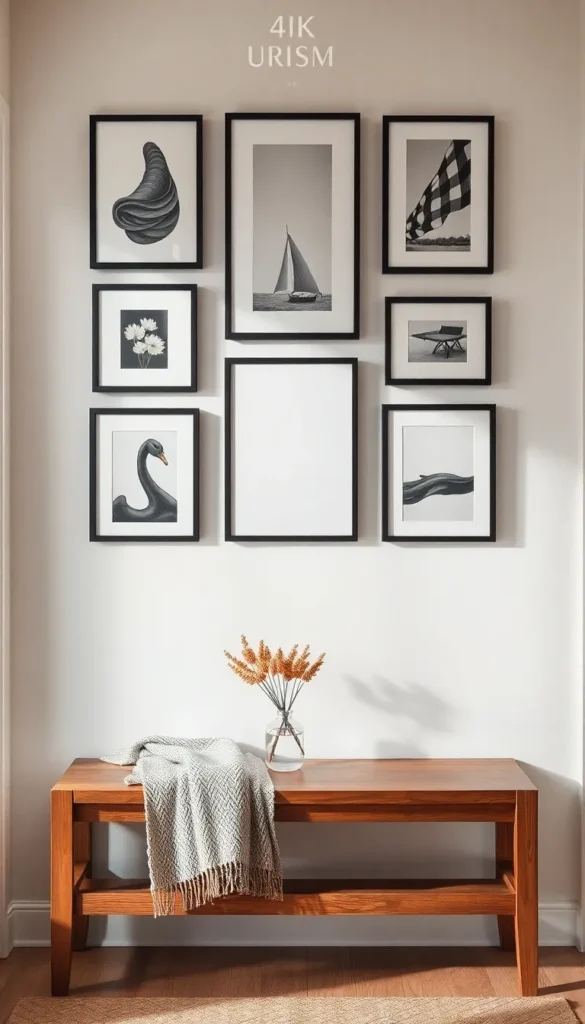
- Grouped clusters — a happy middle ground. Frames are organized but not perfectly aligned.
Think about your wall’s shape too. Tall, narrow walls love vertical groupings. Wide walls (like above a sofa or bed) handle horizontal spreads beautifully.
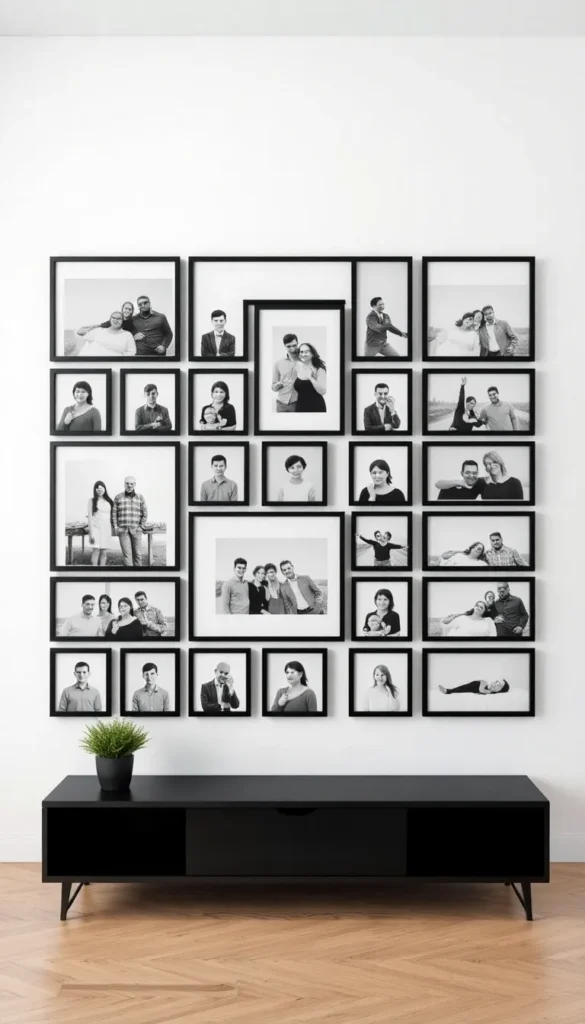
How to Nail a Grid Gallery Wall
Grids are the safest bet if you’re nervous about commitment. Here’s the formula:
- Choose frames in the same color and finish for cohesion
- Keep equal spacing between every frame (2–3 inches is the sweet spot)
- Stick to odd numbers of rows/columns when possible — they read as more intentional
- Use a paper template taped to the wall before drilling a single hole
This is the layout interior designers reach for when a client wants “polished” without overthinking it.
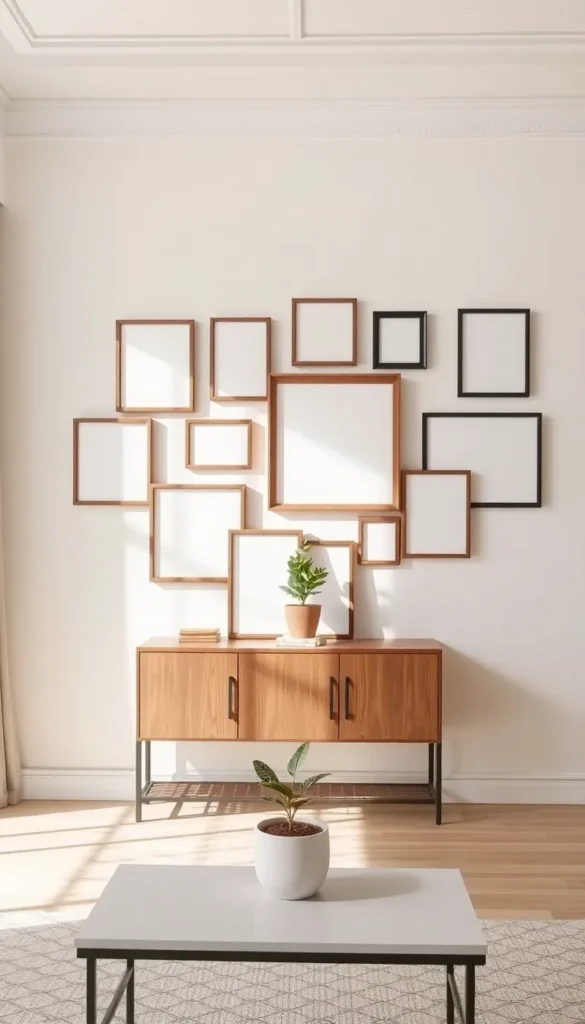
Mastering the Asymmetrical Cluster
This is where things get fun — and slightly intimidating. The trick to asymmetry that works (instead of looking messy) is balance, not symmetry.
A few rules to keep you on track:
- Vary sizes, but repeat at least one element (frame color, mat width, or theme) for visual unity
- Anchor with your largest piece first, then build outward
- Keep visual weight balanced — if one side has a big, bold frame, the other side needs something to counter it (even if it’s two smaller pieces together)
- Leave breathing room; don’t cram frames edge to edge
Lay everything out on the floor first. Seriously — this saves you from a wall full of nail holes you didn’t need.
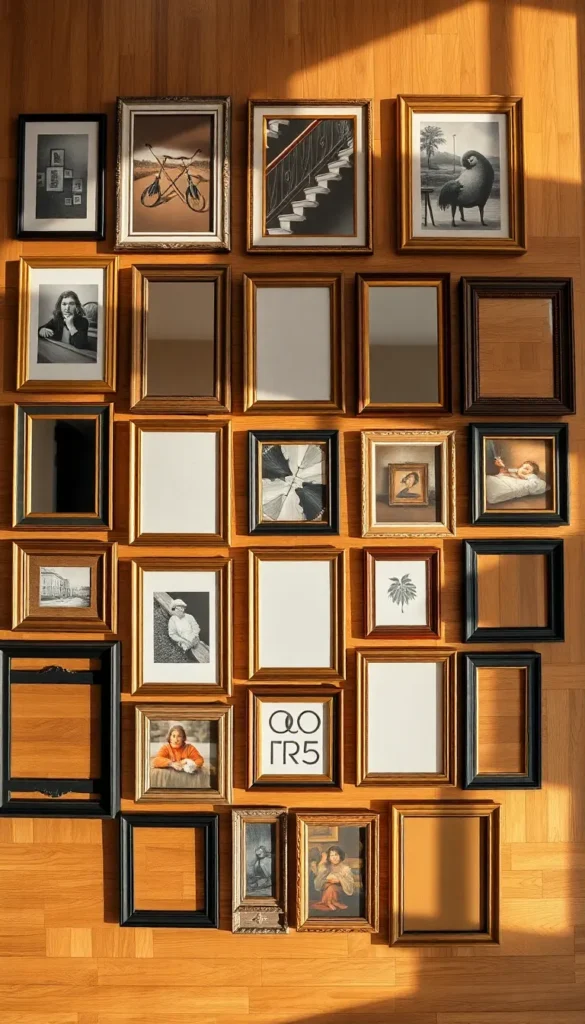
Grouped Clusters: The Best of Both Worlds
If grids feel too rigid and asymmetry feels too risky, grouped clusters are your answer. Think of it as “organized chaos.”
How to style one:
- Pick a loose grid as your guide, then let a few frames break the lines slightly
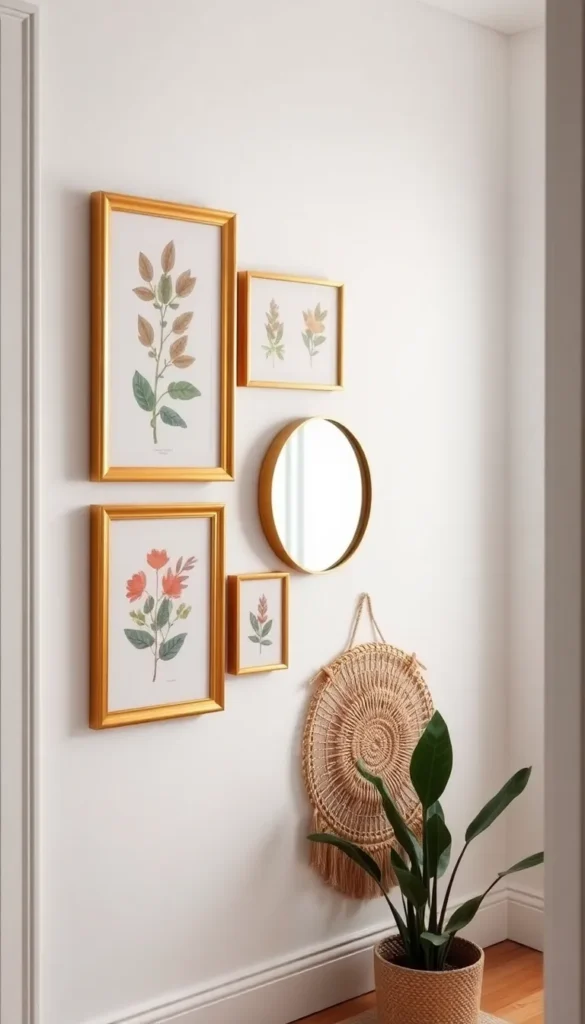
- Group by theme — travel photos, botanical prints, family portraits — so the eye doesn’t get confused
- Mix frame orientations (some vertical, some horizontal) for energy
- Add one non-frame element, like a small shelf, mirror, or woven hanging, to break up the monotony
This style photographs beautifully because it feels curated but lived-in — not staged.
Quick Tips for Hanging Like a Pro
A few small things make a huge difference:
- Eye level matters — center your main grouping around 57–60 inches from the floor (average eye height)
- Use painter’s tape outlines to test placement without commitment
- Step back often — what looks balanced up close can look lopsided from across the room
- Don’t skip the mat board — even simple white mats make mismatched frames feel intentional
Bring It All Together
Whether you go bold with a perfect grid, loose and artsy with an asymmetrical spread, or land somewhere in between with a grouped cluster, the secret is the same: plan before you hang, repeat at least one unifying element, and trust the floor layout before the wall.
Your walls are basically a blank canvas waiting for a little personality. Pick your layout, grab your frames, and turn that empty space into the thing people compliment the moment they walk in.
Save this guide for later so you have it ready the next time you’re staring at a bare wall wondering where to start! 🖼️