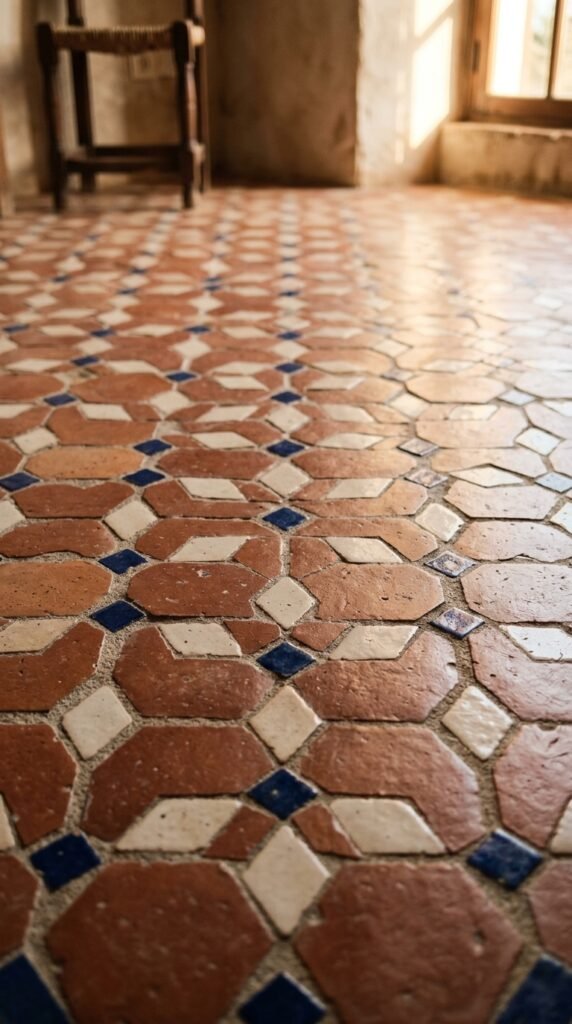
Tile patterns can turn a plain floor or backsplash into the focal point of a room. Whether you’re planning a full renovation or a small weekend project, the layout you choose changes everything about how a space feels. Some patterns make a room look bigger. Others add warmth, movement, or a bit of drama. This list walks through 27 tile patterns that work in kitchens, bathrooms, entryways, and beyond. Each one comes with a simple way to try it, so you can find a look that fits your space and your budget.
1. Herringbone Rows
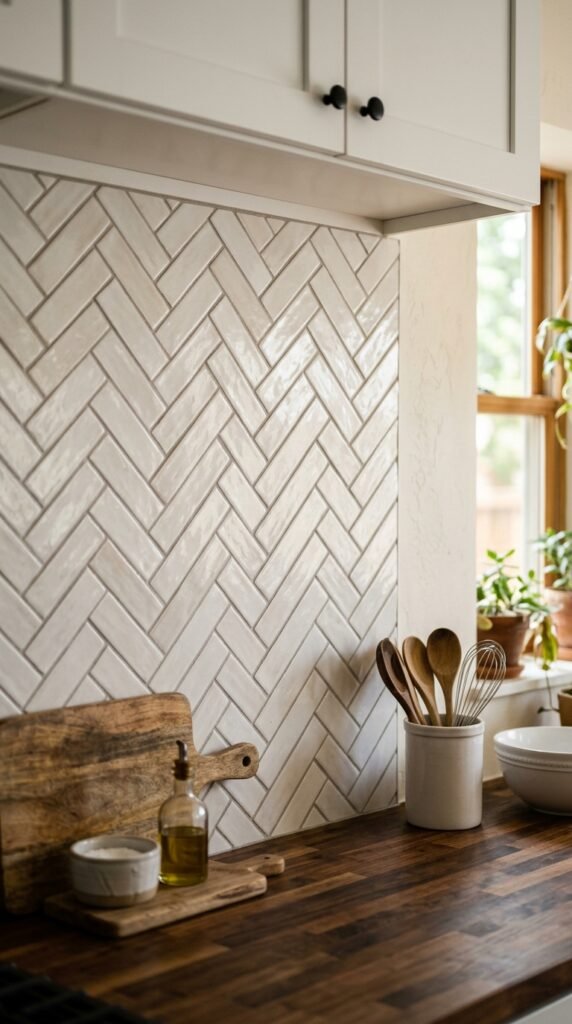
Herringbone tiles zigzag across a floor or wall in a way that draws the eye forward. It’s a classic pattern that works in almost any style of home. You don’t need fancy tile to pull it off. Basic subway tiles laid at an angle create the same effect for less money. Try it on a small area first, like a backsplash. It’s a budget-friendly way to test the look before committing to a full floor.
2. Basketweave Charm
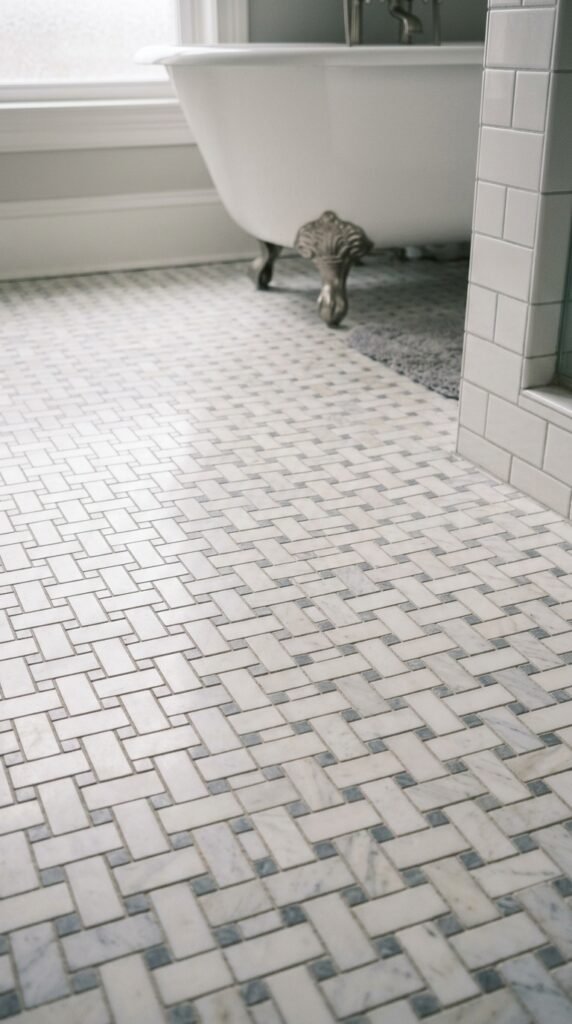
Basketweave tile mimics the look of woven fabric. Small rectangular tiles alternate direction to create a textured, layered feel. This pattern works well in bathrooms and entryways. It hides dirt better than plain tile, too. For a DIY version, look for pre-mounted basketweave sheets. They come ready to install and cost less than laying each piece by hand. It’s a simple way to add texture without extra labor.
3. Classic Checkerboard
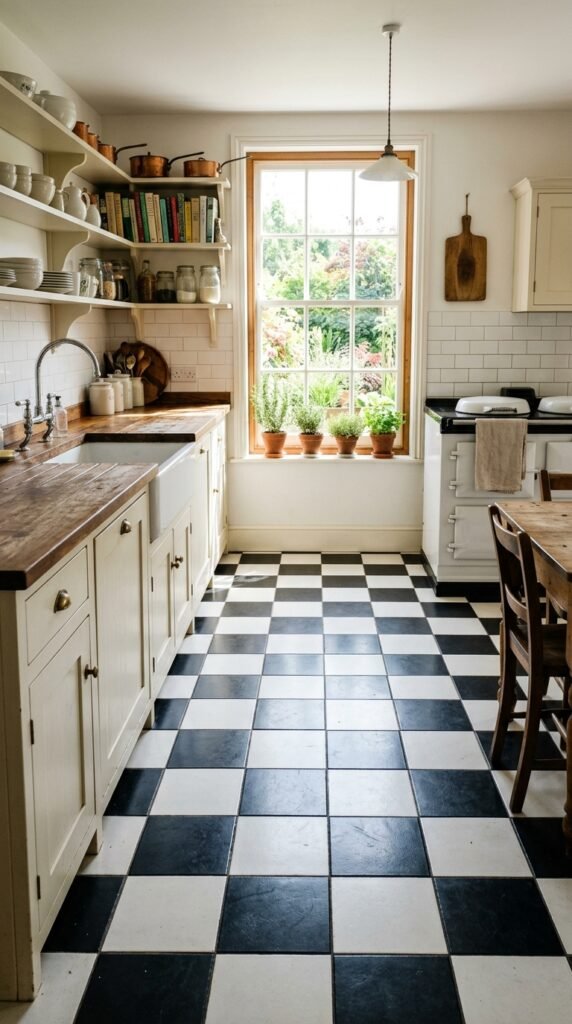
Checkerboard tile never really goes out of style. Alternating light and dark squares give a room instant rhythm. It works in kitchens, hallways, and even outdoor patios. For a cheaper option, use vinyl checkerboard tiles instead of ceramic. They peel and stick, so you can install them yourself in an afternoon. Pick two colors that match your existing decor for a cohesive look that still feels bold.
4. Diagonal Grid Lines
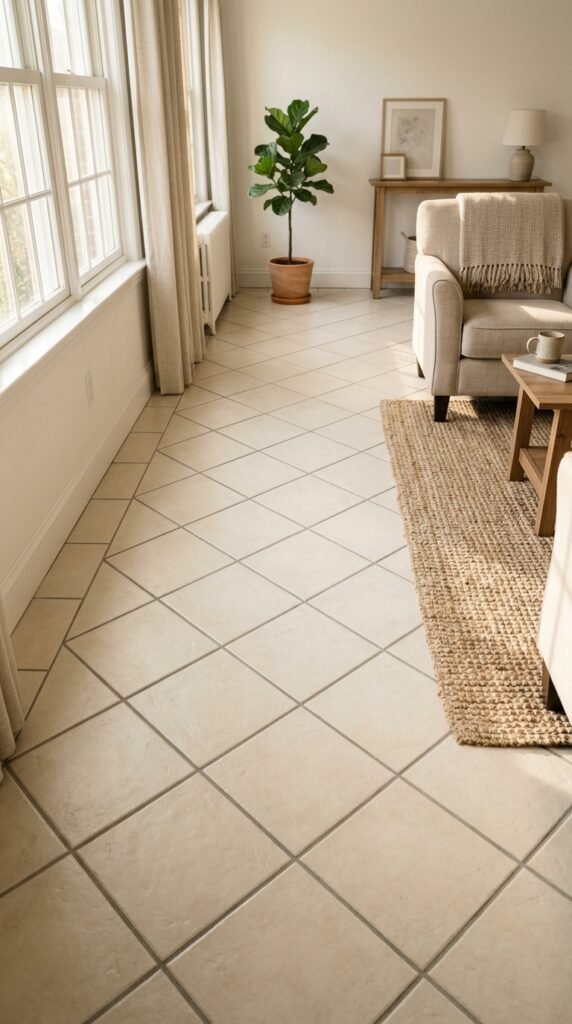
Turning square tiles 45 degrees changes the whole feel of a room. This diagonal layout makes narrow spaces look wider. It’s a small tweak with a big visual payoff. Ask your installer to angle the tiles before laying them, or try it yourself if you’re comfortable with a tile saw. Keep grout lines thin and consistent. This pattern works best in hallways, laundry rooms, or small bathrooms where space feels tight.
5. Vertical Stack Bond
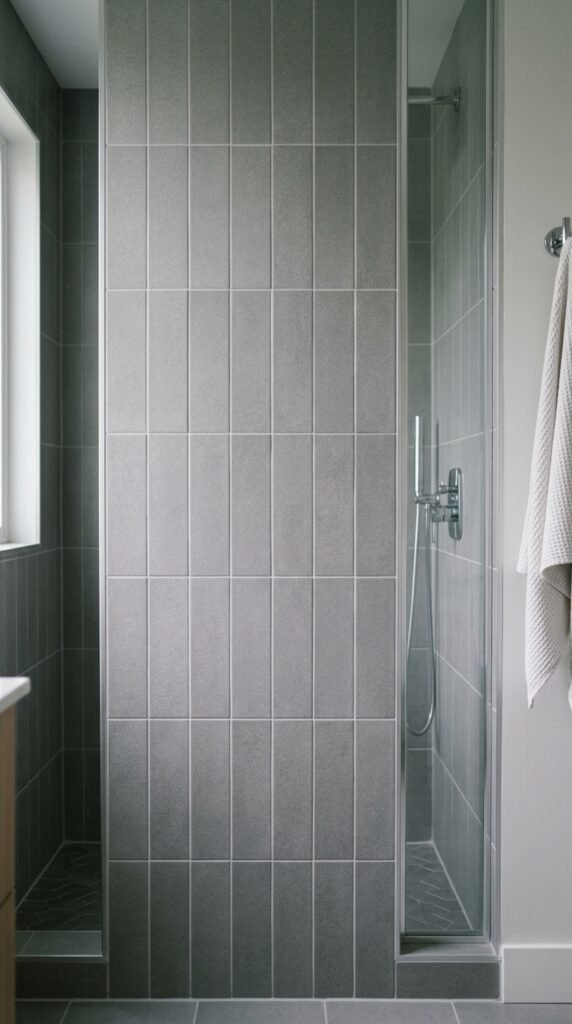
Stack bond tile lines up in neat rows and columns, with no offset between pieces. It gives walls a clean, modern look. This pattern works great in showers or as a feature wall. Because there’s no staggering, it’s easier to install than most patterns. That makes it a good choice for a first DIY tile project. Choose a large-format tile to keep grout lines to a minimum for an even cleaner finish.
6. Moroccan Star Bursts
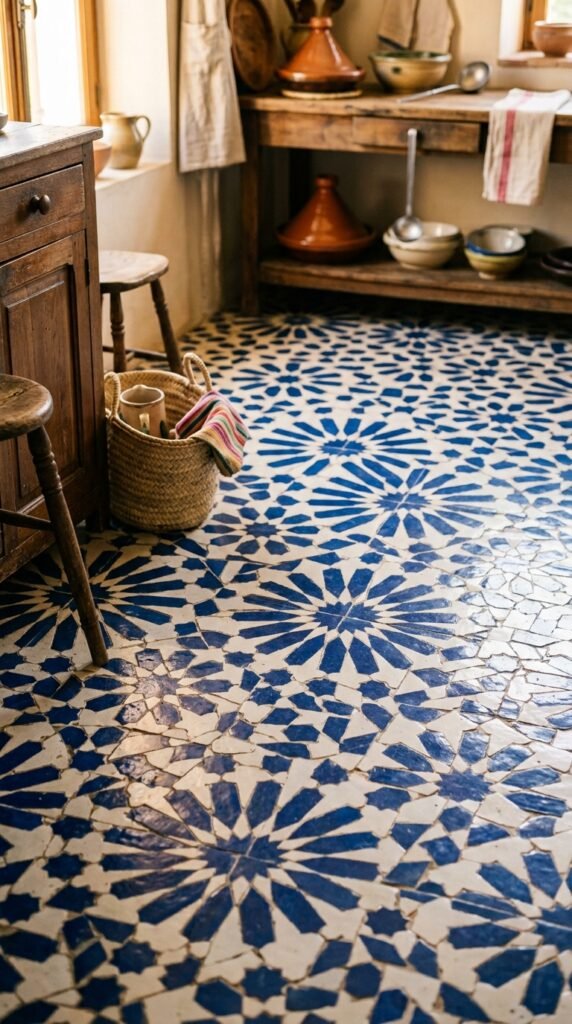
Moroccan star tiles bring pattern and color into a space fast. These tiles usually come pre-designed, so you don’t need to arrange individual pieces. They work well as an accent in a small kitchen or bathroom. Try them on just one wall or as a stair riser detail. That way you get the bold look without covering an entire room. Peel-and-stick vinyl versions exist too, making this pattern accessible for renters.
7. Running Bond Brick
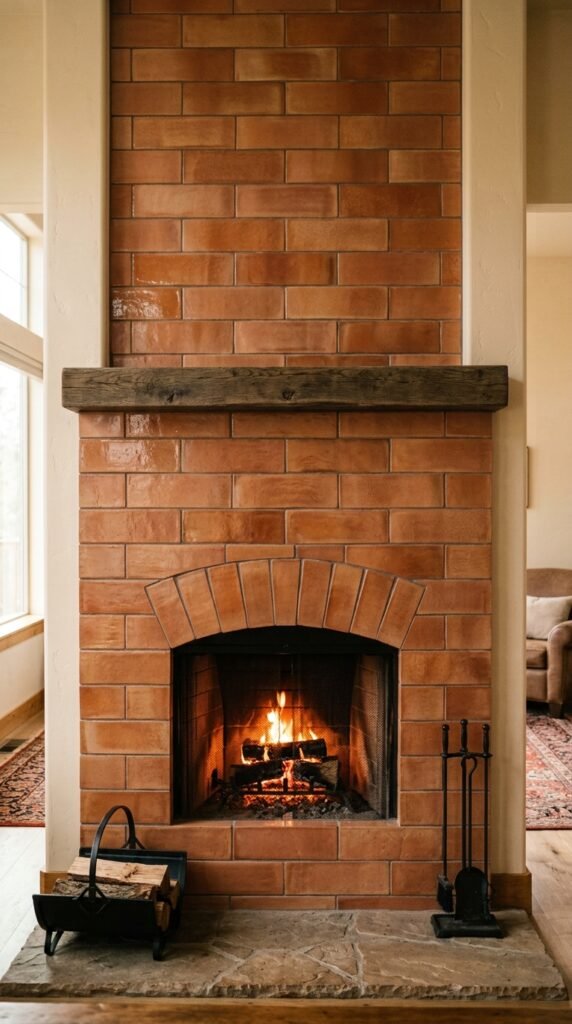
Running bond tile looks like a brick wall, with each row offset by half a tile. It’s simple, familiar, and works almost anywhere. This pattern is forgiving for beginners because small measuring errors are less noticeable. Use it on a fireplace surround or an accent wall for a cozy, textured look. Brick-look porcelain tiles are widely available and cost less than real brick veneer, while still giving that same warm feel.
8. Pinwheel Accent Mix
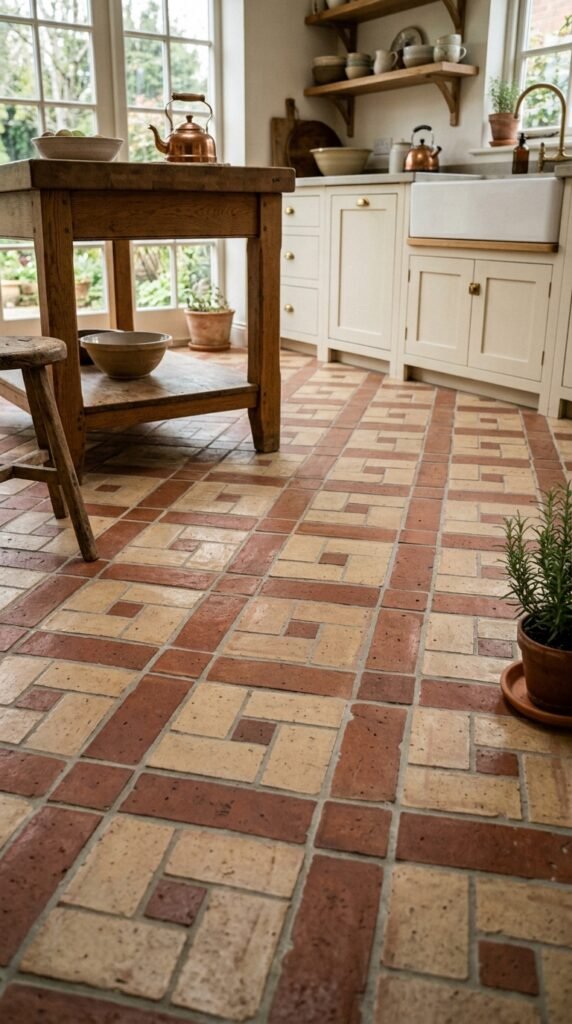
Pinwheel patterns mix large tiles with small accent squares tucked into the corners. It’s a classic look often seen in older homes. This pattern adds detail without overwhelming a space. Use a neutral tile for the large pieces and a contrasting color for the small accents. It’s a good way to use leftover tile scraps from another project, which can save money on materials.
9. Windmill Weave Design
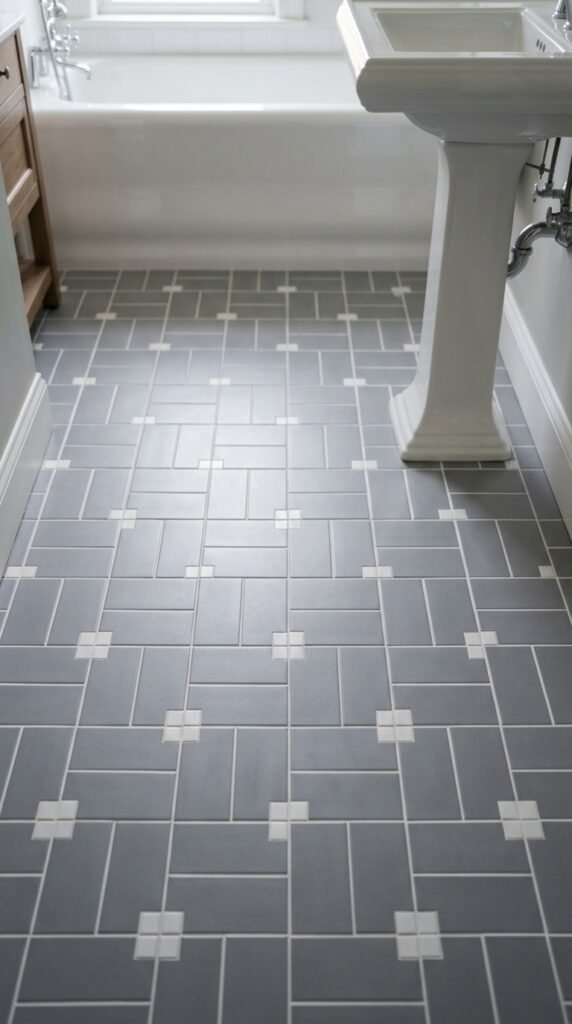
Windmill patterns arrange rectangular tiles around a small square center, creating a pinwheel-like spin. It adds movement to a floor without feeling too busy. This pattern works well in bathrooms and mudrooms. Many tile brands sell windmill layouts as pre-assembled sheets. That makes installation faster and more consistent than placing each tile by hand. It’s a good middle-ground choice between simple and elaborate patterns.
10. Hopscotch Tile Mix
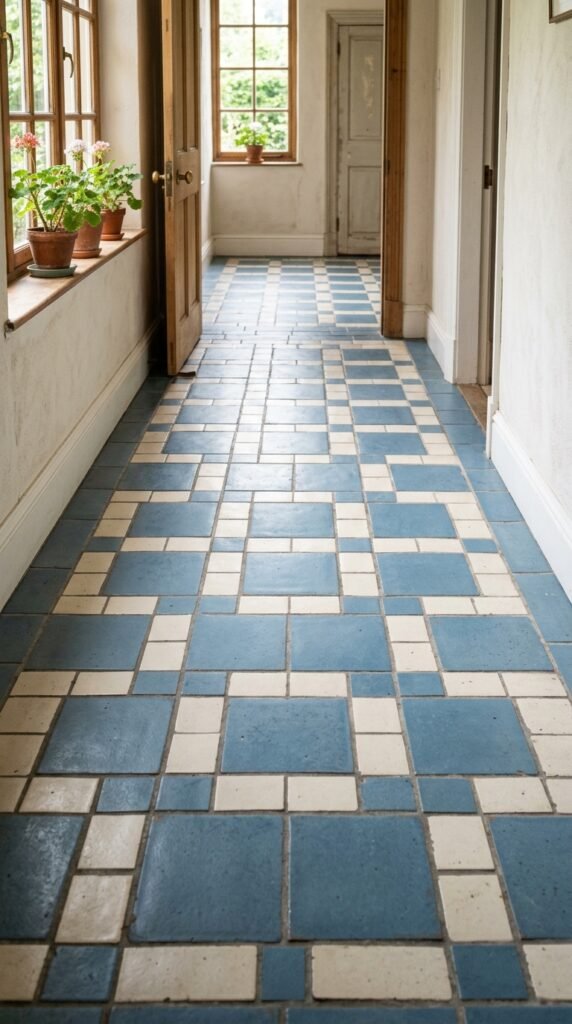
Hopscotch tile combines one large tile with four smaller ones repeating in a grid. It’s playful without being over the top. This pattern suits hallways, mudrooms, and kids’ bathrooms. Keep costs down by using plain white tile for the small squares and saving color for the larger ones. This limits how much of the pricier tile you need, while still giving the pattern its signature look.
11. Large Format Simplicity
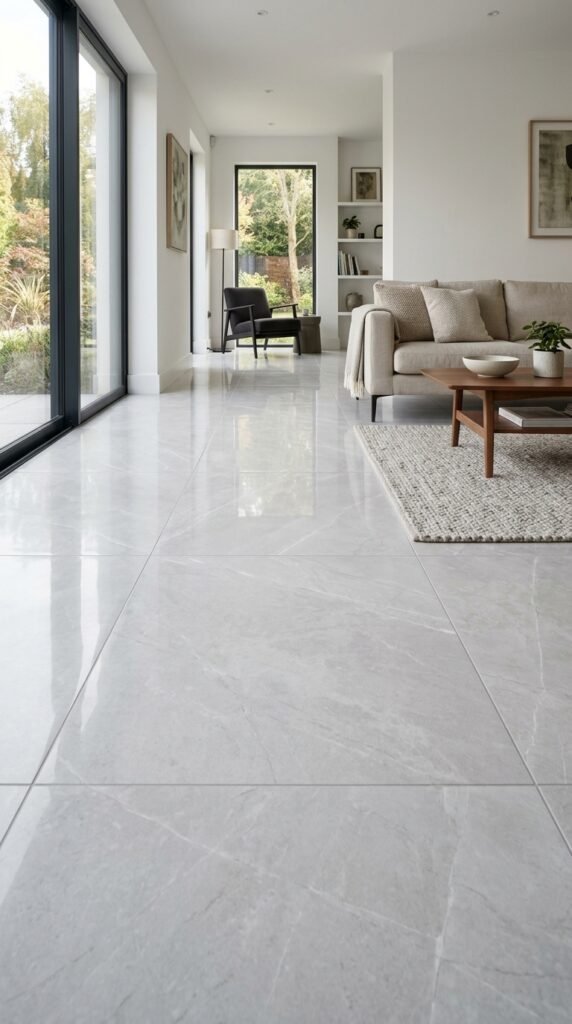
Large format tiles skip the pattern entirely and let size do the work. Fewer grout lines make a room feel open and modern. This is one of the easiest layouts for a DIY project since there’s less cutting and fitting involved. It also means less grout to clean over time. Choose a large tile in a light color to make a small room feel bigger and brighter.
12. Mosaic Border Detail
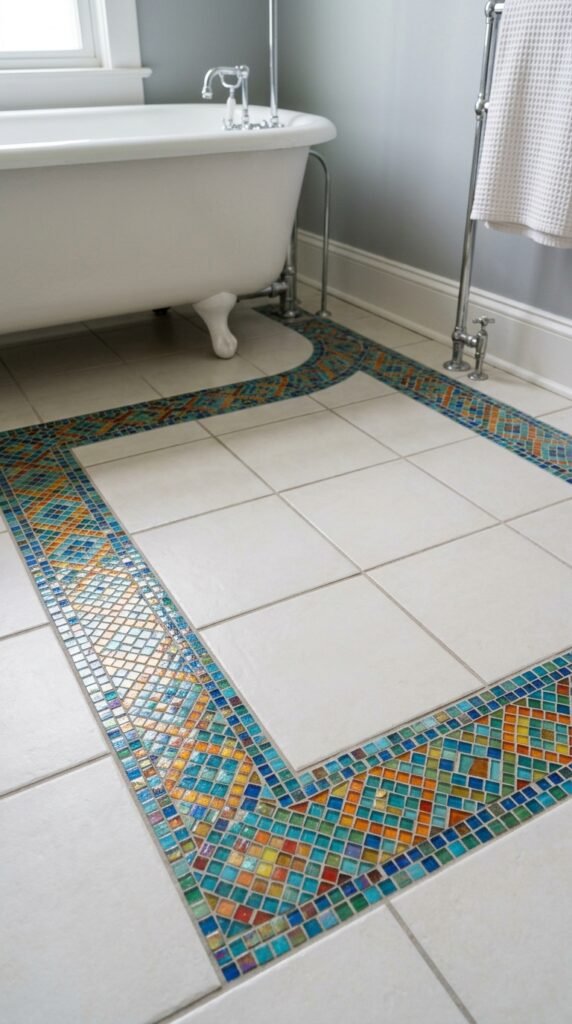
A mosaic border adds detail without covering a whole floor in pattern. Use it to frame the edge of a room or highlight a shower niche. This is an affordable way to add color and texture since you’re only buying a small amount of mosaic tile. Mosaic sheets are easy to trim to fit a border, making this a manageable weekend project for most DIYers.
13. Vintage Encaustic Look
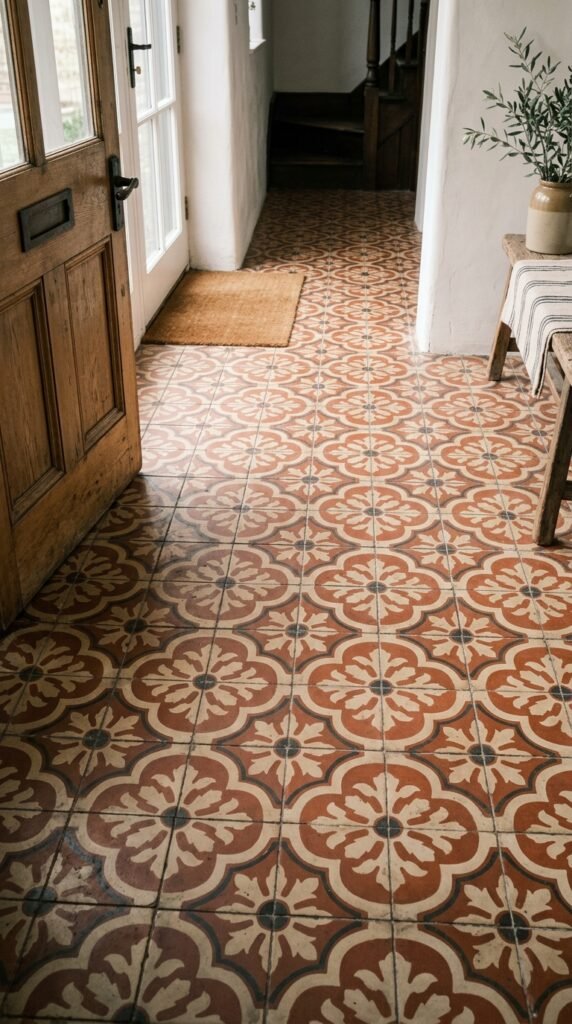
Encaustic-look tiles bring old-world charm into a modern home. These patterned tiles often mimic hand-painted cement tile but cost less and hold up better. They work well in entryways or as a kitchen floor accent. Look for porcelain versions of encaustic patterns. They’re more affordable and easier to maintain than the original cement tiles, while still giving that same vintage feel.
14. Chevron Point Flow
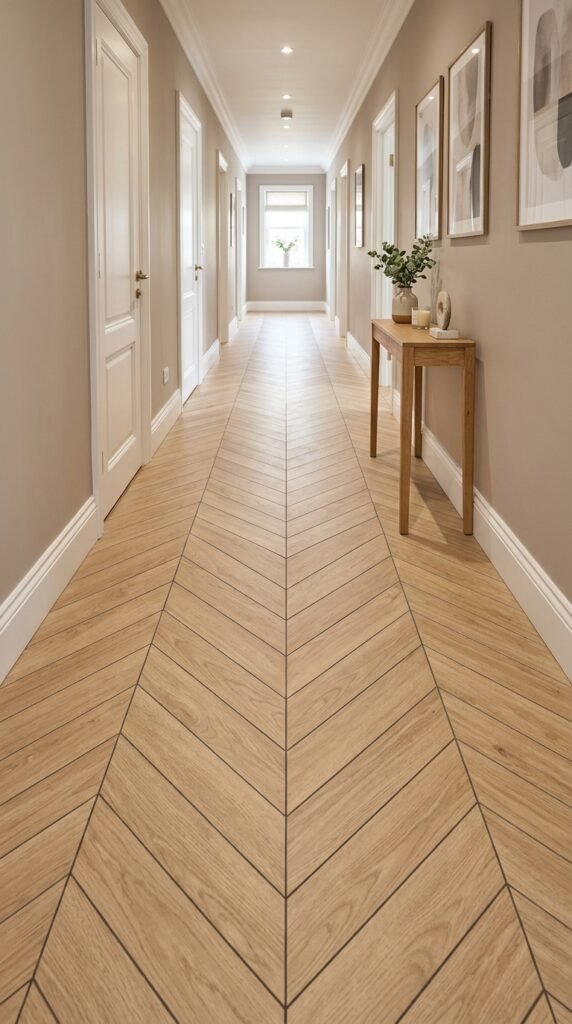
Chevron tile forms continuous V shapes, unlike herringbone which zigzags without meeting points. It gives a strong sense of direction to a hallway or room. This pattern requires more precise cuts, so it may be worth hiring help for a large area. For a smaller DIY-friendly version, try chevron tile in a bathroom accent wall where the space is easier to manage.
15. Hexagon Honeycomb Floor
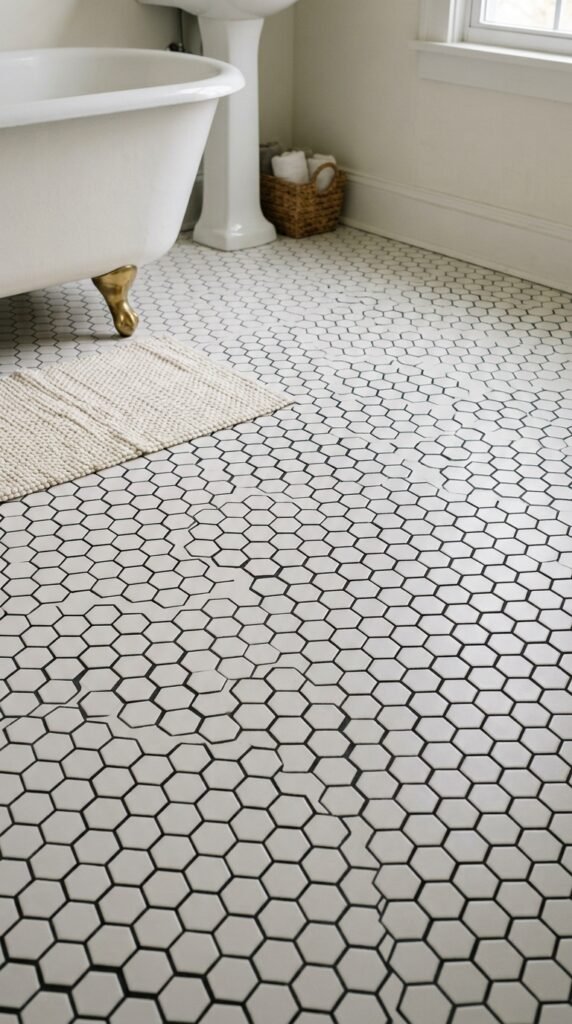
Hexagon tiles create a honeycomb effect that feels both modern and timeless. Small hexagons work great on bathroom floors, while larger ones suit open living spaces. Pre-mounted mesh sheets make installation simpler since the spacing is already set for you. This pattern is a good option if you want something distinct but still easy to plan and lay yourself.
16. Two-Tone Stripe Bands
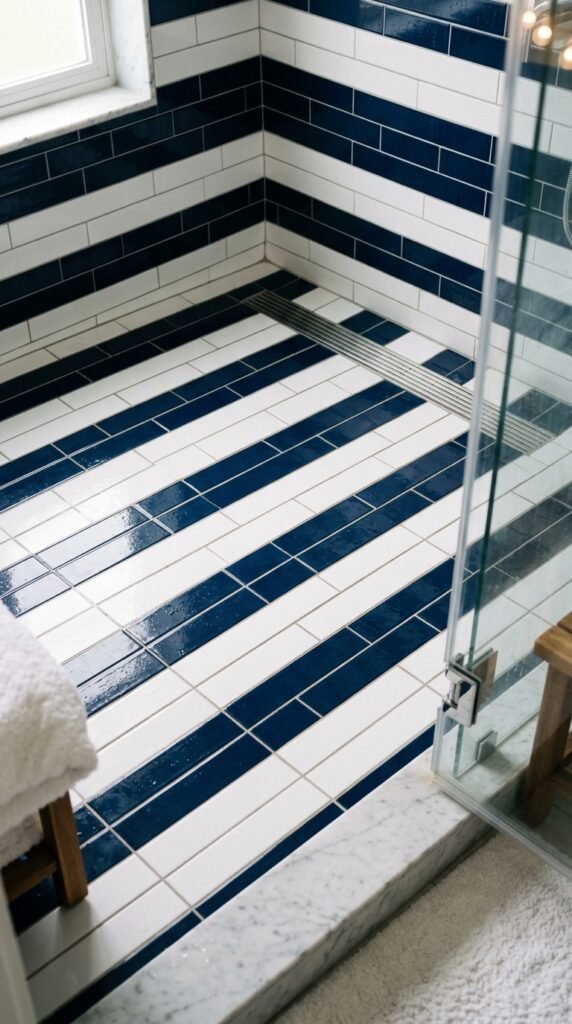
Striped tile bands alternate colors in straight rows across a floor or wall. It’s a simple way to add contrast without complicated cuts. This pattern works well in showers and small bathrooms. Keep the stripes wide for a calmer look, or go narrow for something bolder. Either way, this layout is beginner-friendly since the tiles line up in straight rows.
17. Diamond Accent Insets
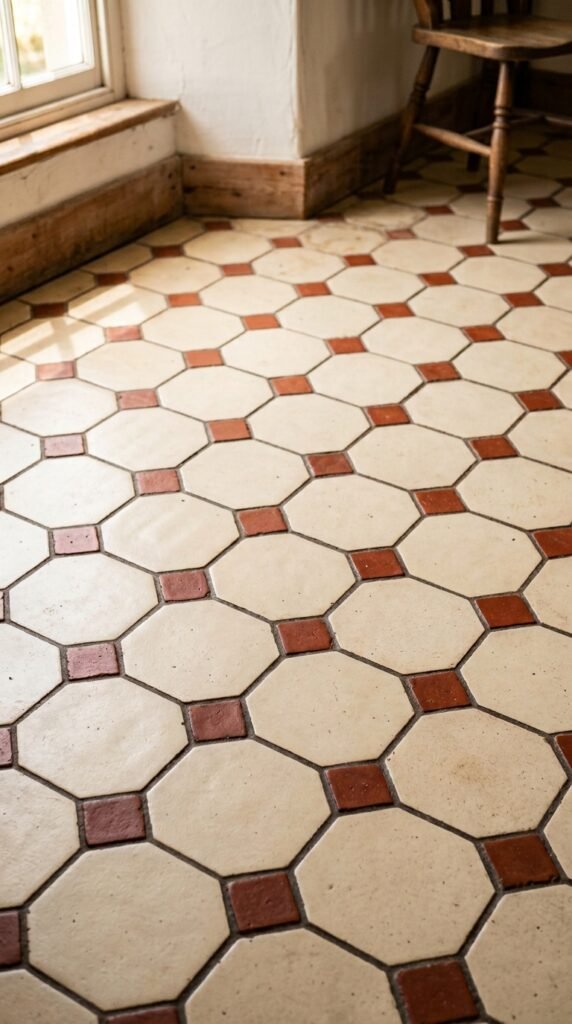
Diamond insets add a small pop of pattern within an otherwise plain floor. They work well near a doorway or as a border detail. Because they only cover a small area, this is an affordable way to add interest without a full pattern install. Pick a contrasting color for the diamonds so they stand out against the surrounding tile.
18. Pebble Mosaic Texture
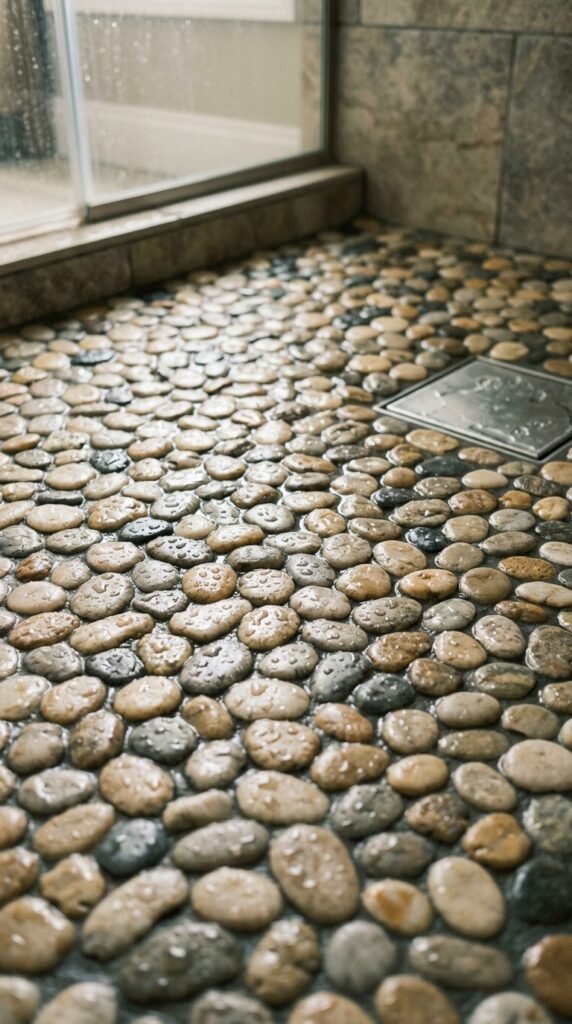
Pebble mosaic tiles bring texture and a natural feel into bathrooms. They’re often sold in interlocking sheets, which makes them simple to install over an existing shower floor. This pattern also helps with slip resistance, since the uneven surface offers more grip. It’s a practical choice for anyone who wants a spa-like feel without a big renovation budget.
19. Circular Rosette Layout
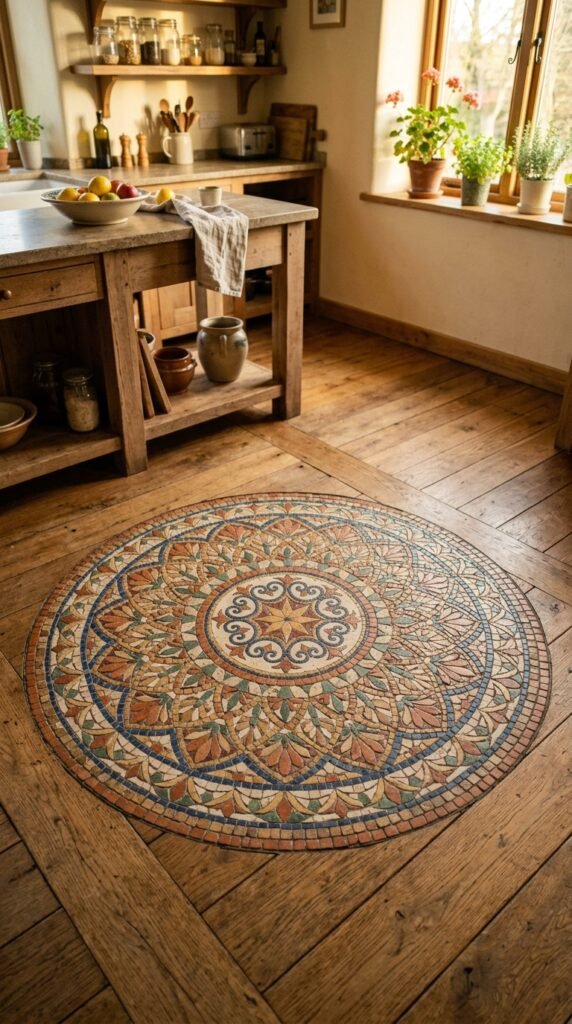
A rosette layout arranges tile in a circular medallion design, often used as a floor centerpiece. It works well under a dining table or at a home entrance. Pre-made medallion kits take the guesswork out of spacing and cutting. This pattern makes a strong visual statement in a small area, so you don’t need to tile an entire room to get the effect.
20. Subway Stack Vertical
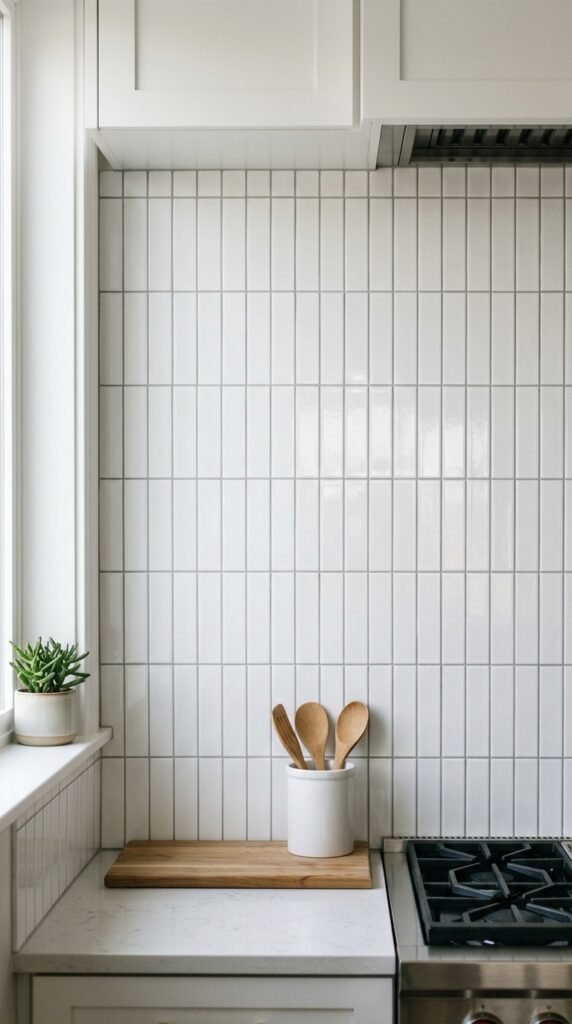
Turning subway tile vertically instead of the usual horizontal stack gives a fresh angle on a familiar shape. It draws the eye upward, which makes low ceilings feel taller. This is one of the simplest patterns to DIY since the tiles line up in straight columns. Standard subway tile works fine here, so there’s no need for a special or pricier product.
21. Terrazzo Speckle Effect
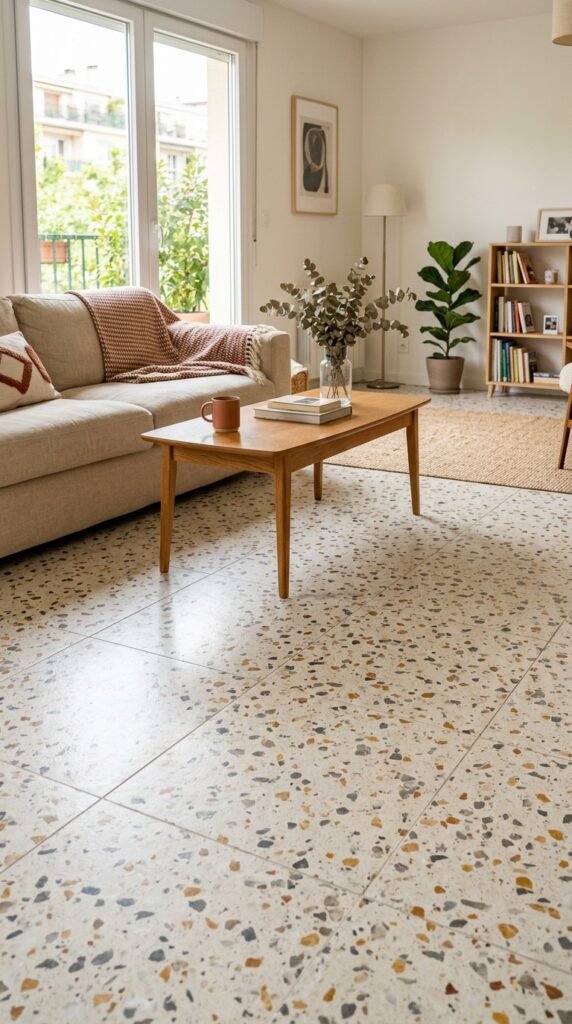
Terrazzo tile mimics the speckled look of poured stone flooring, but at a fraction of the cost. It hides scuffs and stains well, making it practical for high-traffic rooms. Look for terrazzo-look porcelain tile instead of real terrazzo, which can be pricier and heavier to install. This pattern gives a room a bright, updated feel without a complicated layout.
22. Brick Herringbone Fusion
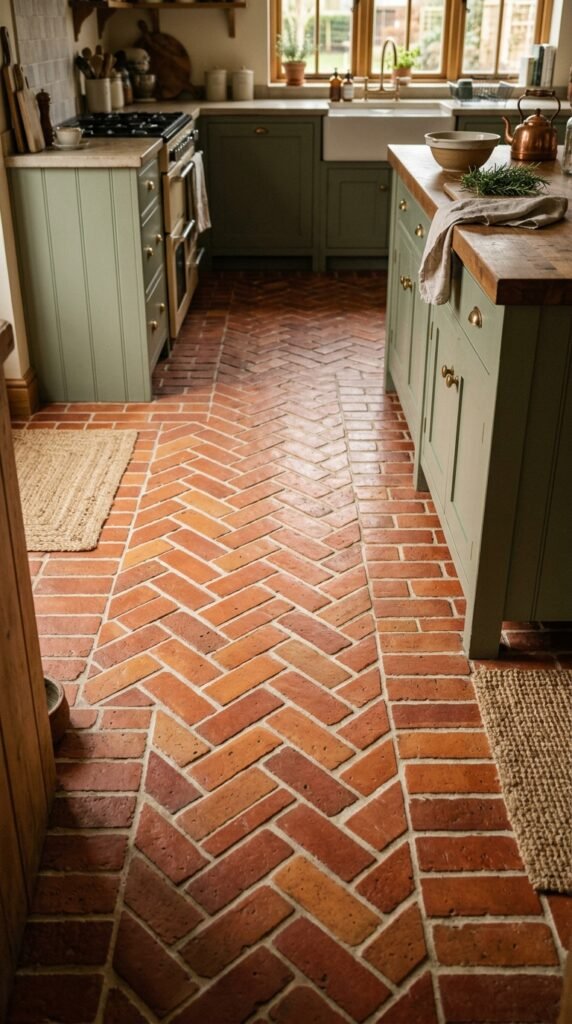
Combining brick-style rows with herringbone sections creates a layered, custom look. This works well when you want a floor that feels designed rather than store-bought. Plan the layout on paper first to figure out where each section starts and stops. It takes a bit more planning, but the tile itself can stay simple and affordable, like a basic ceramic square.
23. Geometric Cube Illusion
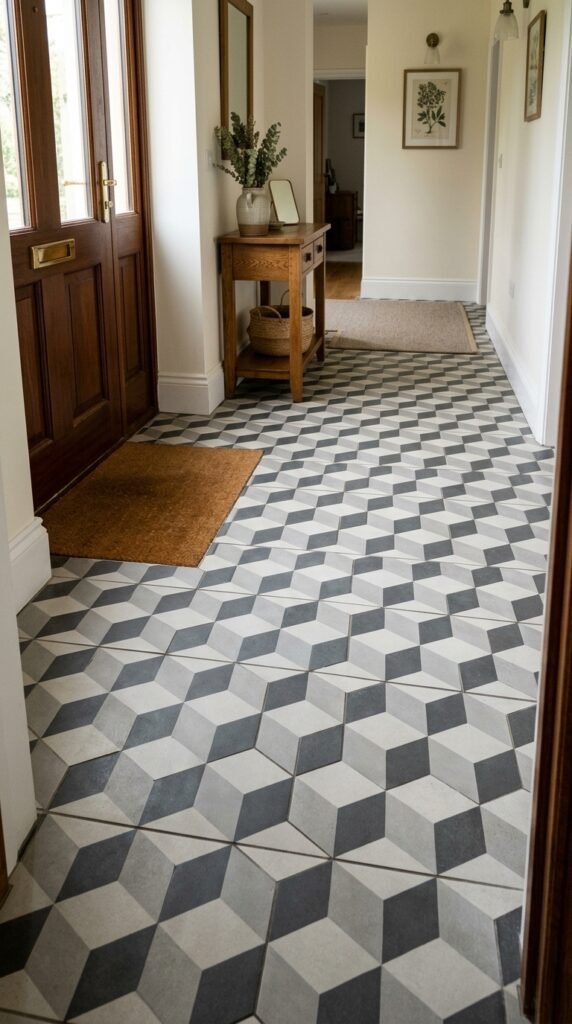
Cube illusion tile uses three shades of the same color to trick the eye into seeing 3D boxes. It’s a striking pattern for an entryway or small accent wall. This look often comes as pre-cut tile sets, so the hardest part is just following the placement guide. It adds depth to a flat floor without any actual texture or cost of real stone.
24. Scalloped Fan Shapes
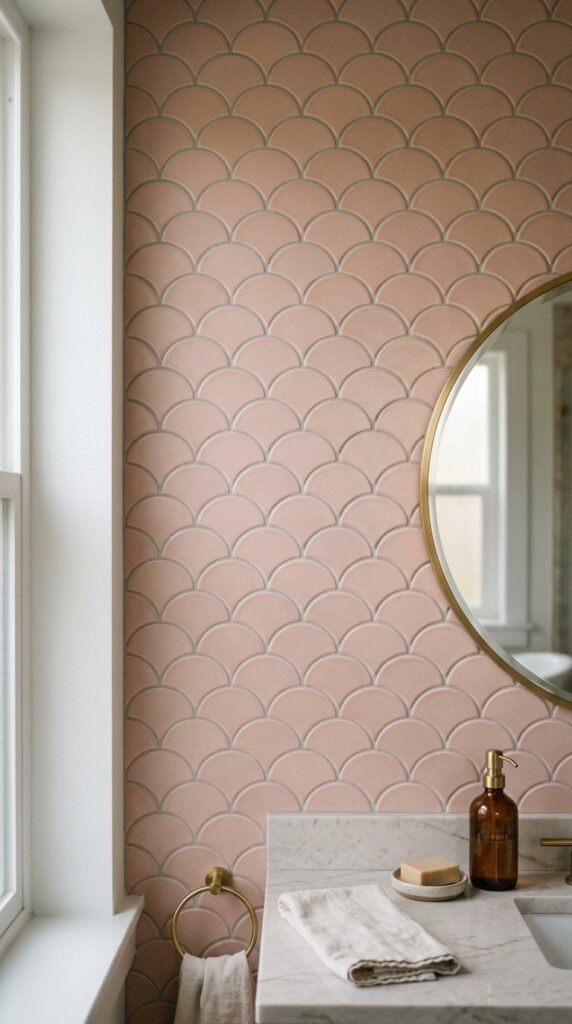
Scalloped tiles have a rounded, fan-like edge that softens a room’s lines. They work well as an accent wall behind a vanity or tub. This pattern pairs nicely with pastel colors for a gentle, calming look. Because the shape is more unusual, plan for slightly more waste when cutting edge pieces. It’s still manageable for a small DIY accent area.
25. Grid Lattice Overlay
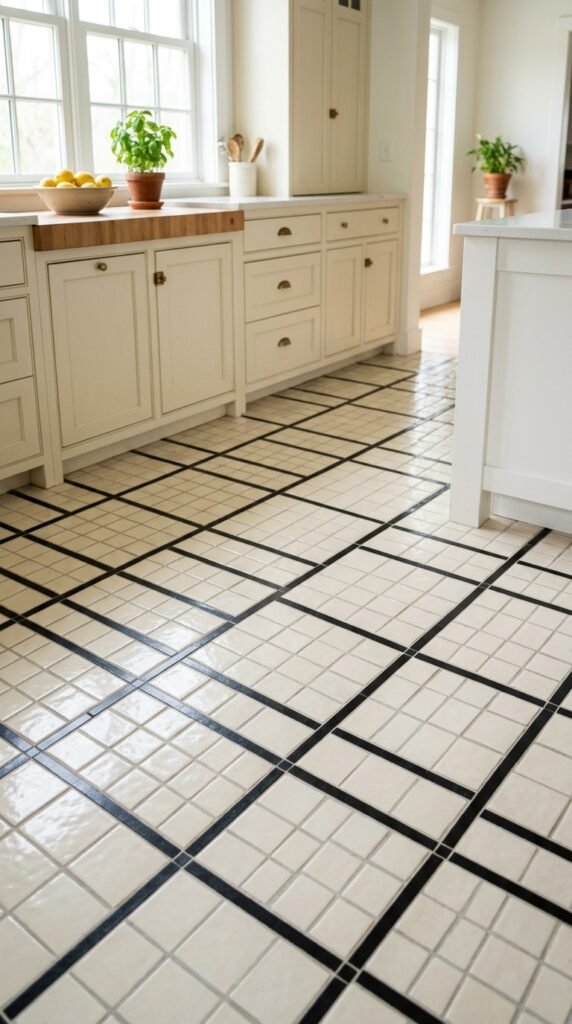
A lattice overlay uses thin strips of tile to create a grid pattern over larger tiles underneath. It’s a layered look that adds detail without replacing the whole floor. This works well as a way to update an existing plain tile floor on a budget. Thin tile strips are inexpensive and can be added directly over old grout lines with the right adhesive.
26. Ombre Color Fade
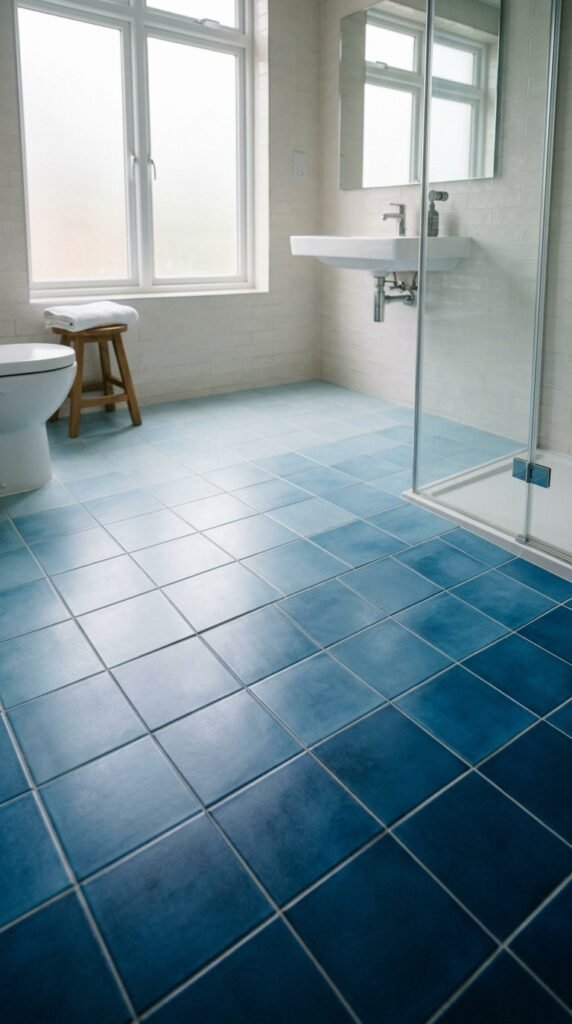
Ombre tile fades from light to dark across a floor or wall, creating a gradient effect. It’s a striking way to add color without a busy pattern. This works well in a shower or small bathroom where the fade can be fully appreciated. Many brands sell ombre tile in coordinated sets, which takes the guesswork out of matching shades yourself.
27. Mixed Material Border
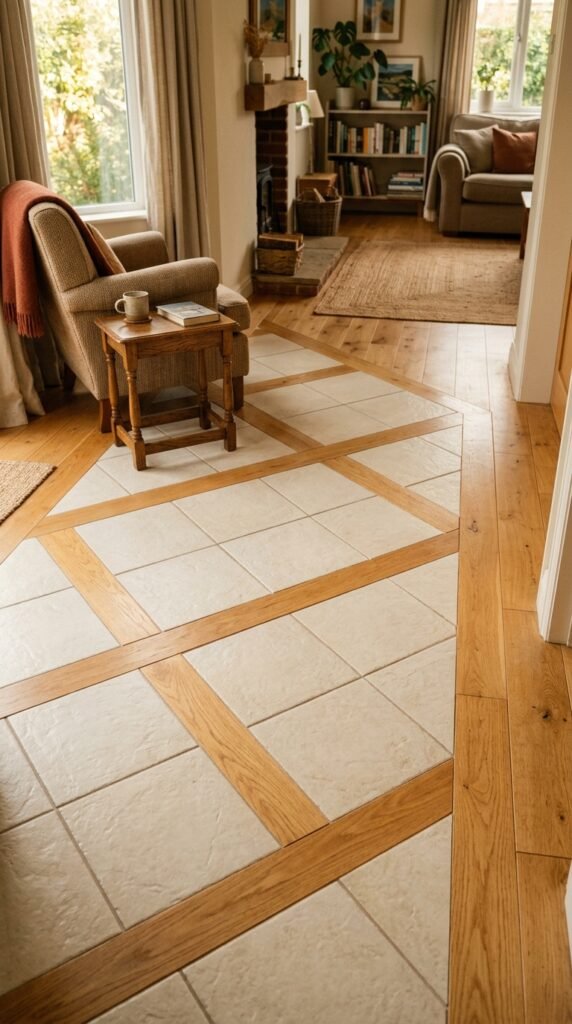
Mixing tile with a wood or metal border adds contrast between materials. It works well where tile meets another flooring type, like a kitchen opening into a wood-floored living room. This transition detail is a small, affordable upgrade. A simple wood or metal trim strip along the tile edge gives a finished, intentional look for very little cost.
Conclusion
Tile patterns offer an easy way to change how a room feels, without a full remodel. Some of these layouts take a weekend and a few tools. Others are best left to a professional installer. Either way, small choices like tile direction, size, or color placement can shape the whole look of a space. Pick one pattern from this list that fits your budget and your room, and start there. A single accent wall or small border can be the first step toward a home that feels more like yours.