You don’t need to spend a fortune to make your home look amazing. With a little time, some basic supplies, and a trip to your local thrift store or hardware shop, you can create pieces that look like they came straight from a high-end boutique. These 27 DIY projects are realistic, affordable, and approachable — even for complete beginners. Most cost under $30 to make, and many use materials you already have at home. Whether you’re renting a small apartment or decorating a whole house, there’s something here that will save you real money while making your space feel genuinely personal.
1. Paint an Accent Wall with Leftover Paint
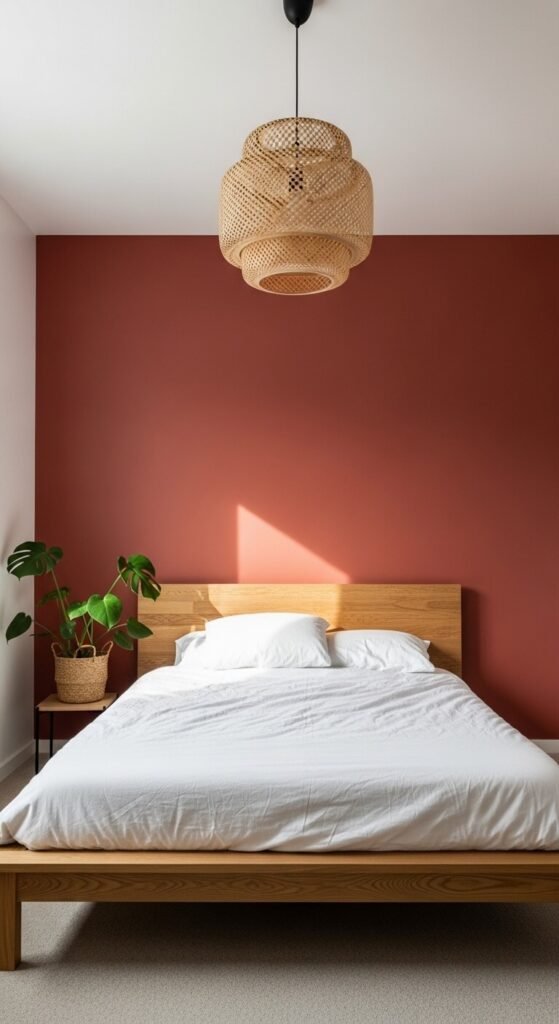
One can of paint can completely change a room. Choose one wall — usually the one your bed or sofa faces — and go bold. Leftover paint from previous projects works great here. If you’re starting fresh, a quart runs about $15–$20. Prep the wall with painter’s tape along trim and edges. Two coats is usually enough. This single change costs less than a new throw pillow set but makes 10 times the impact. Stick with deep, warm tones like sage green, clay, or navy for a cozy, grounded look.
2. Frame Thrift Store Art on the Cheap
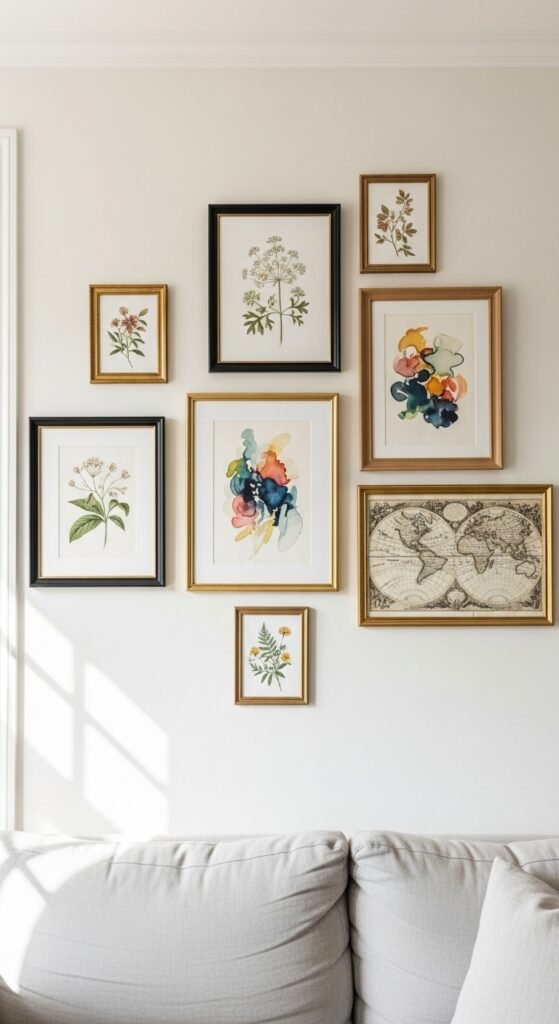
You don’t need expensive art. Thrift stores are full of frames for $1–$5 each. Pull out whatever’s inside and replace it with free printables from sites like Unsplash or Canva. Mix frame finishes — black, gold, wood — for a more collected look. Print your art at a local copy shop for under $2 a sheet. Arrange on the floor before you hang anything. A gallery wall of 6–8 pieces can cost less than $25 total and look completely custom.
3. Make a Floating Shelf from a Wooden Board
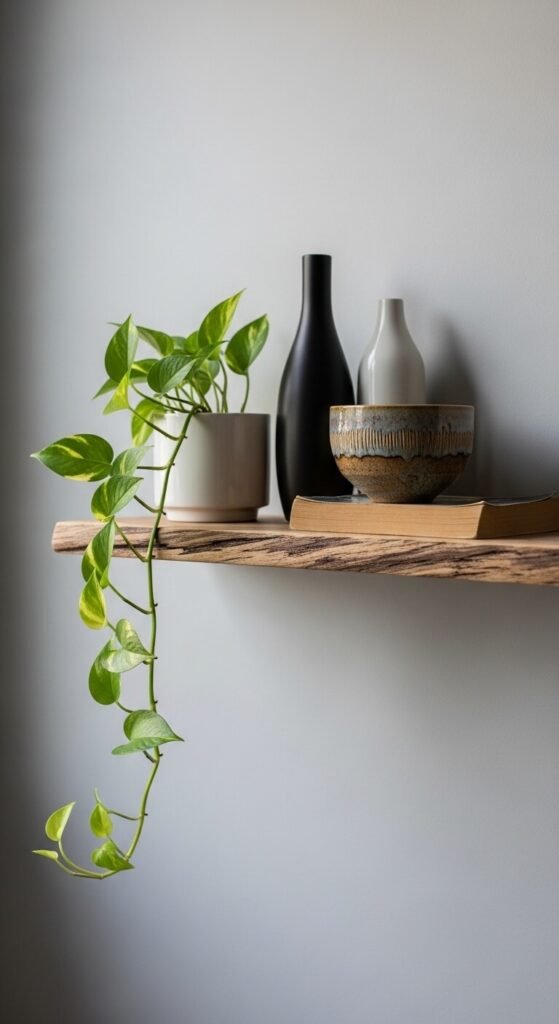
A floating shelf adds storage and style at the same time. Buy a 1×8 pine board cut to your preferred length at any hardware store — usually under $10. Sand it smooth, stain or paint it, and mount with hidden shelf brackets. The whole project takes about an hour. Use it in bathrooms for toiletries, in kitchens for spices, or in living rooms for plants and books. It’s one of the most satisfying beginner builds because the result looks far more expensive than it is.
4. Reupholster a Thrift Store Chair
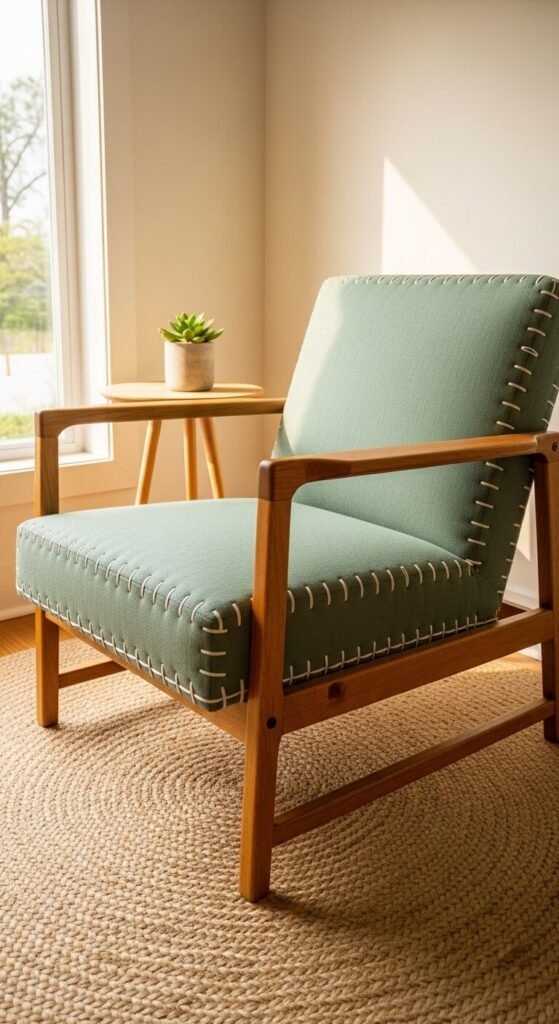
Ugly thrift store chairs have great bones. A $5–$15 chair plus $20 in fabric equals a designer-looking accent piece. You only need a staple gun and a screwdriver. Remove the seat cushion, wrap it in your new fabric, and staple the underside tightly. For chair backs, it’s a bit more involved but still totally doable with a YouTube tutorial. Linen, velvet, and canvas fabrics all work well. The transformation usually takes one afternoon.
5. Create a Pegboard Organizer for Any Room
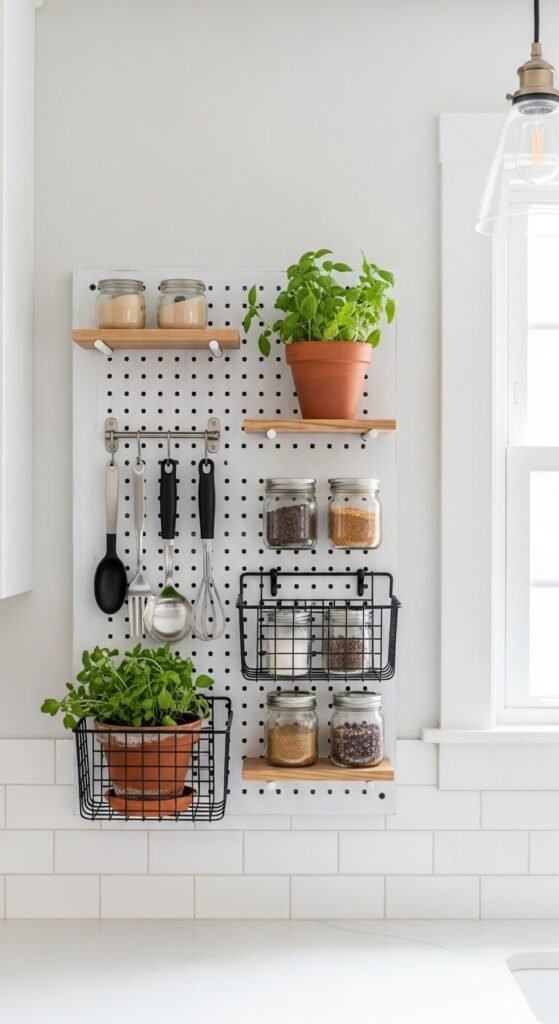
Pegboards are endlessly customizable and cost about $20–$30 for a standard size. Paint yours before mounting — white, black, or a bold color all work. Add hooks, small shelves, and baskets to create functional displays in your kitchen, craft room, garage, or home office. It keeps things visible and accessible without permanent storage. Swap accessories as your needs change. It’s practical and decorative at the same time, which is rare in budget DIY.
6. Dip-Dye Curtain Panels
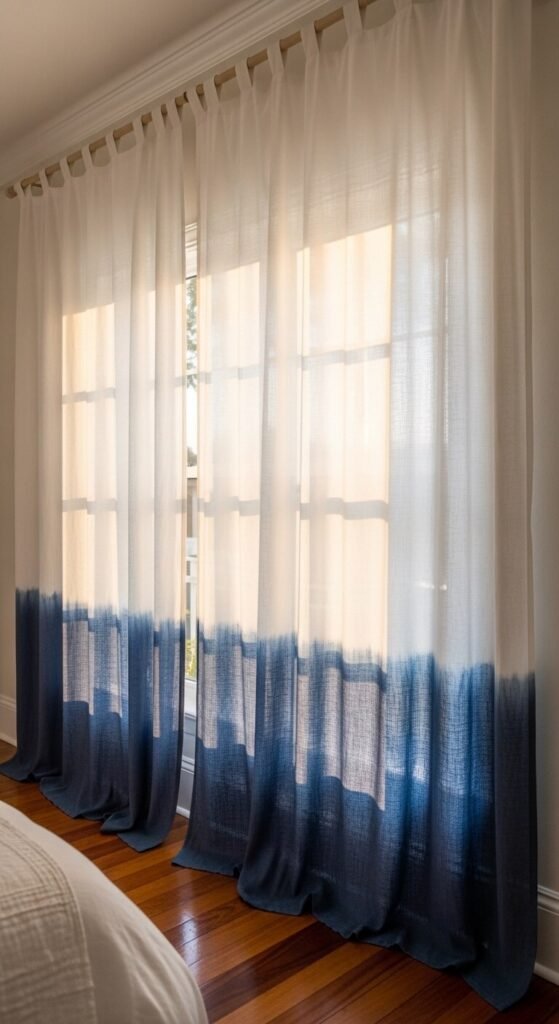
Store-bought white curtains are cheap and dull. Dip-dyeing turns them into something special for about $10 in fabric dye. Mix your dye in a bucket of warm water. Dip the bottom portion of your curtain panels into the dye and gradually pull them up for an ombre effect. The longer they soak, the darker the color. Rinse, hang to dry, and you’re done. Indigo, terracotta, and blush pink are popular choices. This project takes under two hours from start to finish.
7. Build a Simple Wooden Crate Bookshelf
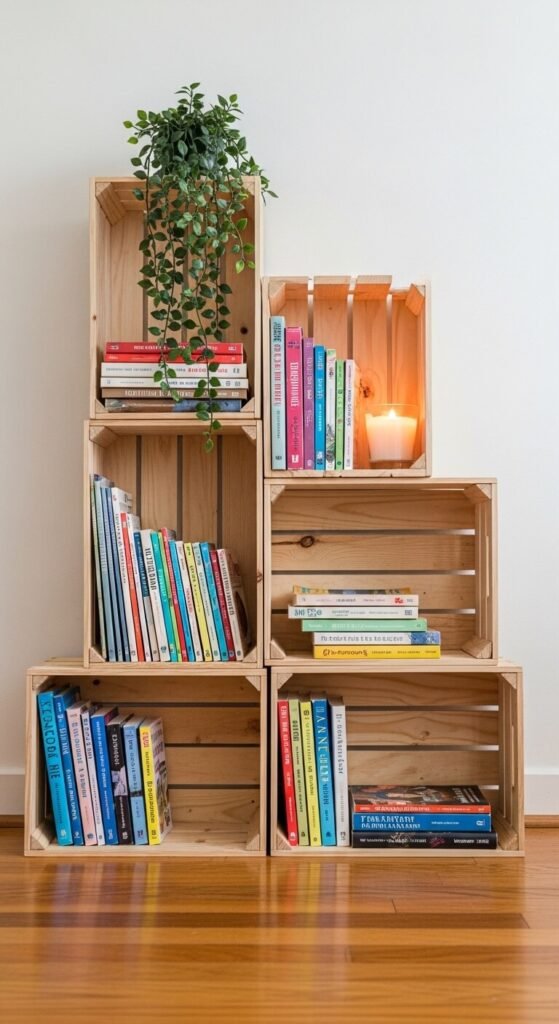
Wooden crates from craft stores cost $8–$12 each. Sand them lightly, stain or paint them, and stack or mount them in any configuration you like. A set of four can create a full bookshelf for under $50. Stagger the orientation for visual interest — some opening left, some opening right. Secure stacked crates together with wood screws so they don’t shift. This style works especially well in kids’ rooms, home offices, and eclectic living spaces.
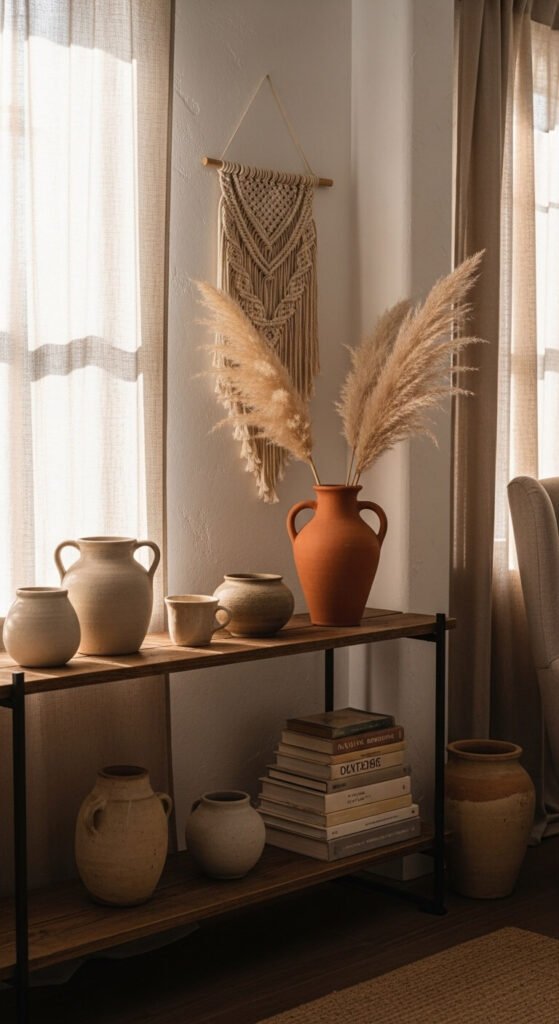
8. Macramé Wall Hanging
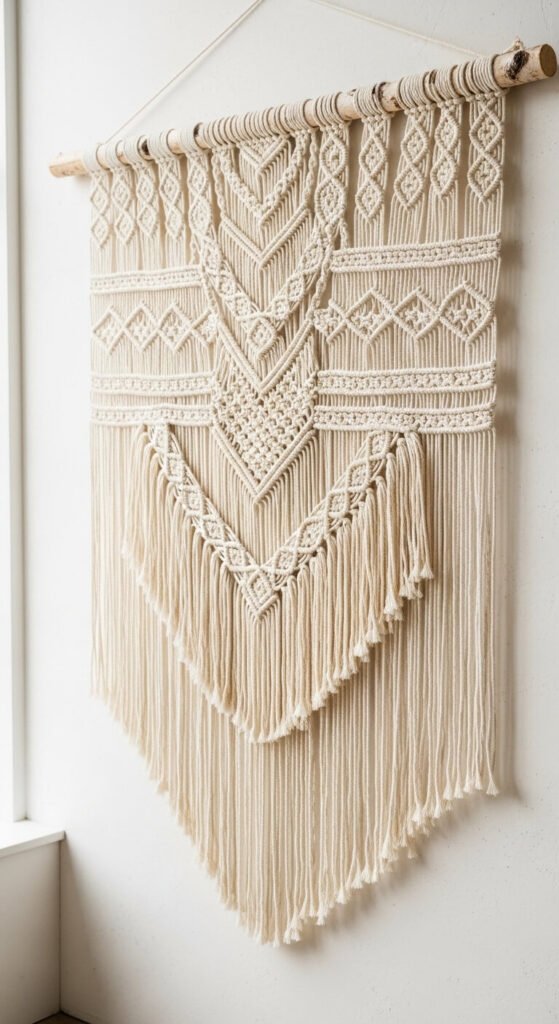
Macramé looks impressive but requires zero experience to start. Buy a roll of 3mm cotton rope (under $15) and a wooden dowel. Watch one beginner tutorial on the square knot and spiral hitch, then practice on scrap rope first. A basic wall hanging takes 2–3 hours. The rope and dowel together cost less than $20, but the finished piece looks like it sells for $80+ in boutique home stores. Natural cotton in unbleached white or tan is the most classic choice.
9. Paint Your Bathroom Tiles
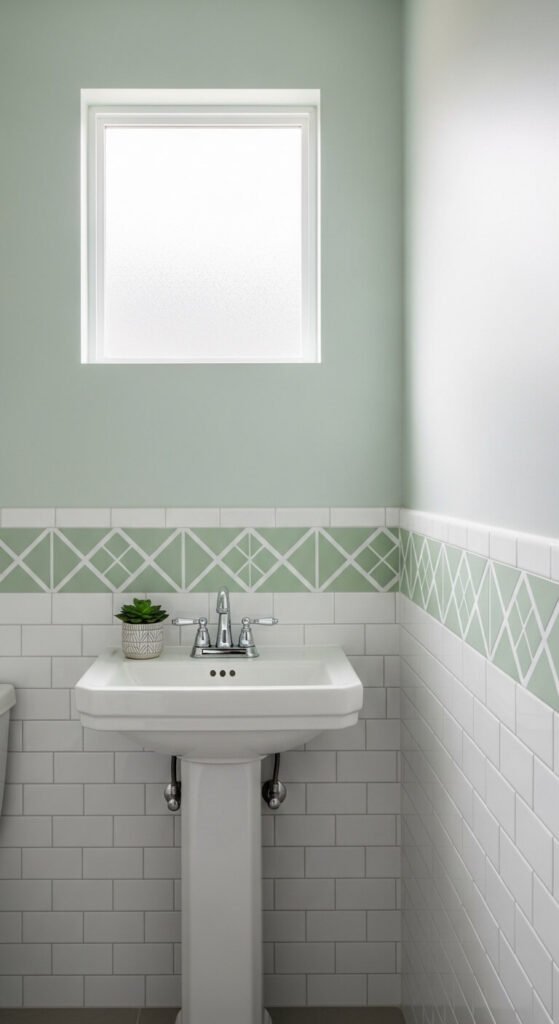
Yes, you can paint tiles. Specialty tile paint costs about $20–$30 and can completely change a bathroom or kitchen backsplash. Clean tiles thoroughly with a degreaser first. Use painter’s tape for clean edges and apply two thin coats. For patterns, use a stencil. The finish holds up well in dry areas. Wet areas like shower floors may need a sealer coat on top. This is one of the best ways to update a rental without replacing anything permanently.
10. Turn Wine Bottles into Vases
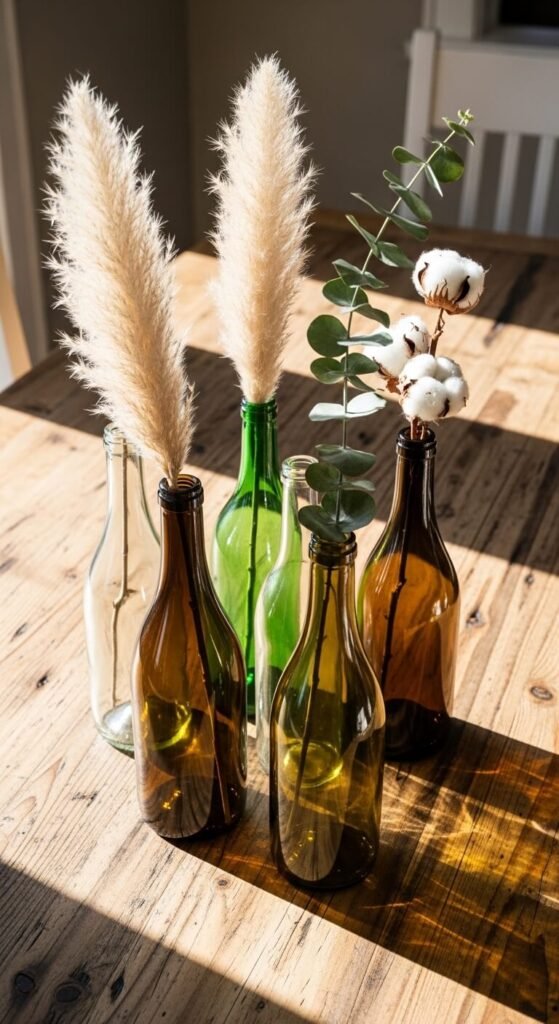
Clean wine bottles make elegant, free vases. Remove labels by soaking in hot soapy water, then scrub with a rough sponge. Group bottles of different heights together for a styled look. Add a single stem of dried grass, cotton, or eucalyptus to each. You can spray paint bottles with matte white or terracotta paint for a more cohesive display. A cluster of three on a dining table costs absolutely nothing if you save bottles over a few weeks.
11. Stencil a Faux Tile Floor
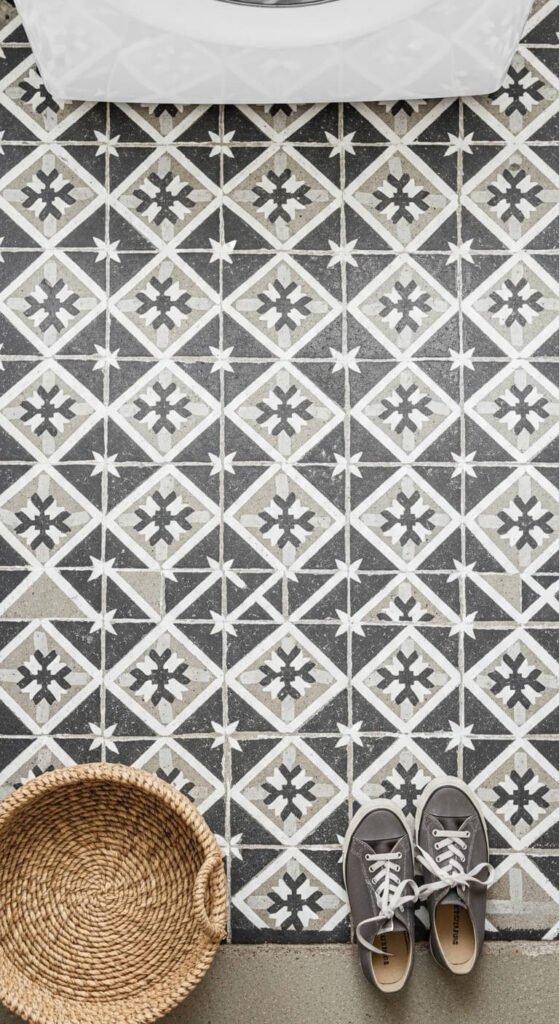
A floor stencil kit runs about $25 and can make plain floors look like expensive tile. This works best on concrete, wood, or vinyl floors. Clean the floor thoroughly, apply a base coat, let it dry fully, then tape down your stencil and sponge on the contrasting color. Work in sections and re-align carefully. Seal the whole floor with a water-based floor sealer to protect the paint. The result genuinely looks like hand-painted tile and costs a fraction of the real thing.
12. Make a Rope Mirror Frame
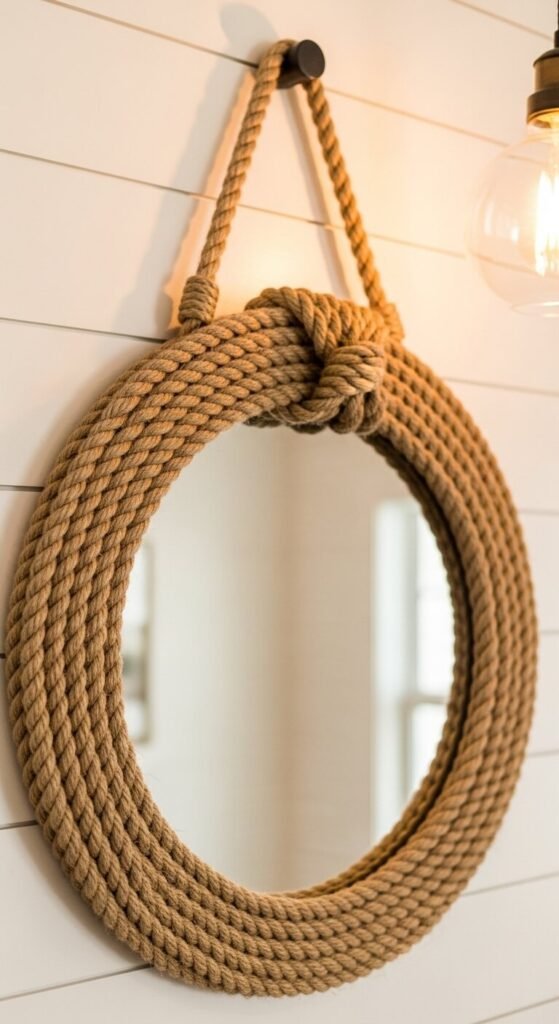
Buy a basic frameless round mirror at IKEA or a thrift store for $5–$15. Then wrap thick jute or cotton rope tightly around the outer edge using strong adhesive. Secure the ends with a tied knot at the top for hanging. The whole project costs under $25 and takes about an hour. This style works in bathrooms, entryways, and bedrooms. The rope texture adds warmth to any space and pairs especially well with natural wood and linen accents.
13. Build a Headboard from Reclaimed Wood
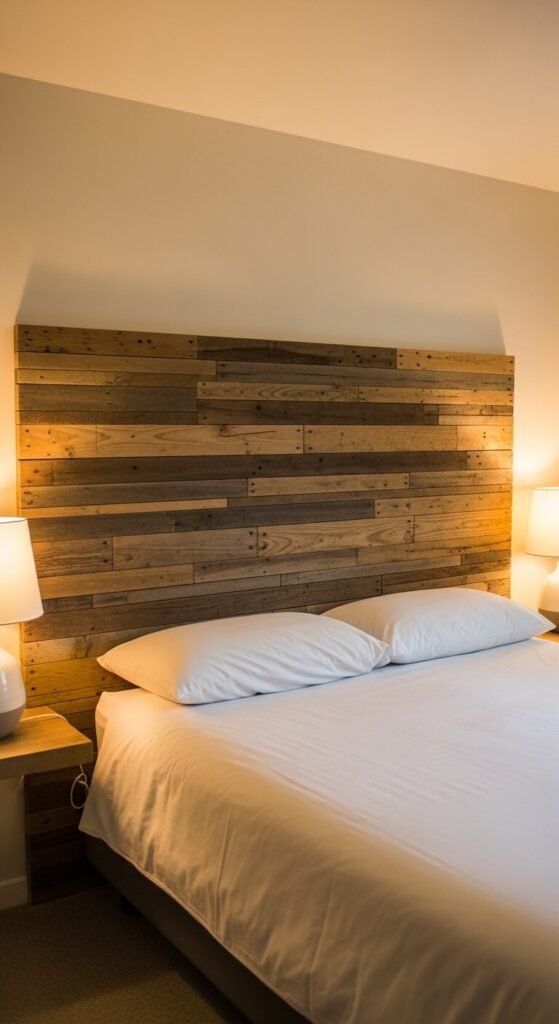
A headboard makes a bedroom feel finished. Reclaimed wood pallets or fence boards can be sourced for free or a few dollars. Cut boards to the same height, sand them smooth, and nail them side by side onto a backing board. Mount it directly to the wall above your bed. You can stain it, whitewash it, or leave it natural. The total cost is usually under $30 depending on your lumber source. It’s one of the highest-impact projects on this list.
14. Sew No-Sew Pillow Covers
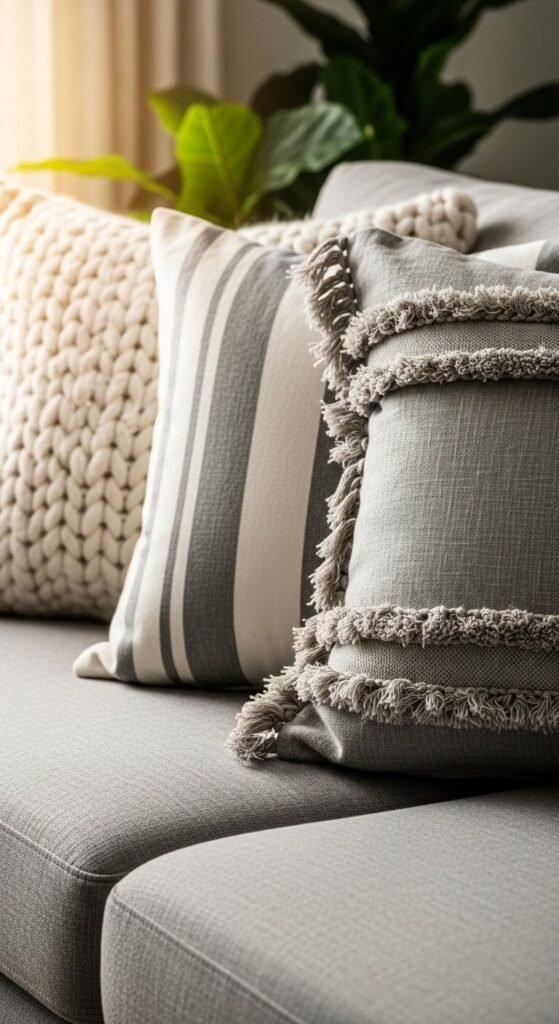
You don’t need to own a sewing machine. No-sew pillow covers use fabric glue or iron-on hem tape. Buy cheap pillow inserts and cut fabric slightly larger than the insert. Fold and glue or iron the edges, and you’re done. Use fabric from thrift store shirts, curtains, or fabric remnants — often under $2. A set of four covers can cost less than $15 total. Updating pillow covers every season is one of the easiest ways to refresh a room without spending much.
15. Style a Faux Fireplace Mantel
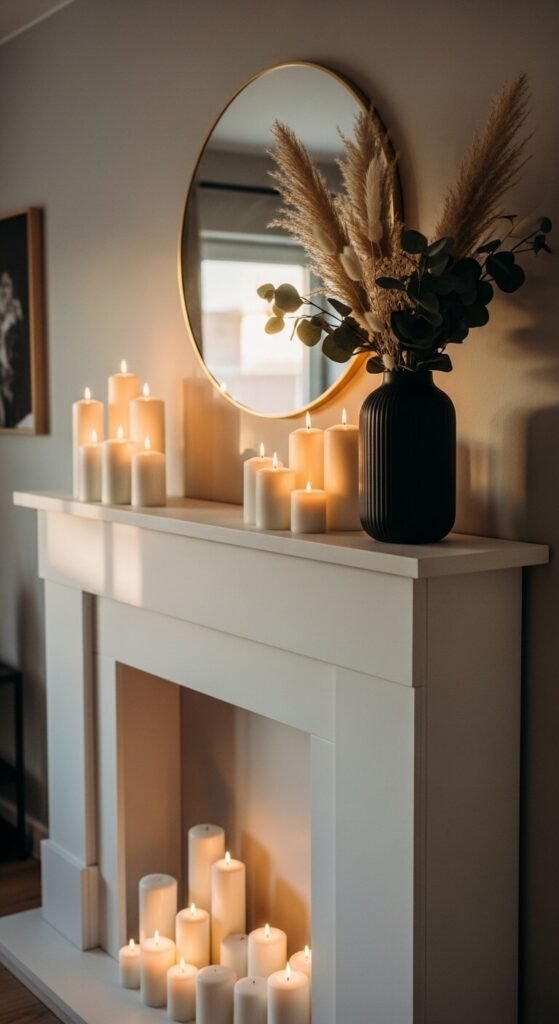
No fireplace? Build one. MDF and trim pieces from a hardware store can create a convincing mantel for around $50. Cut panels to size, glue and nail them together, caulk the seams, and paint it all white. Add a shelf at the top for styling. Fill the opening with candles, stacked logs, or fairy lights. This project takes a weekend but completely transforms a living room focal wall. You can even add a floating shelf above for a more built-in look.
16. Plaster a Textured Accent Wall

Joint compound from any hardware store costs about $15 and creates a beautiful plaster-texture effect. Trowel it onto a clean wall in sweeping, imperfect strokes. Don’t try to make it perfectly smooth — the irregularity is the point. Let it dry fully, then paint over it with your wall color. The texture catches light differently throughout the day, making the wall feel alive. This works in living rooms, bedrooms, and entryways. You’ll need a $5 drywall knife to apply it.
17. Make a Concrete Candle Holder
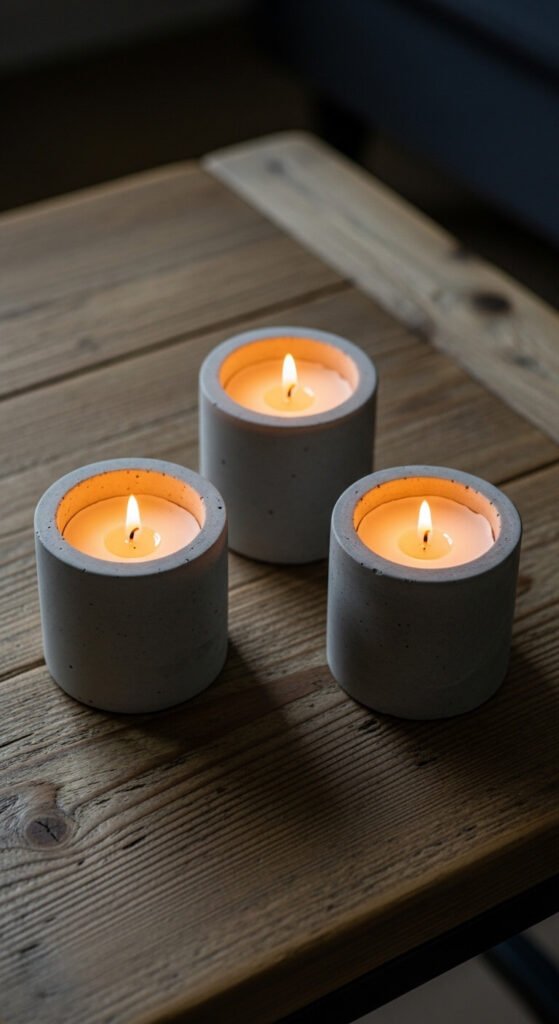
Craft store concrete mix runs under $10 and makes multiple pieces. Use cardboard cups or silicone molds to shape the concrete. Mix it to a thick, pourable consistency and pour into molds with a smaller cup pressed in the center to create the candle cavity. Let it cure for 48 hours. Sand any rough edges. The finished look is minimal and modern. Seal with a concrete sealer to prevent dust. These make great gifts too, and each one costs about $2 in materials.
18. Frame a Bathroom Mirror with Trim Molding
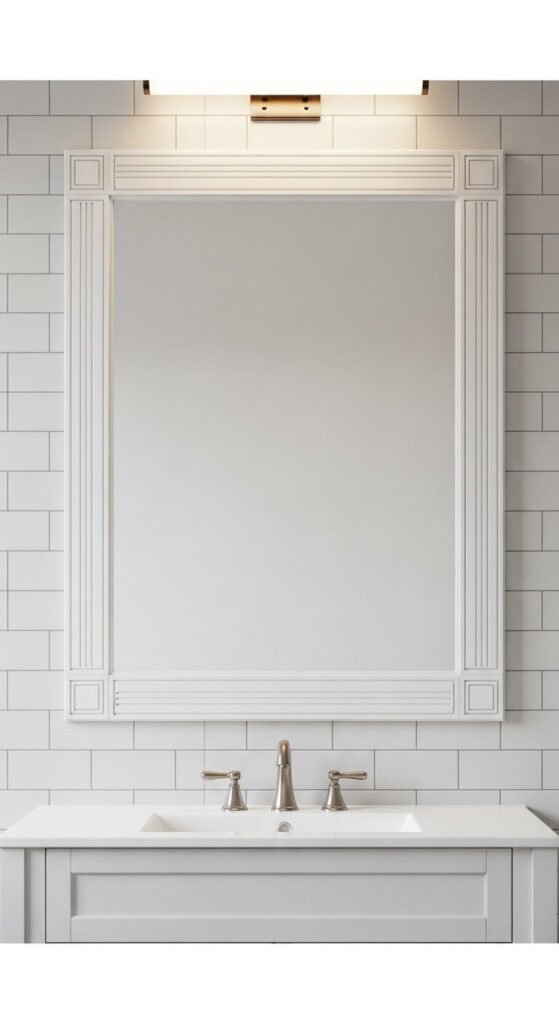
Builder-grade bathroom mirrors look cheap because they have no frame. Buy wood trim molding from any hardware store, cut four pieces to fit the mirror edge, paint them, and glue them directly onto the glass using mirror adhesive. Mitered corners look the most polished. The whole project costs $15–$25 and takes a couple of hours. You don’t need a miter saw — most hardware stores will cut the trim to size for you. This single update makes a bathroom feel renovated.
19. Hang a DIY Canopy Over a Bed
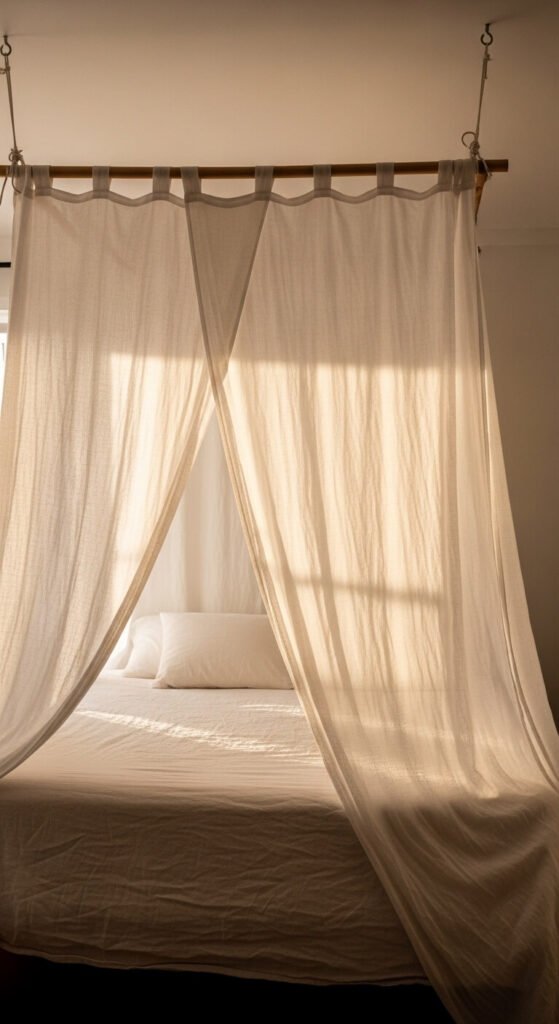
A bed canopy looks romantic and luxurious but costs almost nothing to make. Buy 3–4 yards of sheer linen or muslin fabric — often under $10 at a fabric store. Mount a wooden dowel to the ceiling above the center of the bed using two ceiling hooks. Drape the fabric evenly over the dowel and let it fall to each side. No sewing needed. Tuck the ends behind the mattress or let them pool on the floor for a dramatic, bedroom-hotel effect.
20. Upcycle a Dresser with New Hardware
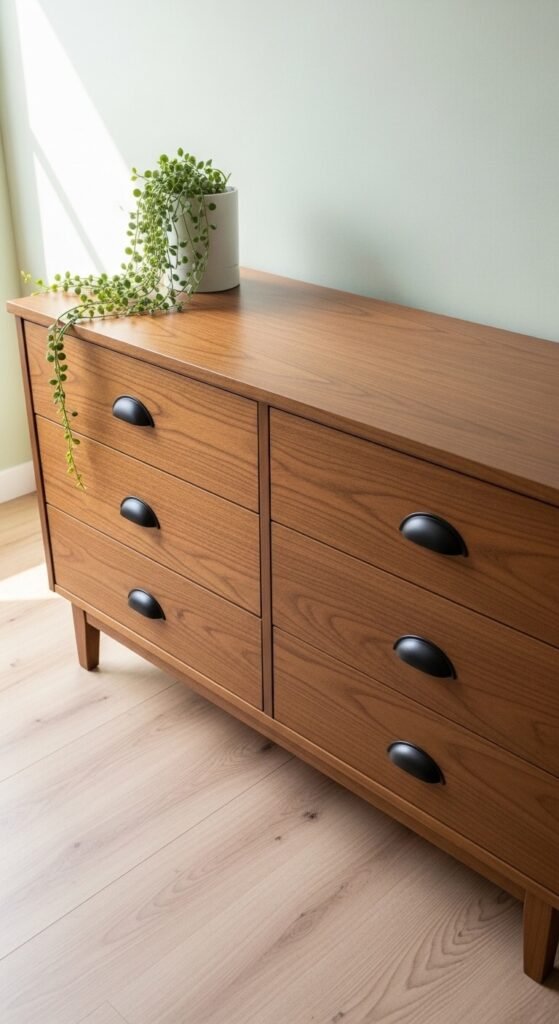
Swapping out hardware is the fastest DIY win on this list. Old brass or plastic knobs can be replaced with modern matte black, brushed gold, or ceramic knobs for $1–$5 per handle. A six-drawer dresser costs about $20–$30 to fully update. Use a screwdriver — that’s it. You don’t even need to repaint the piece. If the existing holes don’t match your new hardware’s spacing, fill the old holes with wood filler, sand smooth, and drill new holes.
21. Create a Chalkboard Wall Panel
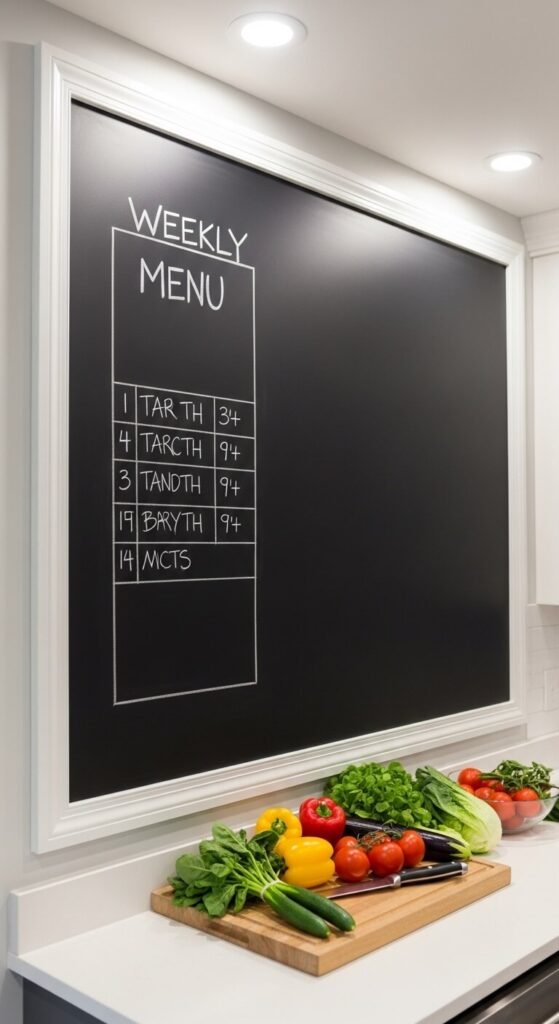
Chalkboard paint costs about $12 and can be applied to almost any surface. You don’t have to paint an entire wall — tape off a rectangle and paint just that section for a framed chalkboard effect. Add wood trim around the edges to make it look built-in. Use it as a weekly menu board, kids’ drawing wall, or message area near the front door. It takes two coats to fully cover and needs about 3 days to fully cure before writing on it.
22. DIY Dried Flower Arrangement
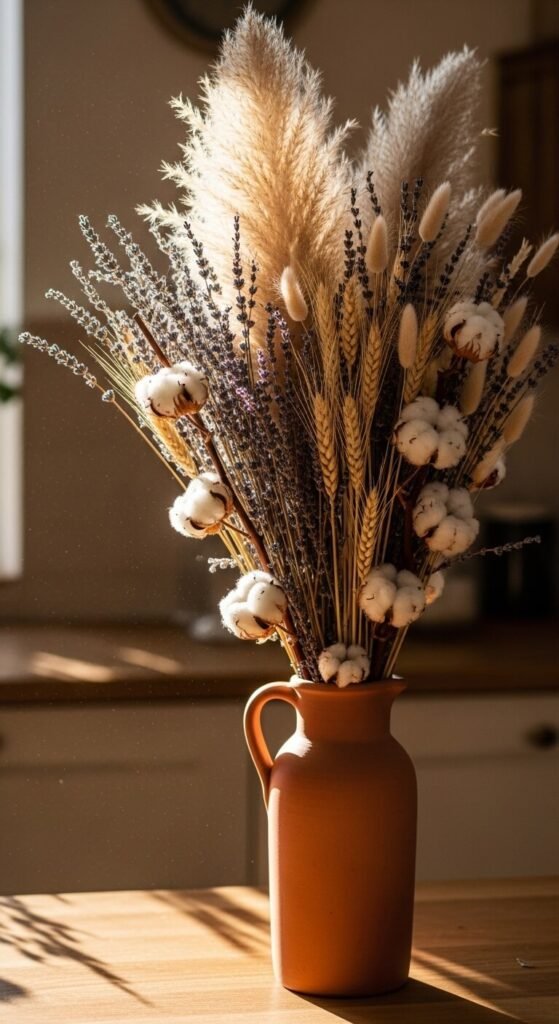
Dried flower arrangements require no water, no maintenance, and last for years. Buy dried stems from craft stores or online for $15–$30 total. Mix textures: pampas grass for softness, wheat or oat grass for structure, cotton stems for contrast. Use a heavy vessel so it doesn’t tip — a terracotta pot, stoneware jug, or glass bottle all work. Arrange the tallest stems first and fill in with shorter ones. No floral foam or tape needed. These look better the more casually you arrange them.
23. Whitewash a Brick Wall or Fireplace
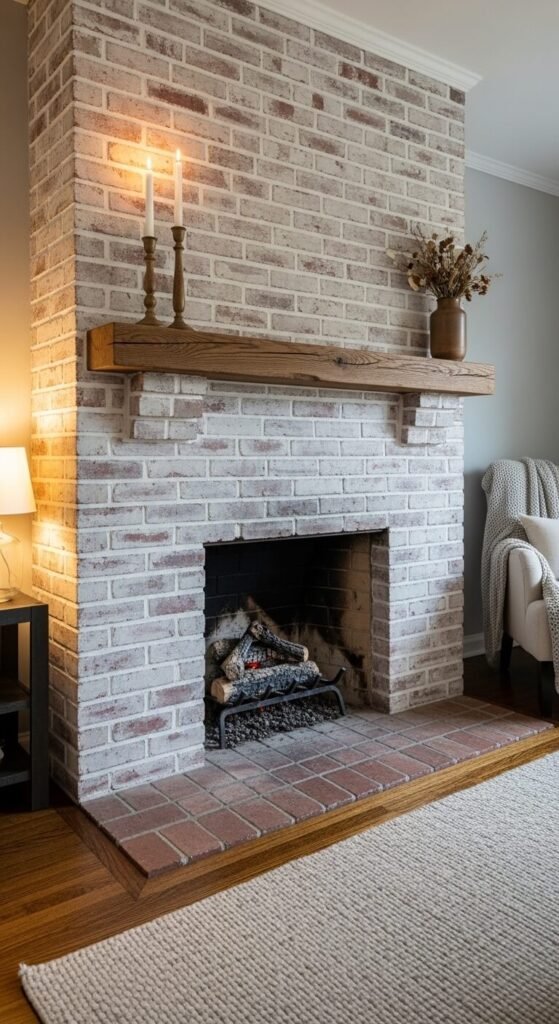
Whitewashing is diluted white paint brushed over brick. Mix one part water to one part white latex paint. Brush it on in sections, then immediately wipe off the excess with a rag. The more you wipe, the more brick shows through. This takes an afternoon and costs under $15 if you buy a small can of paint. The result softens dark brick without completely hiding its natural texture. It’s especially effective on old fireplaces that feel heavy or dated.
24. Make a Geometric Terrarium
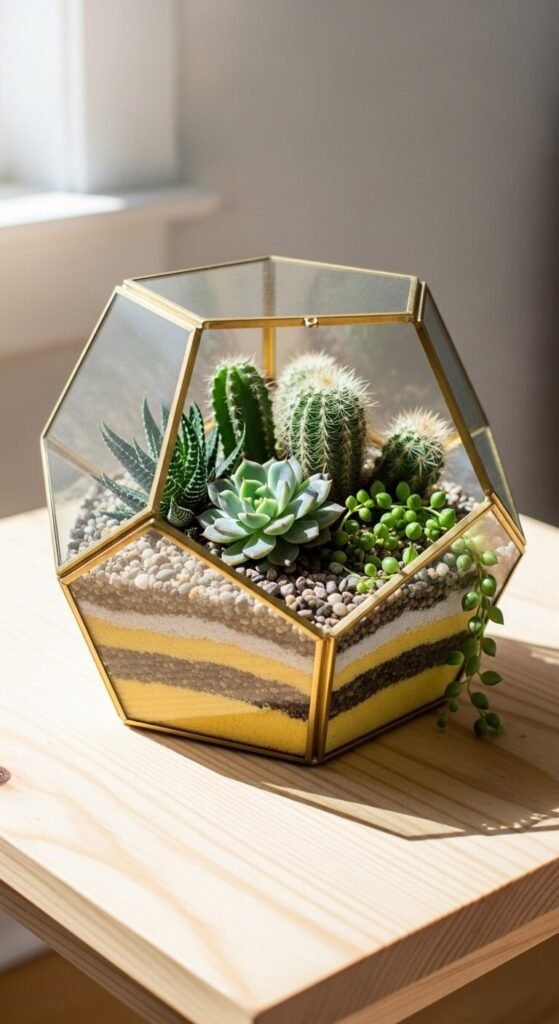
Geometric terrariums sell for $40–$80 in stores. Build your own with a cheap glass container and materials from any garden center. Layer pebbles at the bottom for drainage, then add cactus soil and small succulents or moss. A bag of pea gravel, a small bag of cactus mix, and a pack of 4 succulents costs about $15 total. You can use a cheap geometric frame from a craft store or just use any clear glass bowl or jar. These require almost no maintenance.
25. Paint Stripes on a Plain Rug

A plain cream or white rug from IKEA becomes a custom piece with fabric paint. Tape off stripes with painter’s tape — even spacing looks classic, while varied widths feel more relaxed. Use a foam roller with fabric paint to apply clean, even color. Two coats give better opacity. Let it dry fully before removing tape. A basic rug costs $15–$30 and fabric paint runs about $10. The whole project takes one afternoon and dries within 24 hours. Heat-set with an iron for durability.
26. Hang a DIY Ladder Shelf

A wooden ladder makes an instant shelf that costs under $20 to build. Buy two 6-foot wooden boards (1×2 works fine) and cut five crossbar pieces from a thicker board. Drill and screw the crossbars between the two side rails, evenly spaced. Sand and stain or paint it. Lean it against any wall — no mounting hardware needed. Use it in bathrooms for towels, in bedrooms for blankets, or in living rooms for plants. It’s one of the easiest beginner builds on this list.
27. Stencil a Pattern on Furniture
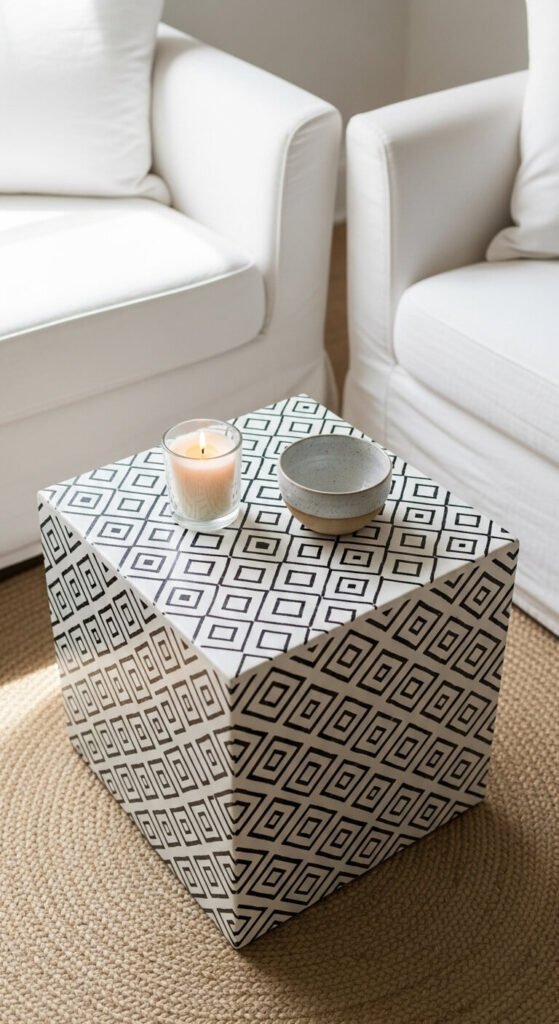
A thrift store side table plus a $5 stencil equals a completely custom piece. Paint your furniture in a base color and let it dry fully. Tape down your stencil and apply paint with a dense foam pouncer — stipple rather than brush to avoid bleeding under the stencil edge. Two thin coats beats one heavy coat every time. Remove the stencil slowly while the paint is still slightly tacky. Seal the whole surface with a matte polyurethane. The technique works on furniture, walls, floors, and fabric.
Conclusion
You don’t have to choose between a beautiful home and a healthy bank account. Every project on this list is something a real person with basic tools and a free Saturday can actually pull off. Start with one or two that excite you most. Buy what you need, follow the steps, and give yourself room to make mistakes — that’s how you get better and build confidence. Over time, these small projects add up to a home that feels intentional, personal, and genuinely yours. And the money you save? That stays in your pocket.