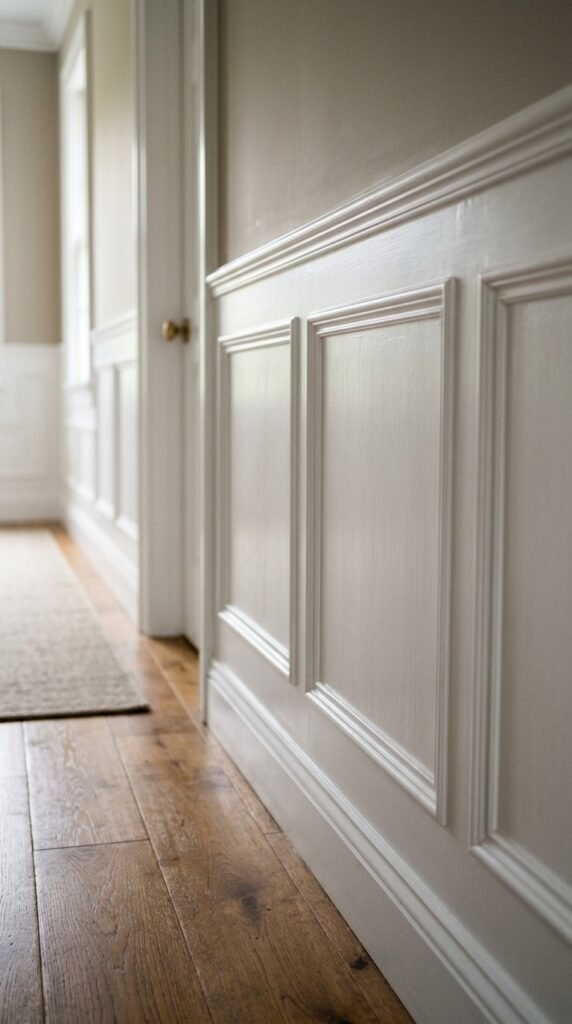
Wainscoting has stuck around for centuries because it does something few other wall treatments can: it adds texture, structure, and a sense of craftsmanship to a room without a full renovation. Whether you’re dressing up a dining room, adding character to a hallway, or giving a bathroom a spa-like finish, the right wainscoting style can change the entire feel of a space. This list rounds up 26 wainscoting styles worth trying, from classic raised panels to budget-friendly peel-and-stick options, so you can find the look that fits your home and your wallet.
1. Raised Panel Wainscoting
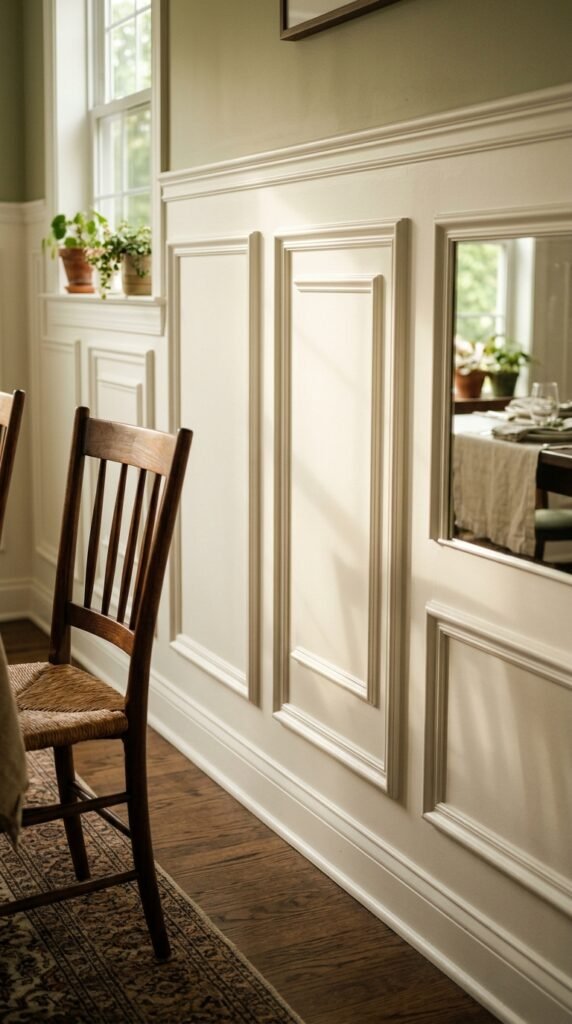
Raised panel wainscoting is the look most people picture first. Each panel sits slightly higher than the frame around it, creating real depth. It works well in dining rooms and studies. You can buy pre-made panel kits at most home stores. Paint them a soft white or a deep hunter green for contrast. Installation takes a weekend if you’re handy with a miter saw. Skip custom millwork and go with MDF panels instead. They cost far less and paint up just as nicely.
2. Beadboard Wainscoting
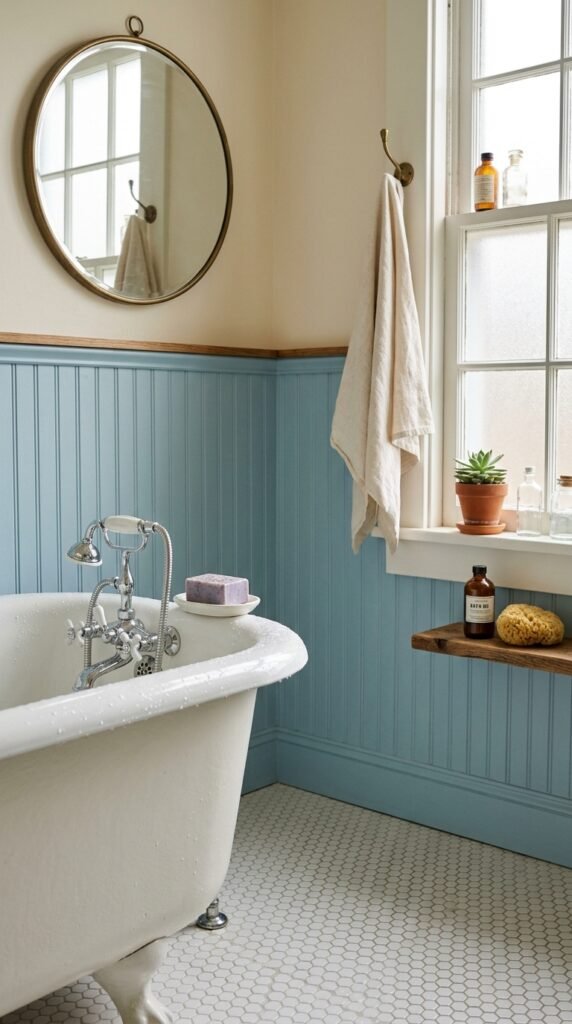
Beadboard brings a cottage feel to any room. The narrow vertical grooves add texture without heaviness. Bathrooms and kitchens love this style because it holds up well near moisture. Beadboard panels come pre-cut and are simple to nail into place. Paint them in a glossy finish so wipe-downs are easy. A gallon of paint and a sheet of beadboard from the hardware store can transform a small bathroom for under $150. It’s one of the most affordable upgrades on this list.
3. Board and Batten Wainscoting
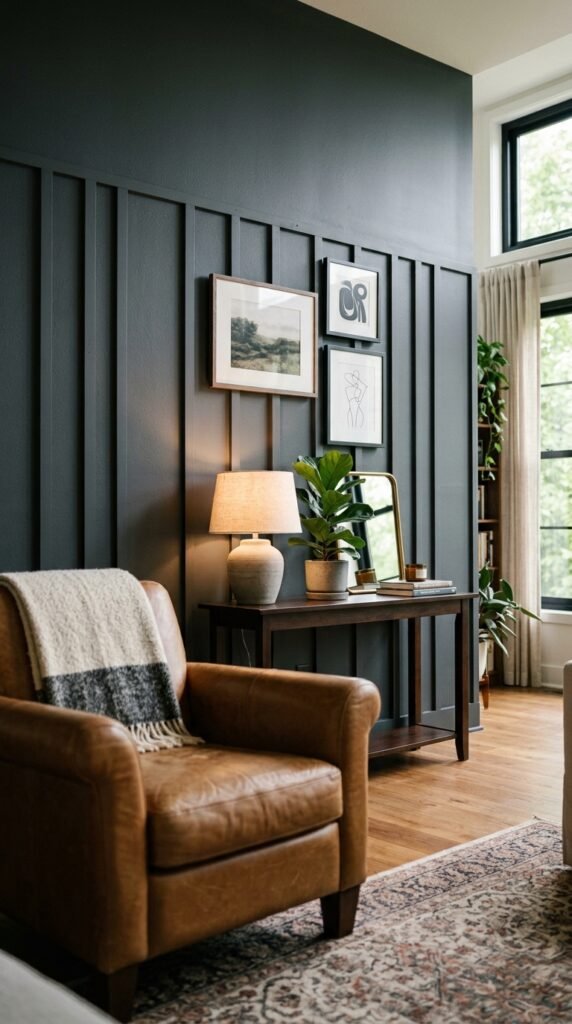
] Board and batten uses flat boards with vertical strips layered on top. The result feels modern and clean. This style suits entryways and accent walls especially well. You can build it yourself using furring strips and a nail gun. Space the battens evenly, about 12 to 16 inches apart, for a balanced look. Paint everything one color for a seamless finish. It’s a strong weekend project for anyone comfortable with basic tools and a level.
4. Shaker Style Wainscoting
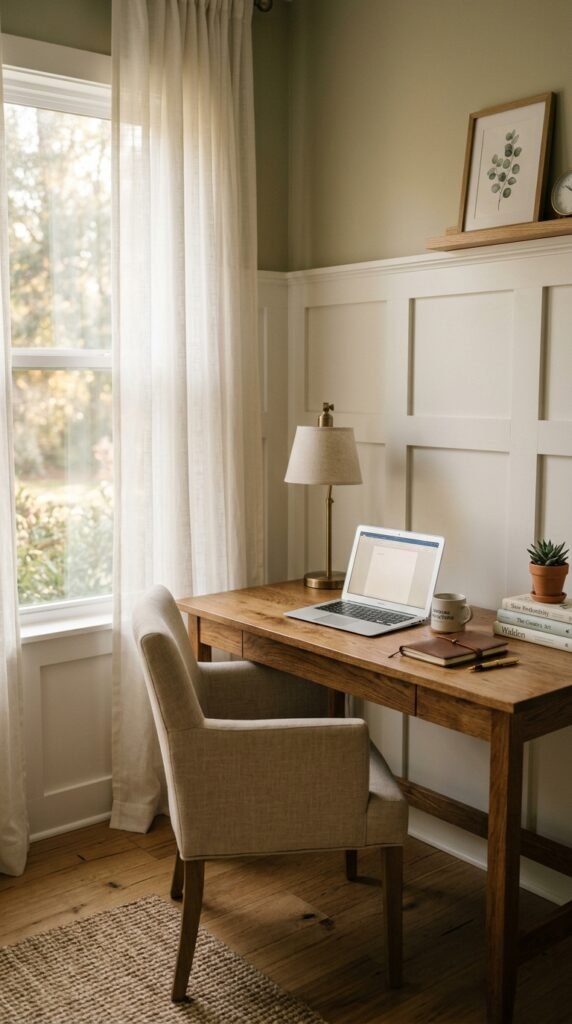
Shaker style keeps things simple with flat panels and clean edges. No fancy trim, no extra flourishes. It fits modern farmhouse and minimalist homes equally well. Because the design is so plain, it’s also one of the easiest styles to DIY. Use flat MDF boards and simple trim pieces. Paint in a warm white or soft gray. This style pairs nicely with matte black hardware and simple furniture lines.
5. Picture Frame Wainscoting
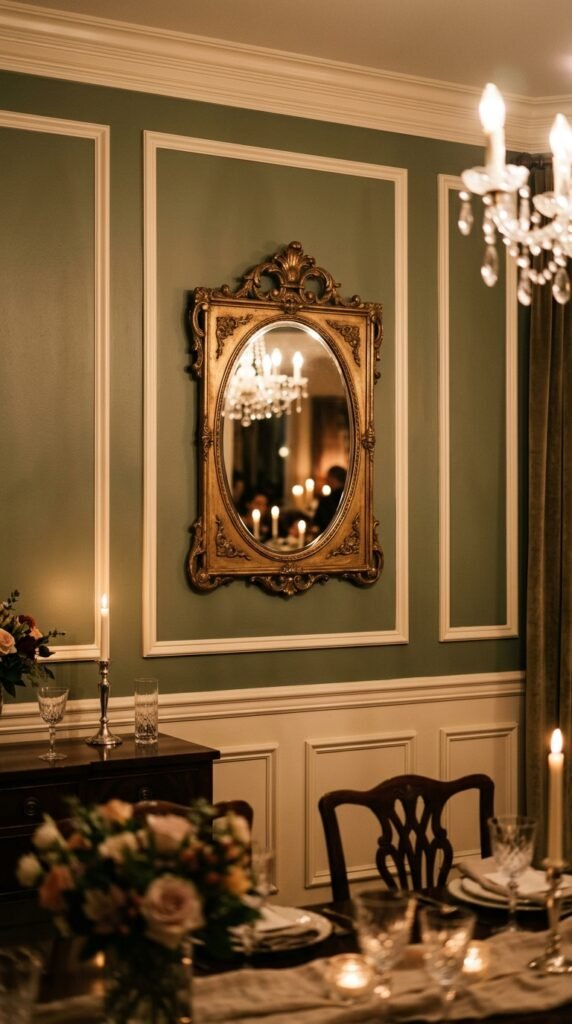
Picture frame wainscoting uses thin molding to outline rectangles directly on the wall. It looks like traditional paneling but skips the raised panels. This makes it lighter and cheaper to install. Use simple pine molding strips and a miter box to cut clean angles. Space the frames evenly and caulk the seams before painting. It’s a great option for renters who want a temporary but polished look, since thin molding can be removed without major wall damage.
6. Overlapping Wainscoting
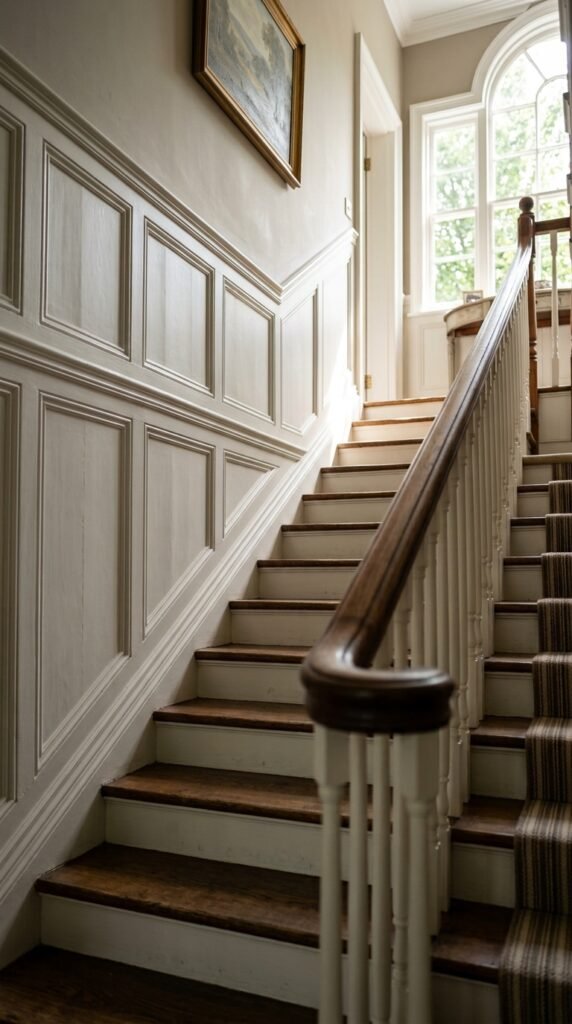
Overlapping wainscoting layers trim pieces on top of each other for extra dimension. It adds more visual interest than flat panel styles. Staircases and entryways benefit most from this layered approach. Start with a base frame, then add a second, smaller frame inside it. Paint the whole thing one color so the layers read as texture, not clutter. This style takes a bit more patience but delivers a custom, high-end look for the price of a few trim boards.
7. Flat Panel Wainscoting
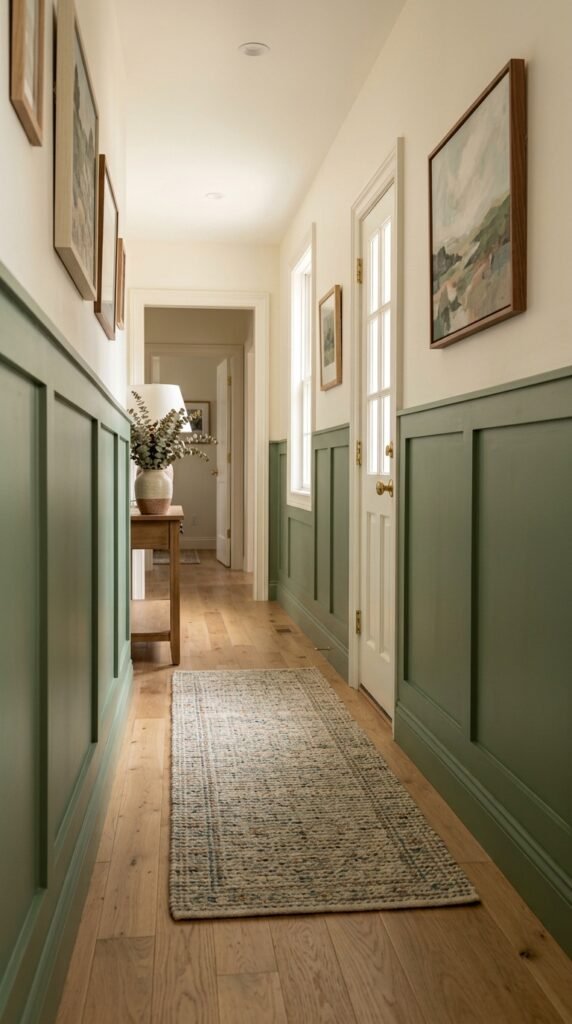
Flat panel wainscoting keeps the panel surface level with the frame around it. It’s a quieter, more understated version of raised panel styles. This works well in hallways where you don’t want too much visual noise. MDF sheets cut to size and trimmed with simple molding create this look easily. Because there’s less depth, it also collects less dust in the grooves. That makes it a practical pick for busy households.
8. Chair Rail with Wainscoting
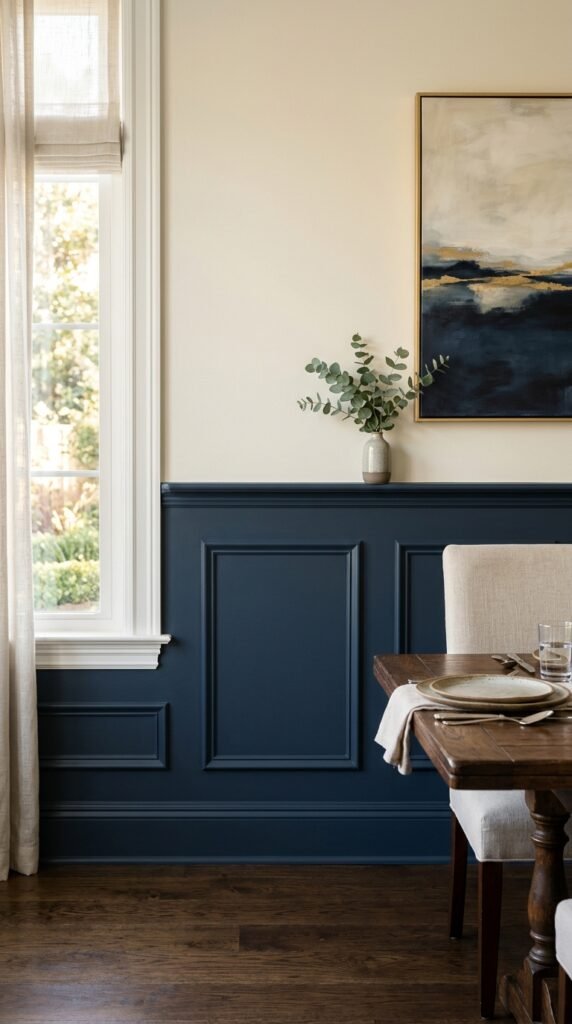
Pairing a chair rail with wainscoting lets you split the wall into two color zones. Paint below the rail a darker shade and above it something lighter. This adds contrast without covering the whole wall in millwork. It’s also budget-friendly since you only need panels up to rail height, usually around 32 to 36 inches. Chair rail kits are sold as one unit at most hardware stores, making this an easy first-time project.
9. Vertical Slat Wainscoting
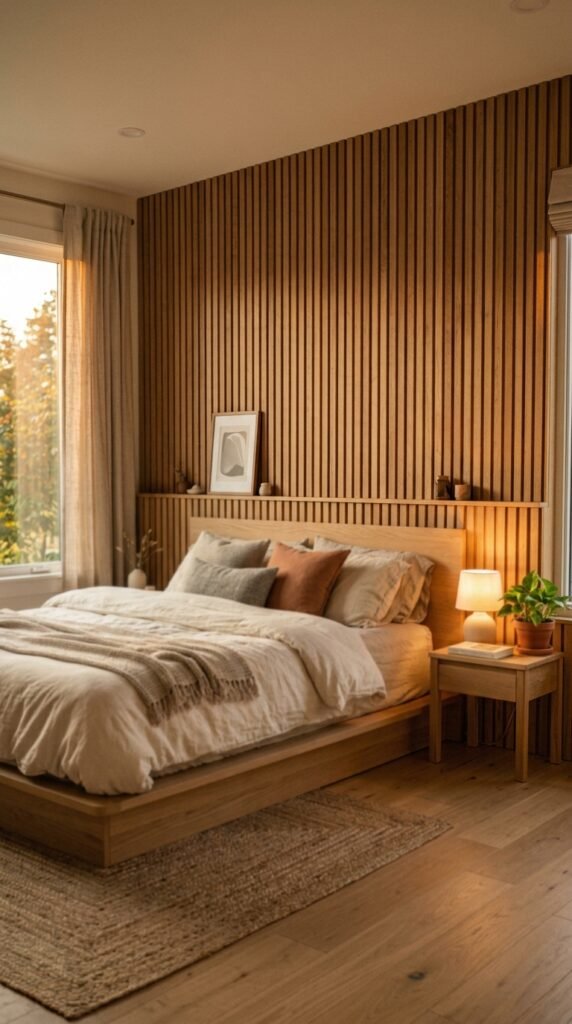
Vertical slats give a room a slight Scandinavian feel. Thin wood strips run floor to a set height, spaced with small gaps between them. Bedrooms and reading nooks look great with this treatment. You can buy pre-made slat panels or cut your own from furniture-grade plywood. Leave the wood natural or stain it for warmth. This style adds texture without needing any paint at all if you like a raw, organic finish.
10. Two-Tone Wainscoting
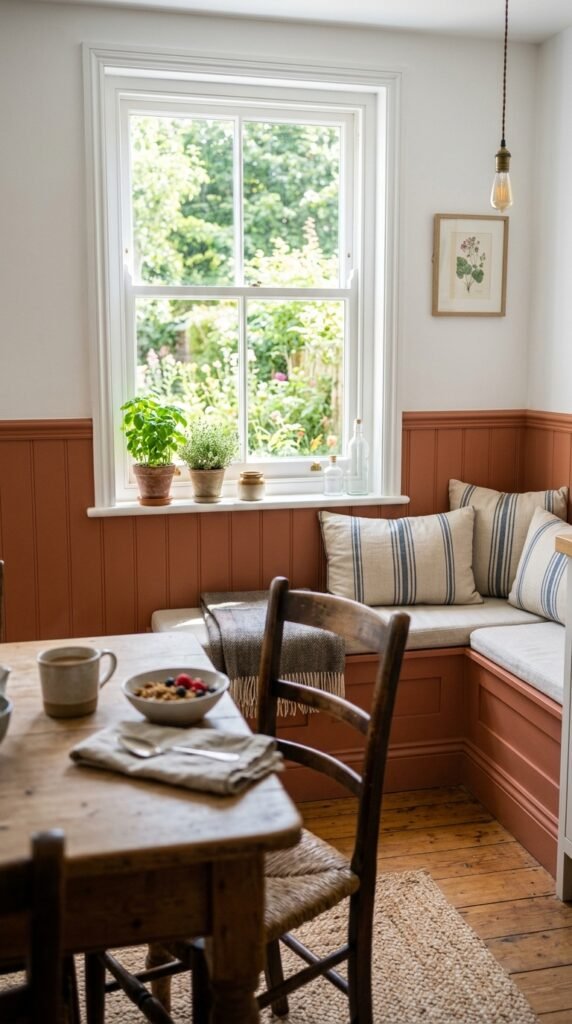
Two-tone wainscoting uses one color below the panel line and a different one above. It’s a simple trick that makes rooms feel taller and more dynamic. Try a bold color like terracotta or navy on the bottom half. Keep the top wall a soft neutral. This works with almost any panel style, so it’s easy to add to a project you’ve already started. A quart of paint is often all you need to test the look.
11. Cottage Style Wainscoting
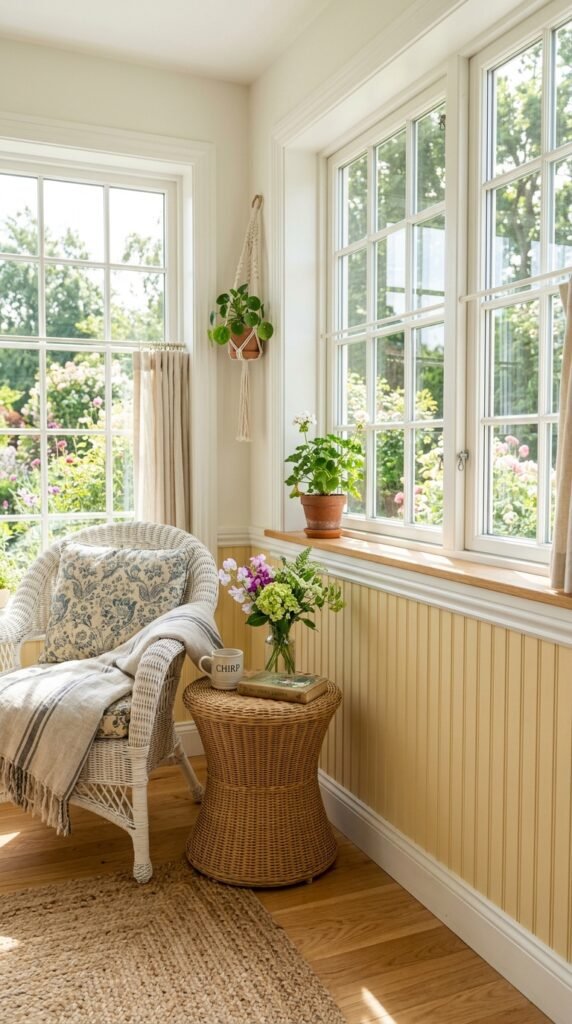
Cottage style wainscoting leans into a relaxed, breezy feel. Think beadboard painted in soft pastels or creamy whites. Sunrooms and mudrooms suit this style best. Keep the trim simple and avoid heavy molding, since the charm here comes from simplicity. A fresh coat of paint on existing beadboard can revive this look instantly if your home already has older paneling. It’s one of the fastest updates on this list.
12. Modern Minimalist Wainscoting
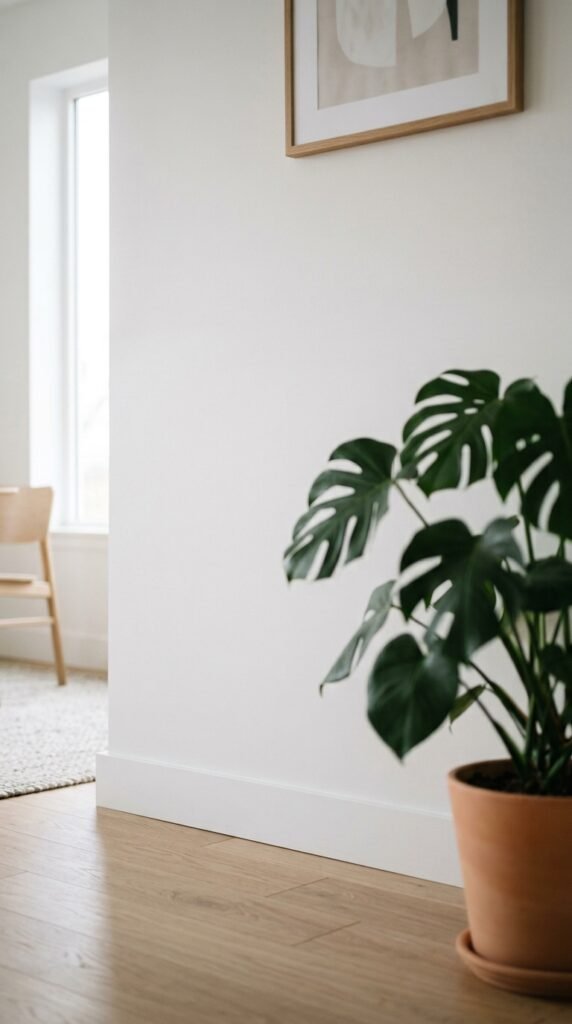
Modern minimalist wainscoting strips away ornate trim entirely. Instead, it uses subtle recessed lines or thin reveals cut into flat panels. This works best in contemporary homes with clean furniture lines. A router and a steady hand can create simple recessed grooves in MDF panels. Paint everything the same white or gray so the lines read as shadow rather than decoration. It’s a quiet, sophisticated option for anyone who wants texture without visual weight.
13. Reclaimed Wood Wainscoting
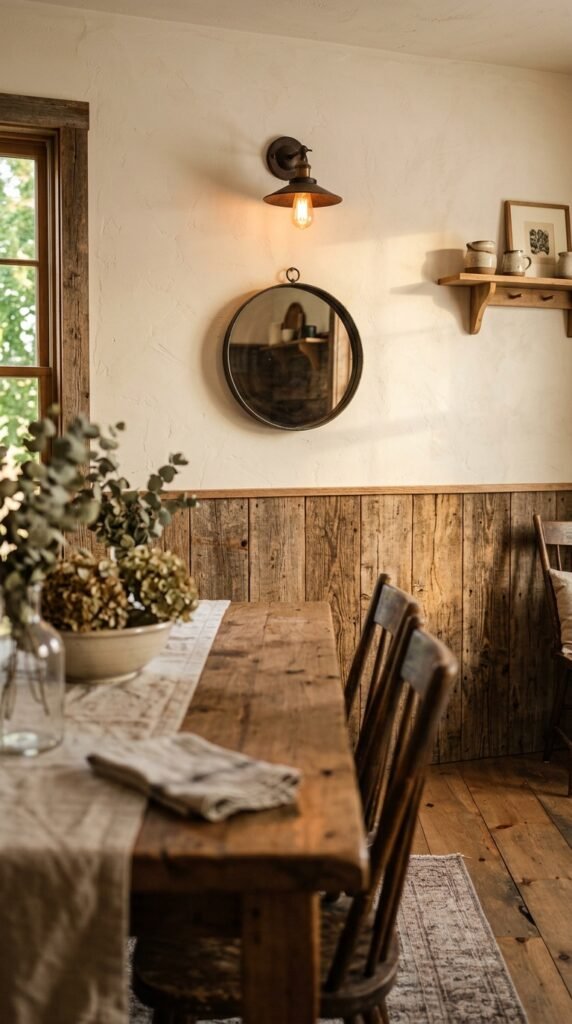
Reclaimed wood wainscoting brings history and texture into a room. Old barn wood or salvaged fence boards work well here. Farmhouse and industrial-style homes benefit most from this treatment. Look for reclaimed wood at salvage yards or online marketplaces for a fraction of new lumber cost. Nail boards directly to furring strips for an easy installation. Leave the wood unfinished for full rustic charm, or add a light coat of matte sealer for durability.
14. Geometric Wainscoting
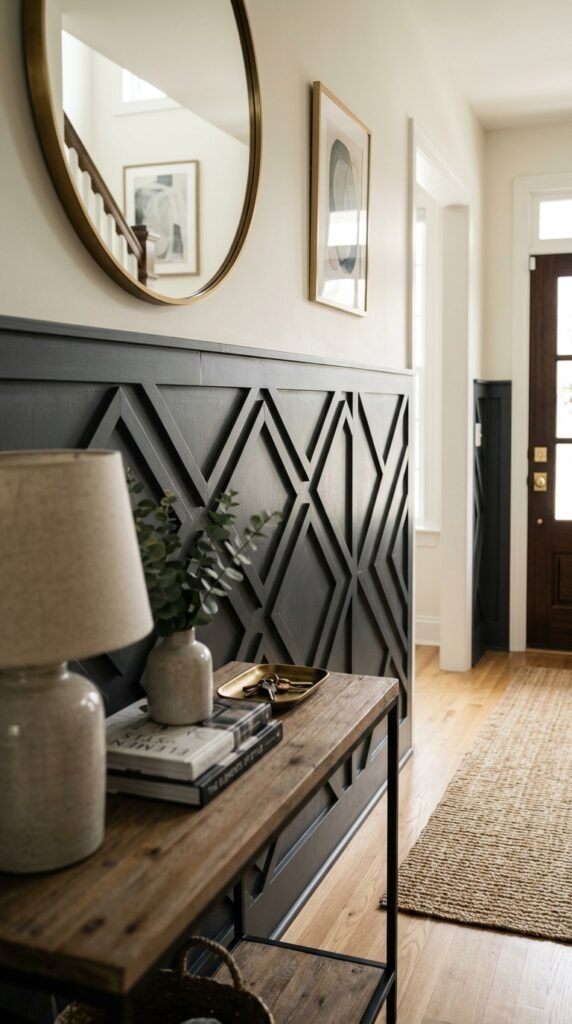
Geometric wainscoting swaps traditional rectangles for diamonds, triangles, or chevron shapes. It’s a bold statement for entryways or accent walls. Thin lattice or trim strips can be arranged into patterns using a miter saw and wood glue. Painter’s tape helps map out the pattern before you commit to cutting. Paint the whole wall one color to keep the geometry from feeling too busy. This style works well as a single feature wall rather than a whole-room treatment.
15. Half-Height Paneling
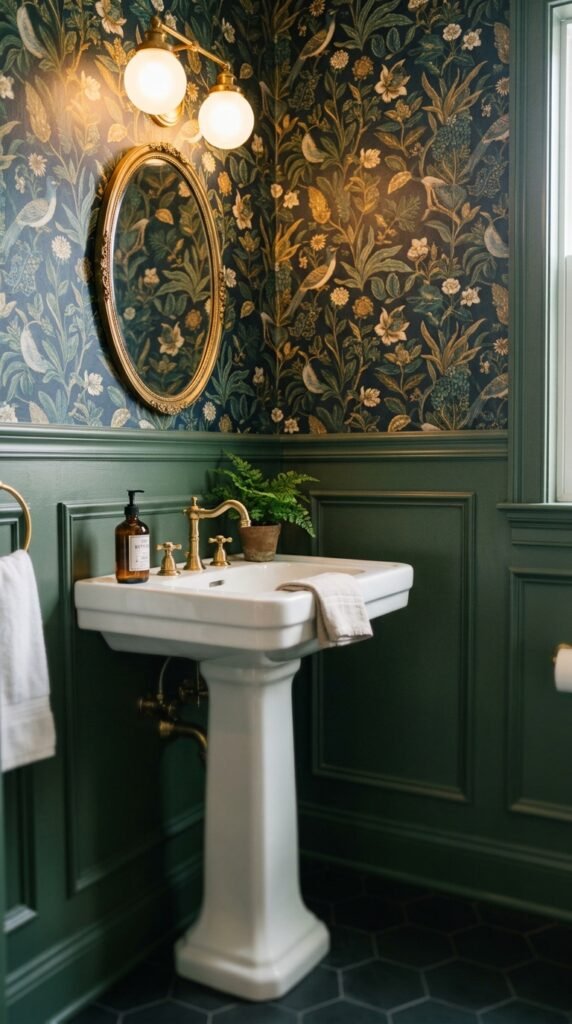
Half-height paneling stops around counter or rail height, leaving the top wall open for wallpaper or paint. Powder rooms and small bathrooms look larger with this combination. Pick a bold wallpaper for the top half and a simple white panel below. This split keeps costs down since you’re covering less wall with millwork. It also protects lower walls from scuffs and water splashes in high-traffic bathrooms.
16. Full-Height Paneled Walls
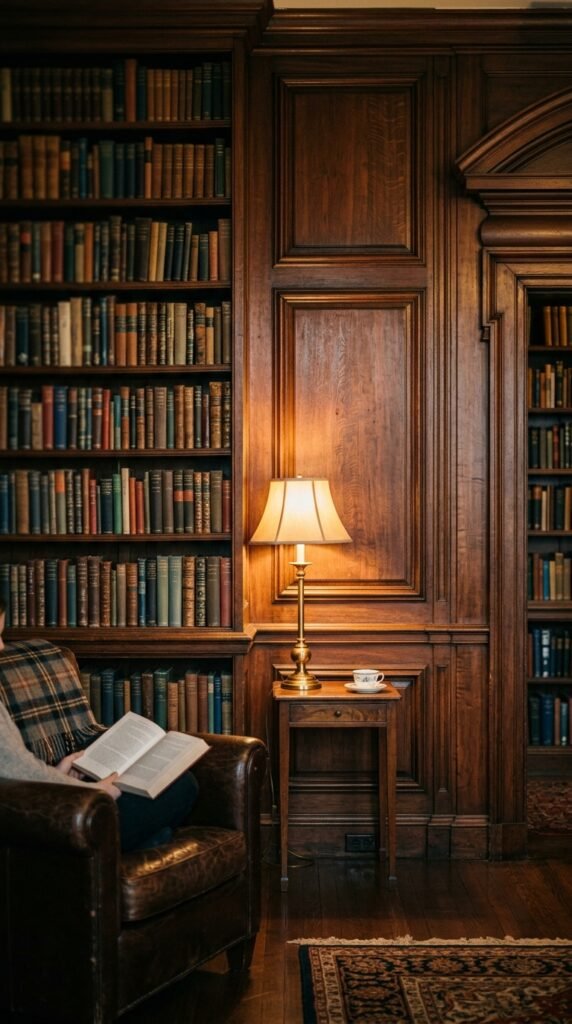
Full-height paneling covers the entire wall, not just the lower portion. Libraries, studies, and formal dining rooms suit this dramatic approach. Because it covers more surface area, budget carefully and consider MDF instead of solid wood to control cost. Break up large panels with simple trim lines to avoid a flat, heavy look. Paint in a deep, moody color like charcoal or forest green for a cozy, enclosed feel.
17. Peel-and-Stick Wainscoting Panels
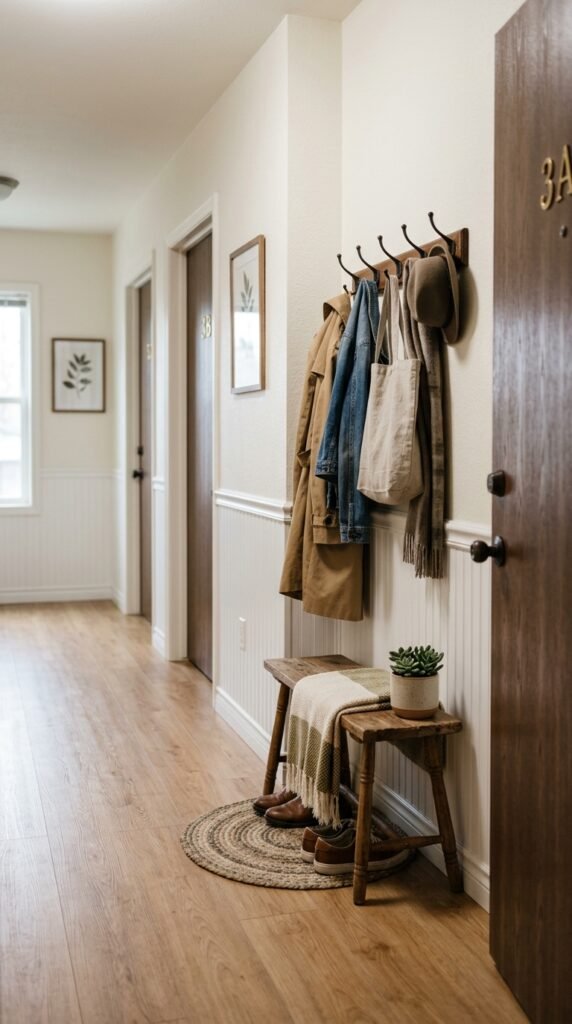
Peel-and-stick panels are the easiest way to add wainscoting without tools or nails. They come pre-textured and pre-painted, ready to apply straight from the roll or sheet. Renters love this option since it removes cleanly without wall damage. A single roll can cover a small hallway for under $50. Clean the wall first and smooth out air bubbles as you apply each section for the best finish.
18. Wainscoting with Wallpaper Inserts
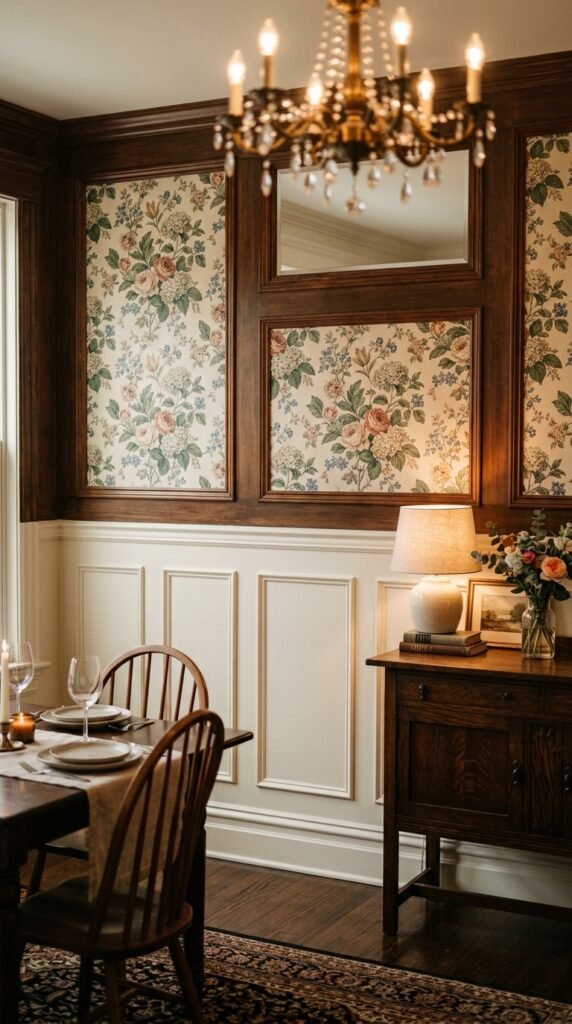
This style frames sections of bold wallpaper inside simple wood molding. It’s a great way to use a favorite wallpaper pattern without covering an entire wall. Build simple rectangular frames from thin trim, then cut wallpaper to fit inside each one. This method uses far less wallpaper than a full wall, making it budget-friendly. Choose a busy pattern for the insert and keep the surrounding frame a simple white.
19. Craftsman Style Wainscoting
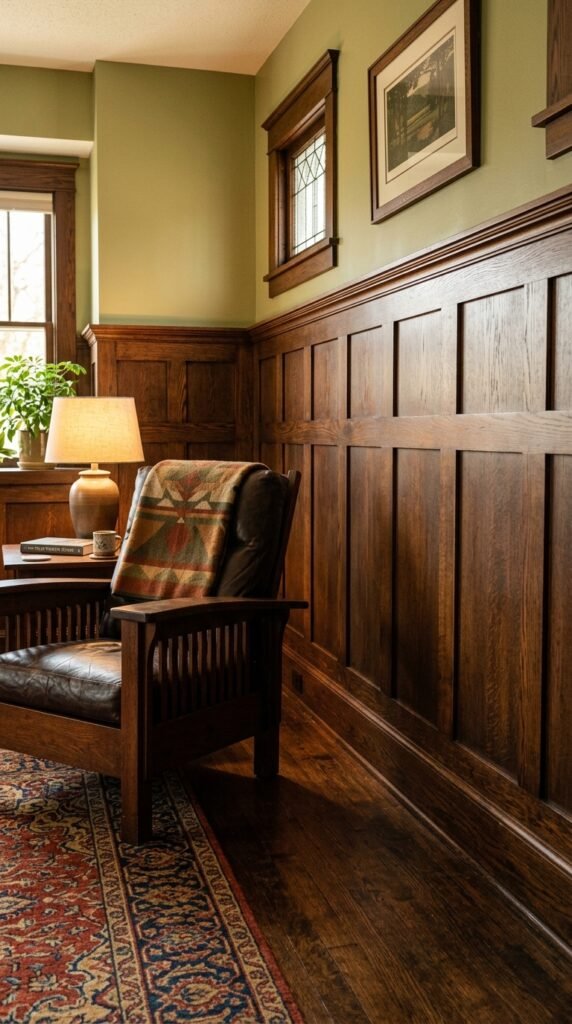
Craftsman style wainscoting uses wide, flat trim boards and simple square panels. It pairs naturally with mission-style furniture and warm wood tones. Stick to straight lines and avoid ornate detailing to keep the look authentic. Stained wood works well here instead of paint, letting the natural grain show through. This style suits bungalow-style homes and adds a handmade, sturdy feel to any room.
20. Wainscoting in Unexpected Colors
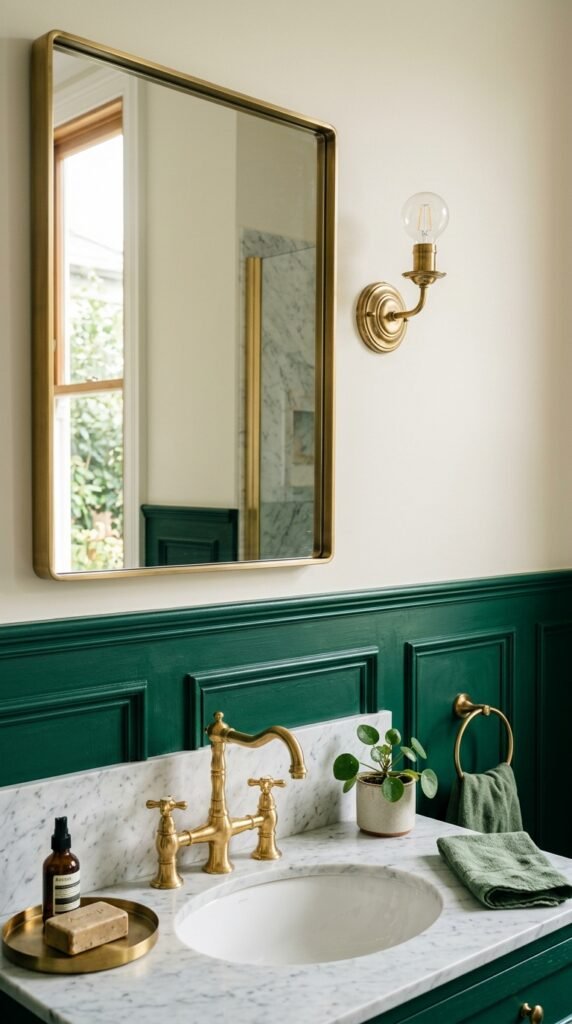
Skip the usual white and try wainscoting in a bold shade instead. Deep greens, navy blues, or even black can make a room feel richer. This works especially well in small spaces like powder rooms, where a bold color choice feels intentional rather than overwhelming. A sample pot of paint lets you test the shade on one panel before committing to the whole wall. Pair bold wainscoting with simple white trim for contrast.
21. Arched Panel Wainscoting
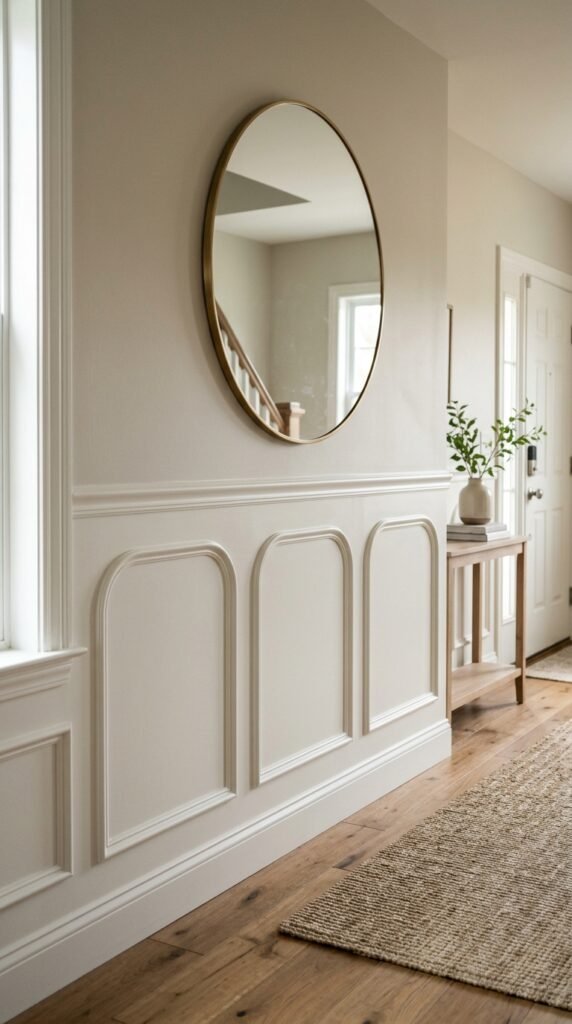
Arched panels swap the usual rectangle for a soft curved top. It adds a slightly formal, old-world touch to entryways and staircases. This style takes more skill to cut, so a jigsaw and a steady hand are key tools here. Templates can help you trace consistent arches across multiple panels. Paint in a soft white or cream to let the curved detail stand out without extra color competing for attention.
22. Wainscoting with Built-In Shelving
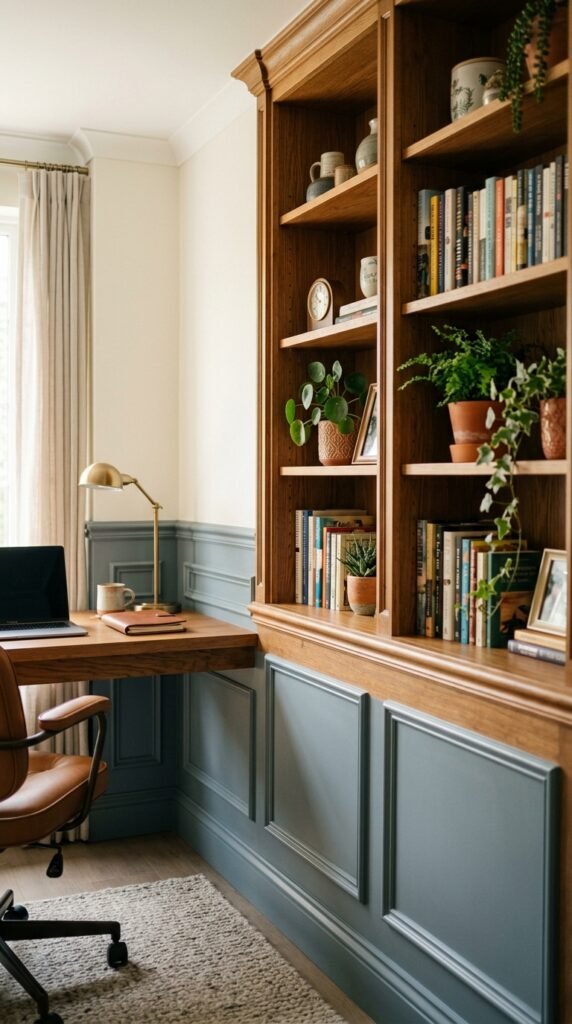
Combining wainscoting with built-in shelving turns a decorative wall into a functional one. Home offices and living rooms benefit most from this pairing. Use the same panel style on the wall as the shelf faces for a cohesive look. Basic shelving brackets and MDF boards keep this project affordable. This combination is a smart way to add storage and detail in one single project.
23. Coastal Style Wainscoting
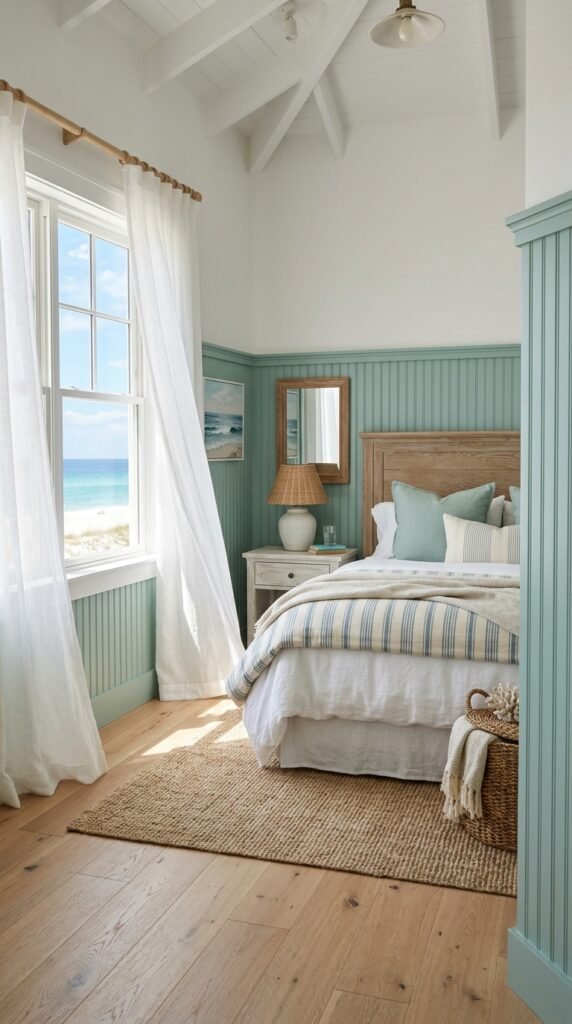
Coastal wainscoting leans on light colors and simple beadboard panels. Soft blues, seafoam greens, and creamy whites all work well here. Bedrooms and sunrooms near the coast suit this relaxed style best. Keep trim simple and avoid heavy dark stains, since the goal is an airy, light-filled feel. A budget-friendly beadboard sheet from any hardware store gets you most of the way to this look in a single afternoon.
24. Wainscoting with Hidden Storage
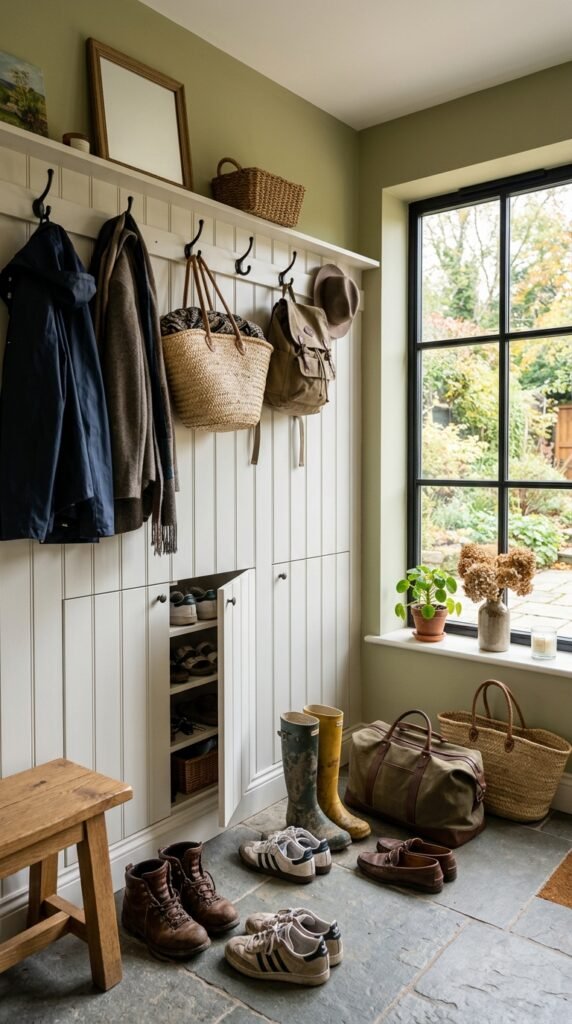
Some wainscoting panels double as hidden storage doors. Mudrooms and entryways are perfect spots for this trick. Simple hinges and magnetic latches turn a flat panel into a small storage door for shoes, mail, or keys. This project takes more planning than standard wainscoting, but it solves a clutter problem while adding classic detail. Paint the hidden panels the same color as the rest of the wall so they blend in seamlessly.
25. Textured Tile Wainscoting
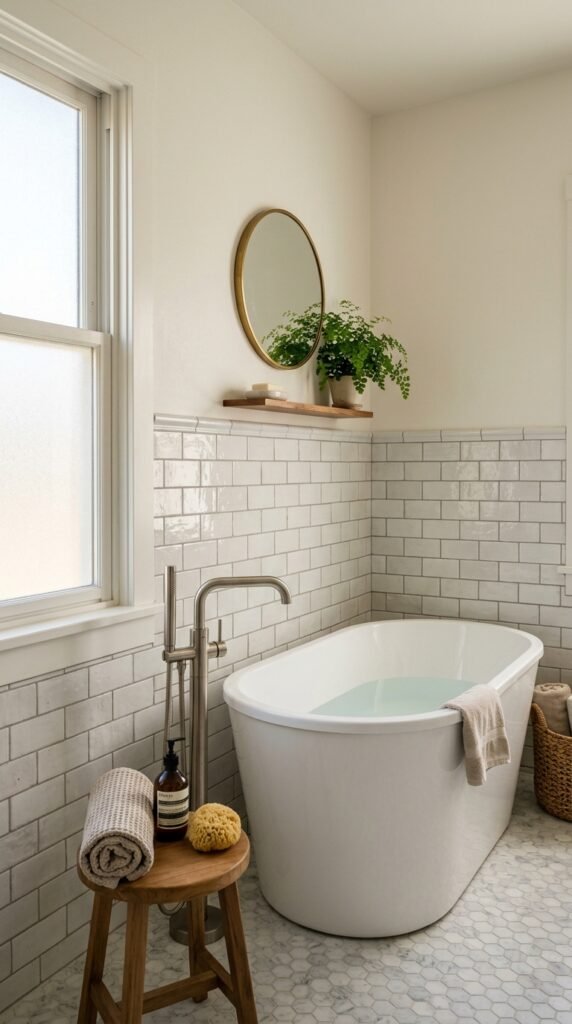
Tile wainscoting swaps wood for a moisture-resistant material. Subway tile, hexagon tile, or textured ceramic all work well in bathrooms and kitchens. This style holds up better than wood in wet areas and is easier to clean. Grout lines add subtle texture and pattern without extra decoration. Look for tile sales or discontinued stock at hardware stores to keep this project affordable while still getting a polished, classic look.
26. DIY Trim-Only Wainscoting
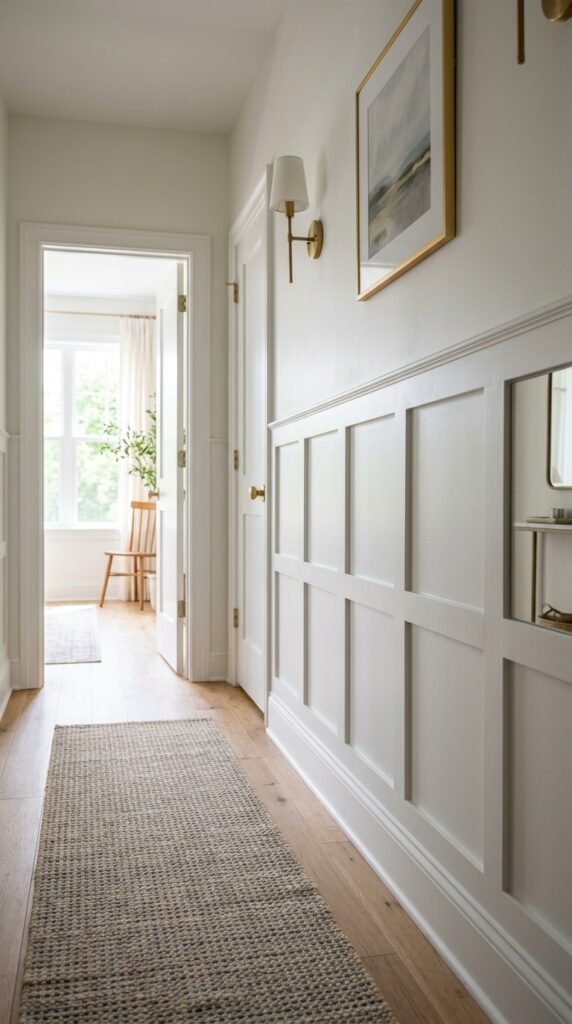
This style uses only thin trim strips nailed directly onto a painted wall, no panels required. It’s the most budget-friendly wainscoting option on this list. A few trim boards, a miter saw, and some wood filler are all you need. Space the grid lines evenly and caulk every seam before painting. This project can be finished in a single weekend for under $100, making it a smart starting point for first-time DIYers.
Conclusion
Wainscoting remains one of the simplest ways to bring detail, warmth, and structure to a room, and as this list shows, there’s a version for every budget and skill level. From peel-and-stick panels for renters to reclaimed wood for a farmhouse feel, small changes to trim and color can reshape how a space feels day to day. Pick one style, start with a single wall, and build from there as you get comfortable with the process.