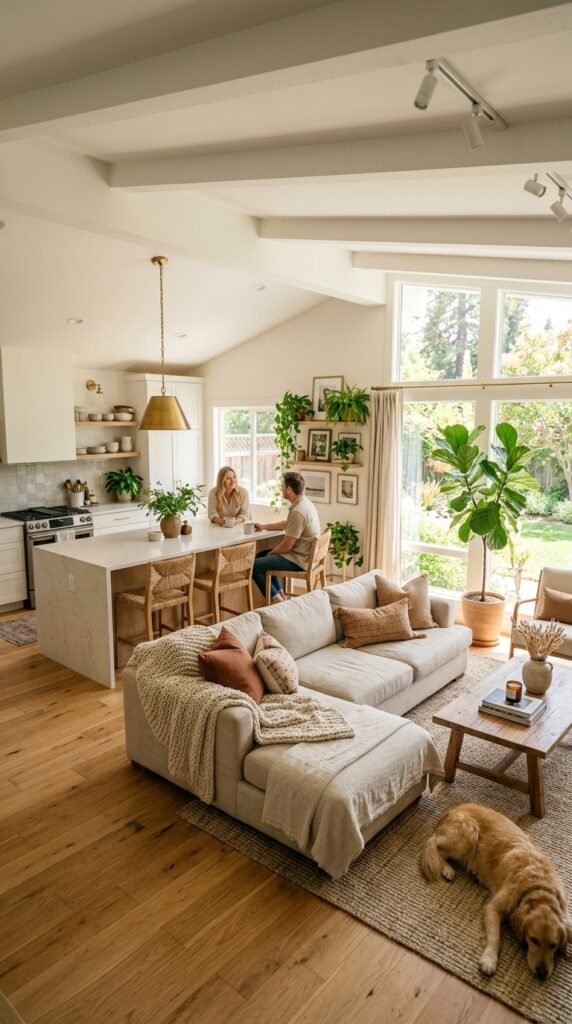
Open floor plans are everywhere, but the challenge is making one big space feel like several distinct rooms without walls to separate them. Rugs, lighting, furniture placement, and color can all pull double duty here, letting you cook, lounge, and work in the same square footage while each zone still feels like its own little world. Below are 21 simple, budget-friendly ways to carve out clear zones in your open layout without sacrificing that open, connected feel.
1. Anchor Each Zone With a Rug
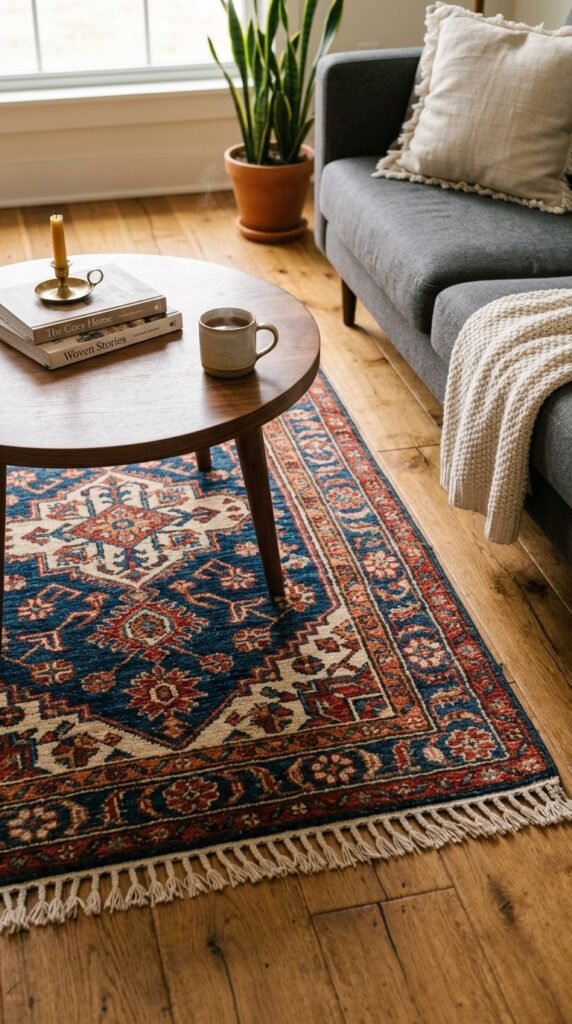
A rug is the fastest way to mark a zone. Drop one under your sofa and coffee table, and instantly that patch of floor reads as “living room.” Try a second rug under the dining table. Different textures work too—a jute rug for casual spots, a plush one for cozy corners. Budget tip: check clearance racks or vintage shops for oversized rugs. Even a $30 flat-weave can do the job. Just keep rug edges from overlapping between zones, so the boundaries stay crisp and easy to read at a glance.
2. Use a Sofa as a Soft Divider
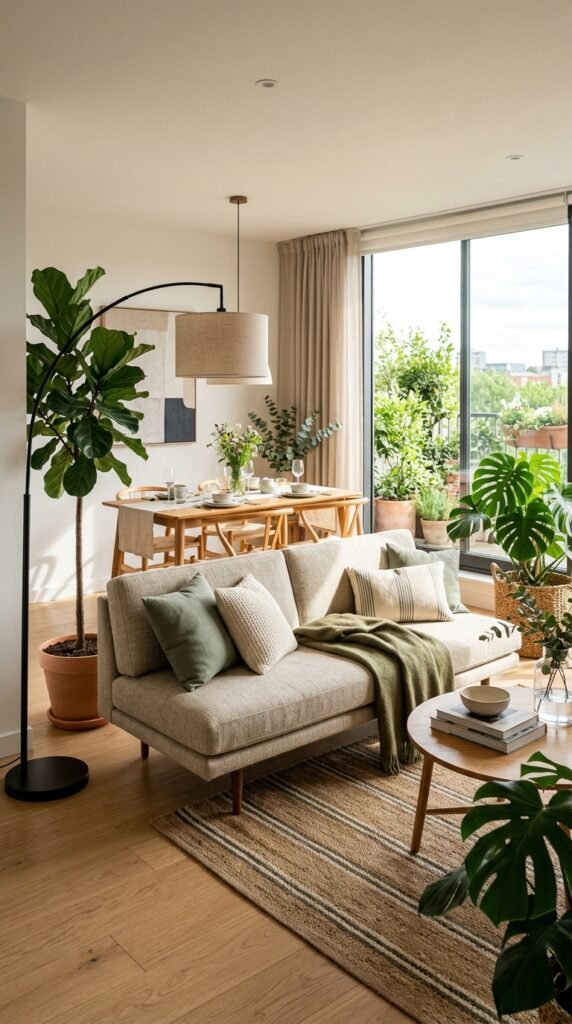
Instead of pushing every seat against a wall, float your sofa in the middle of the room. Face it away from the dining area, and you’ve got an instant backbone splitting the space in two. The back of the couch becomes a natural buffer. Add a slim console table behind it for extra function—mail drop, lamp, or plant shelf. This works in small apartments too. No construction, no cost beyond furniture you might already own, just a new angle.
3. Hang Pendant Lights Over Each Function
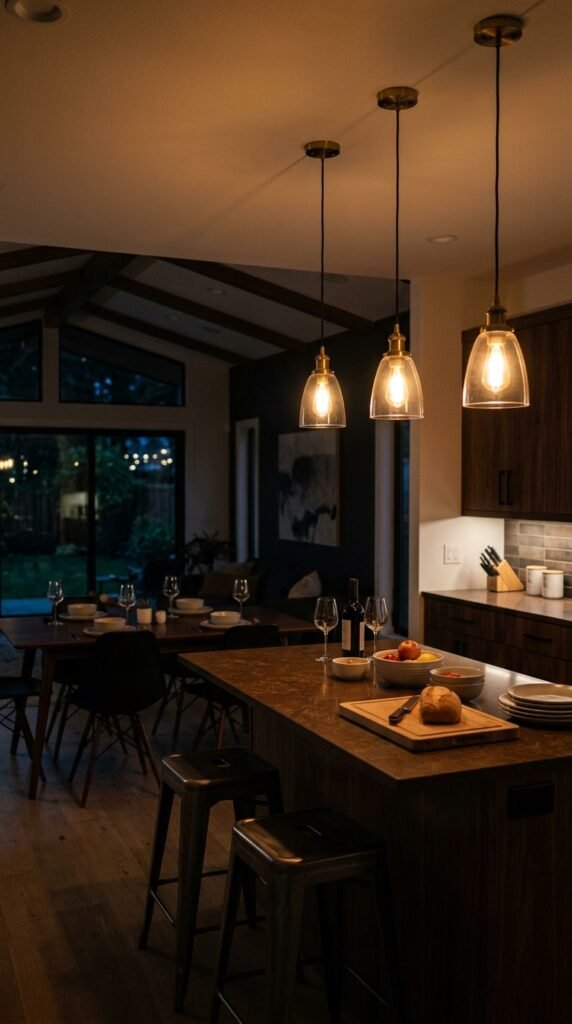
Lighting tells your eye where one zone ends and another begins. Hang a cluster of pendants over your dining table and a different style over the kitchen island. The change in fixture signals a change in purpose. Dimmers help too—brighter task light for cooking, softer glow for lounging. Budget tip: swap builder-grade fixtures for affordable pendants from marketplace finds or flat-pack stores. Even three matching lights from a discount retailer can transform how a space reads.
4. Paint One Wall a Different Shade
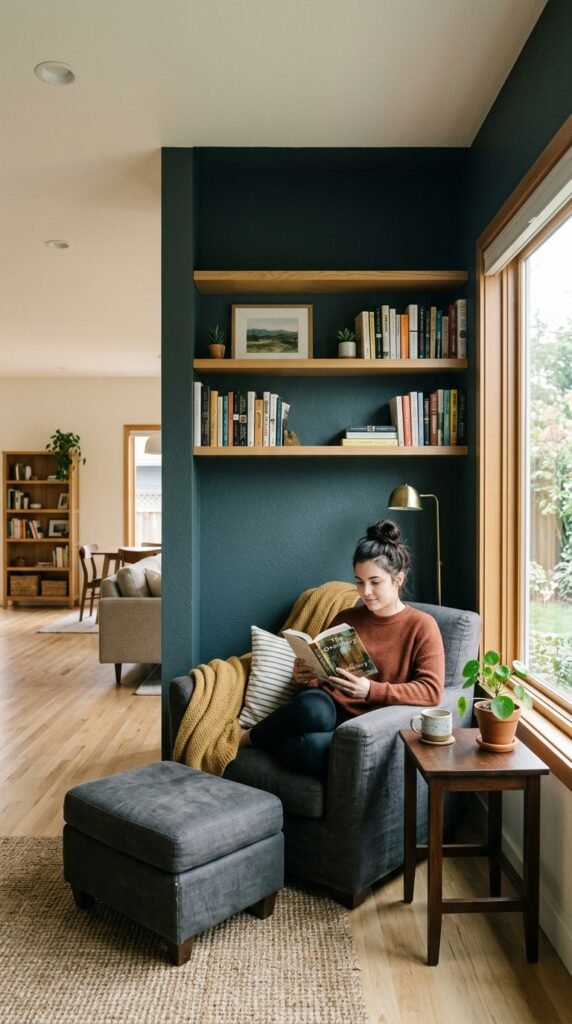
Color is one of the cheapest tools you have. Paint the wall behind your reading chair or home office nook a shade darker than the rest of the room. That shift in tone visually pulls the zone forward and gives it its own identity. You don’t need a full room repaint—just one wall, one gallon of paint, one weekend. Try warm terracotta, deep green, or soft charcoal depending on your palette. It’s a low-cost trick that reads as intentional design.
5. Build Zones With Bookshelves
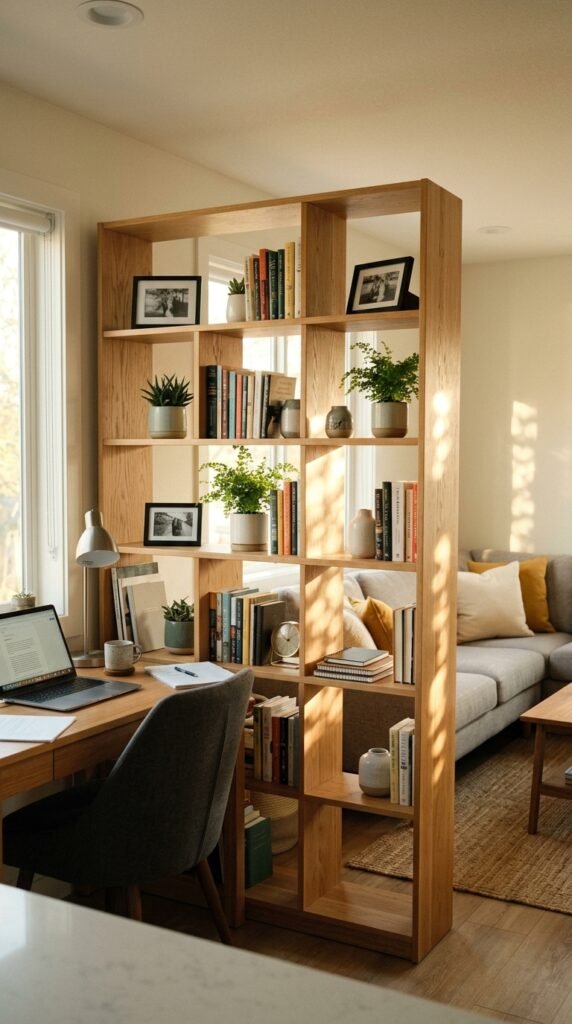
An open-back bookshelf splits a room without blocking light or sightlines. Use it to separate your office corner from the living area. Books, baskets, and small plants fill the shelves so it still feels finished from both sides. Secondhand shelving units work great here—just sand and repaint if needed. This is a favorite for renters since it requires zero wall changes and can move with you later.
6. Define Zones With Ceiling Treatments
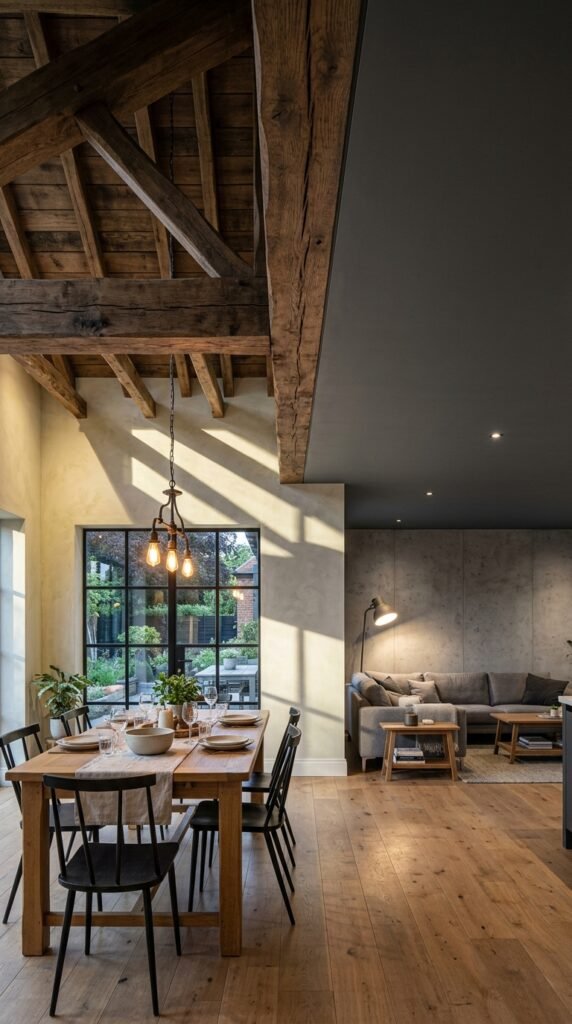
Look up. Adding beams, a different paint color, or a texture change on the ceiling above your dining area can separate it from the rest of the room without touching the floor. Peel-and-stick wood panels or a can of paint are enough to start. This trick works especially well in rooms with high ceilings, where the eye naturally drifts upward and needs a visual cue to know where one space stops.
7. Group Furniture Facing Inward
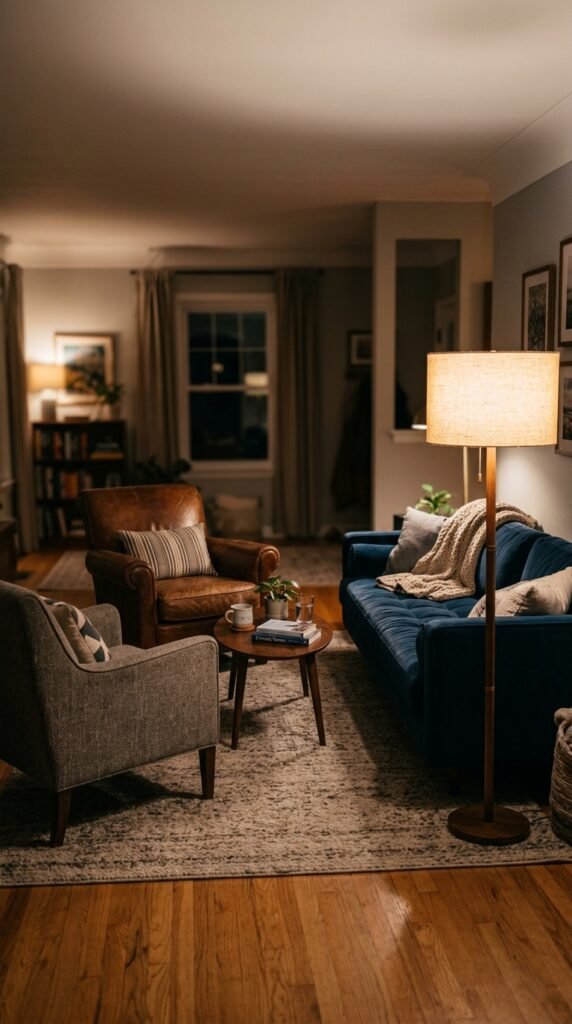
Furniture that faces inward, toward each other, naturally creates a room within a room. Angle chairs toward the sofa instead of toward the TV wall. This conversational layout tells your brain “this is a contained space” even with no walls around it. It also makes gatherings feel warmer. Try rearranging what you already own before buying anything new—sometimes the fix is just a 20-minute furniture shuffle.
8. Use Curtains as Flexible Walls
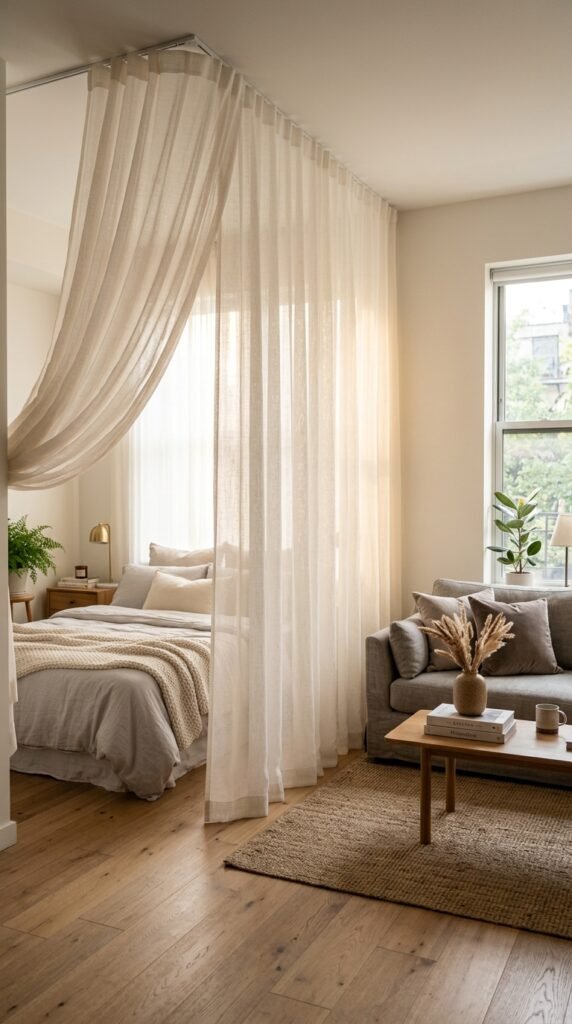
Ceiling-mounted curtain tracks let you close off a zone when you want privacy and open it back up when you don’t. This works great for a home office nook or a guest sleeping area inside a studio. Linen or cotton panels soften the room too. Budget tip: tension rods and inexpensive curtain panels from home stores can get this done in an afternoon, no drilling required if you use adjustable hardware.
9. Layer Two Different Flooring Textures
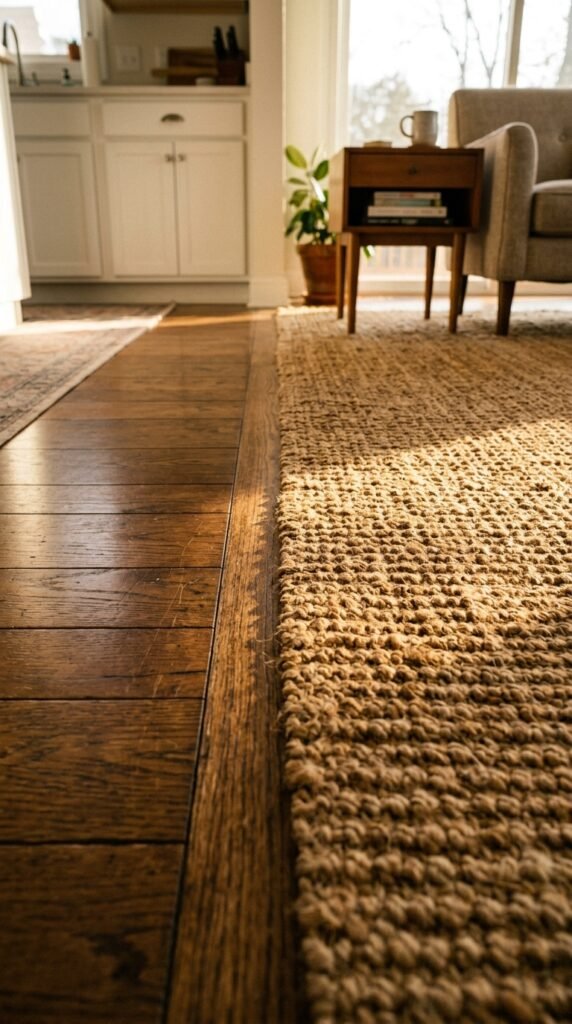
If your floor is already split—tile in the kitchen, wood in the living room—lean into it. Let that natural seam mark the zone boundary. If your floor is uniform, a large rug can fake the same effect. Adding a floor runner between kitchen and dining can guide movement and mark the path. This is one of the simplest structural cues, and it costs nothing if the flooring transition already exists in your home.
10. Add a Console Table Behind the Sofa
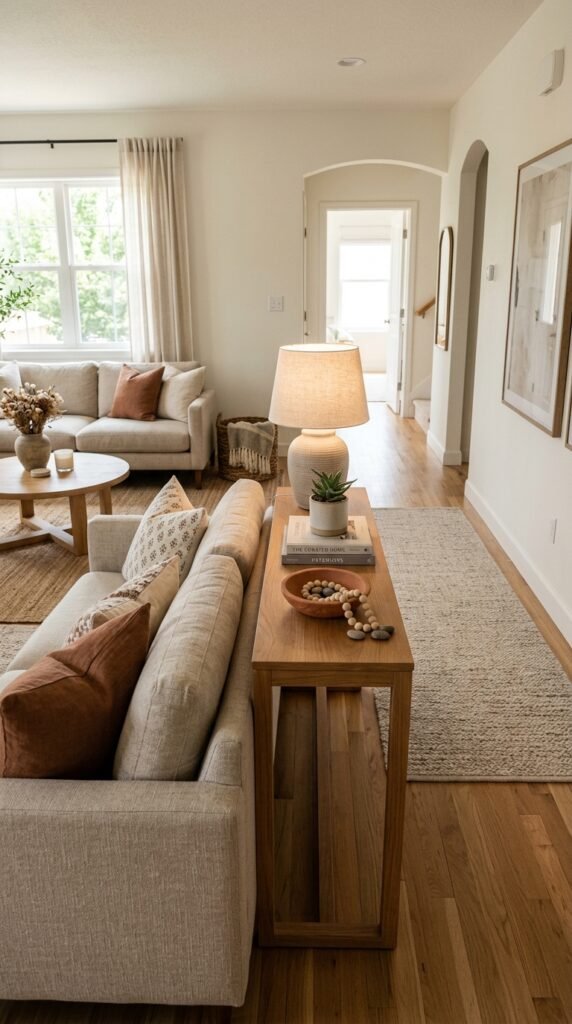
A narrow table behind your sofa does more than hold a lamp. It creates a subtle barrier between the seating area and whatever’s behind it—hallway, entry, or dining space. Style it with a bowl for keys, a small plant, or a stack of books. Thrifted consoles are easy to find and easy to refinish with a coat of paint if the wood looks tired.
11. Use an Area Rug to Define the Dining Zone
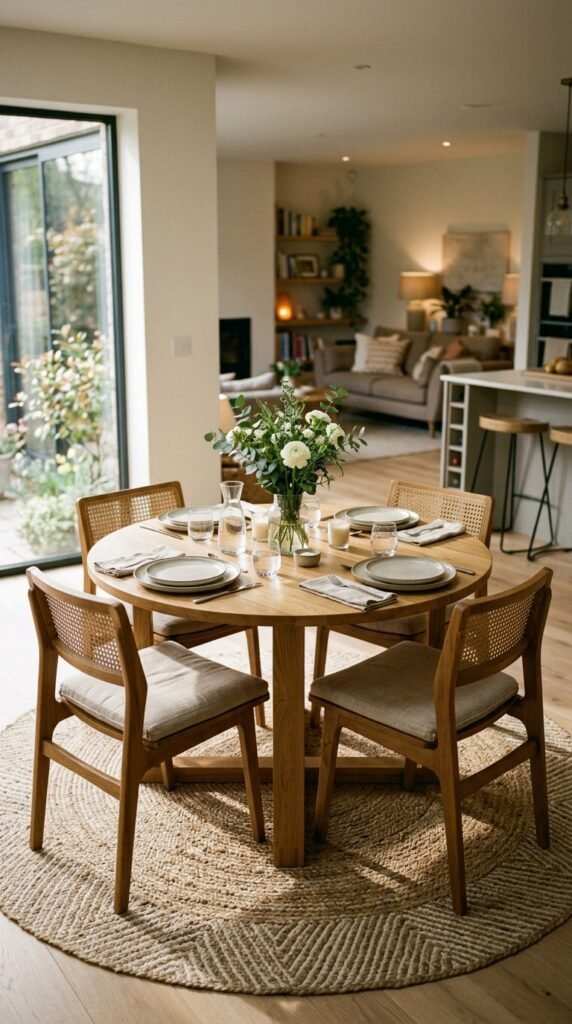
Just like the living room rug, a dining rug marks the eating zone clearly. Pick one large enough that chairs stay on it even when pulled out. This keeps the space feeling grounded and finished. Low-pile rugs work best here since chairs slide easily. Budget tip: outdoor rugs are often cheaper and more stain-resistant, making them a smart swap for a busy dining area.
12. Install a Half-Wall or Kneewall
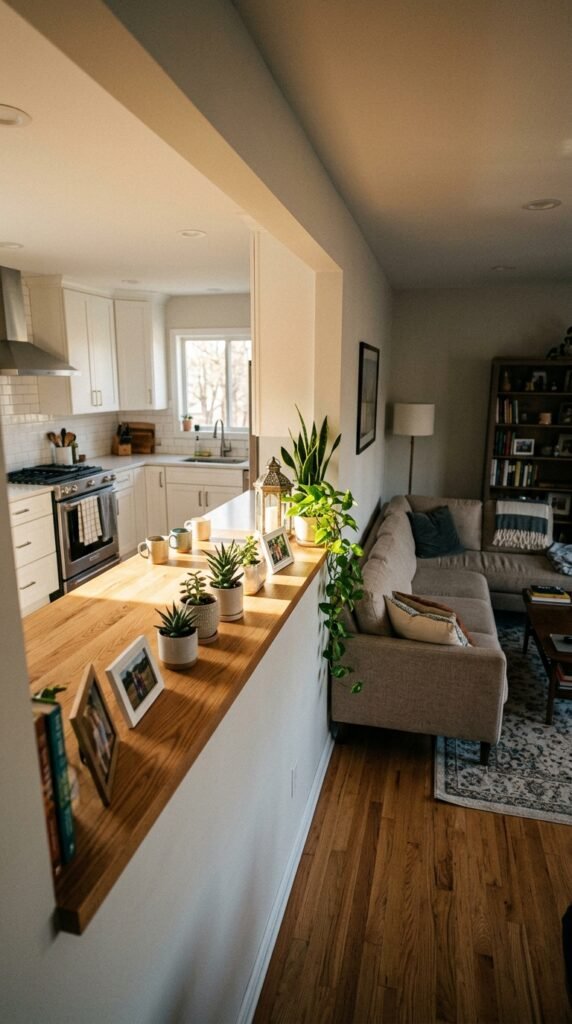
A half-wall gives you the openness of no wall with the structure of one. Cap it with wood or tile for a ledge that can hold plants, drinks, or decor. This is a bigger project than most on this list, but it pays off if you want a lasting boundary. Handy homeowners can DIY this with stud framing and drywall over a weekend, keeping costs to materials only.
13. Hang Artwork to Anchor a Zone
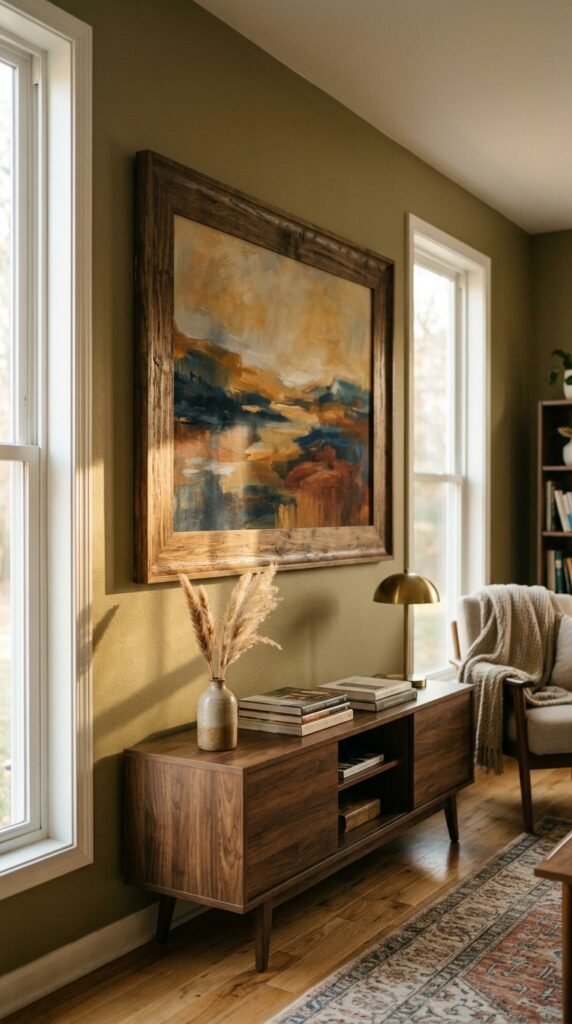
A big piece of art above a specific spot pulls the eye and says “this area matters.” Hang it above your sofa, your reading chair, or your entry console. Scale matters more than price—a large, affordable print does more work than several small pricey ones. Local art fairs, print shops, or even framed fabric can fill this role without draining your budget.
14. Create a Reading Nook With a Single Chair
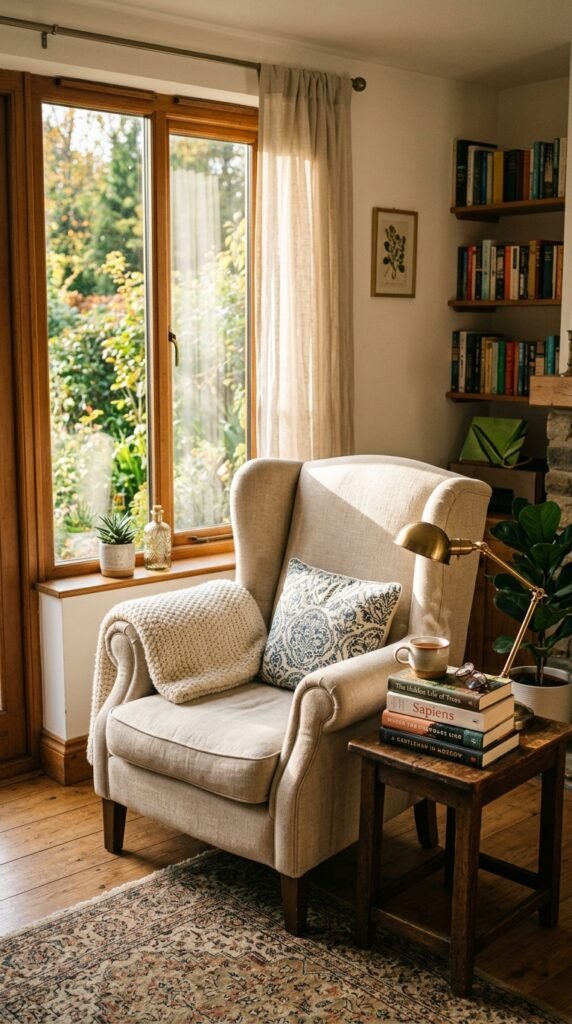
One chair, one small table, one lamp. That’s all it takes to build a reading nook inside a bigger room. Tuck it into a corner near a window for natural light. This zone doesn’t need much square footage, just enough separation—a rug underneath or a plant beside it—to feel like its own retreat. Secondhand armchairs reupholstered in a fun fabric make this an affordable, personal touch.
15. Use Plants as Living Room Dividers
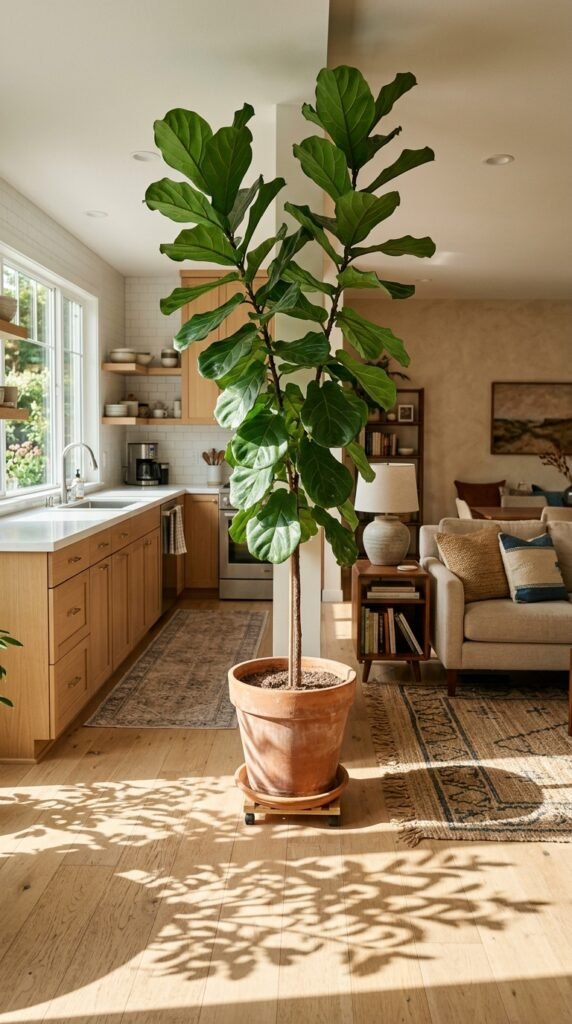
Tall plants soften a room split without blocking airflow or light. A fiddle leaf fig or snake plant in a large pot can mark the edge of a zone beautifully. Cluster two or three at different heights for more visual weight. Budget tip: buy smaller plants and let them grow, or shop end-of-season sales at garden centers for real savings on bigger specimens.
16. Add a Statement Light Fixture Above the Kitchen Island
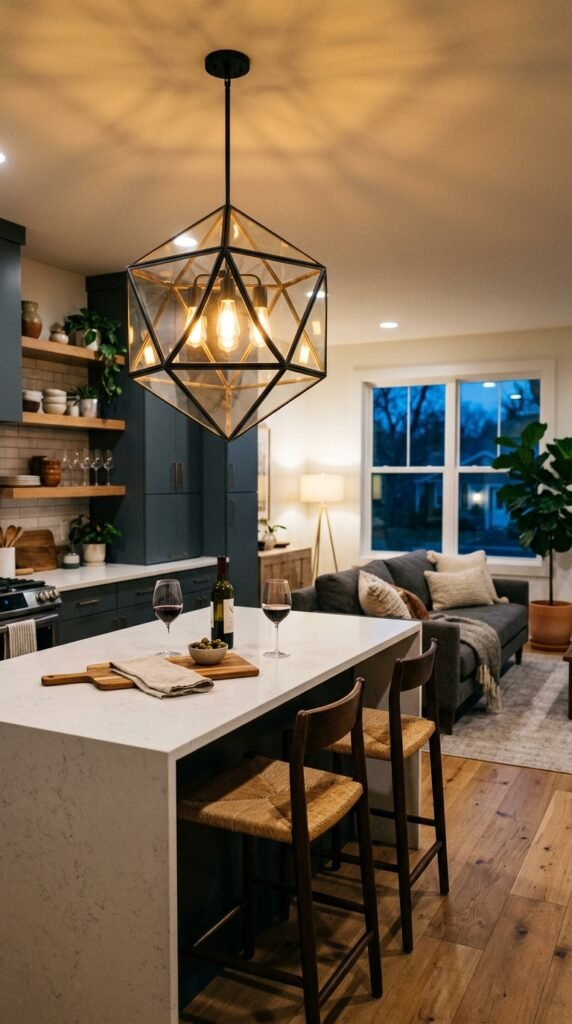
The kitchen island is often the busiest zone in an open plan, so give it its own lighting moment. A bold fixture overhead signals “this is the kitchen’s space” even without walls. Choose something with personality—a sculptural shape or a warm brass tone. Many affordable retailers carry statement-style pendants that mimic pricier designer pieces for a fraction of the cost.
17. Use a Bench or Bar Cart as a Soft Boundary
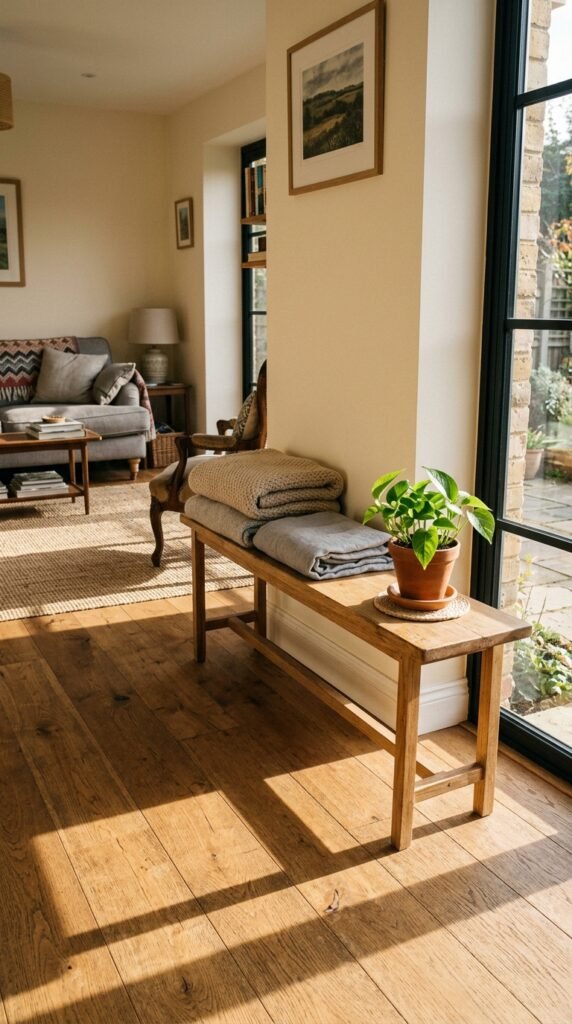
A narrow bench or bar cart placed at a room’s edge marks a boundary without blocking movement. Use it to hold shoes near an entry zone, or drinks near a lounge area. It’s flexible furniture that can shift if your needs change. Flat-pack benches are inexpensive and easy to assemble, making this one of the fastest zone-defining tricks on this list.
18. Layer Different Wall Textures
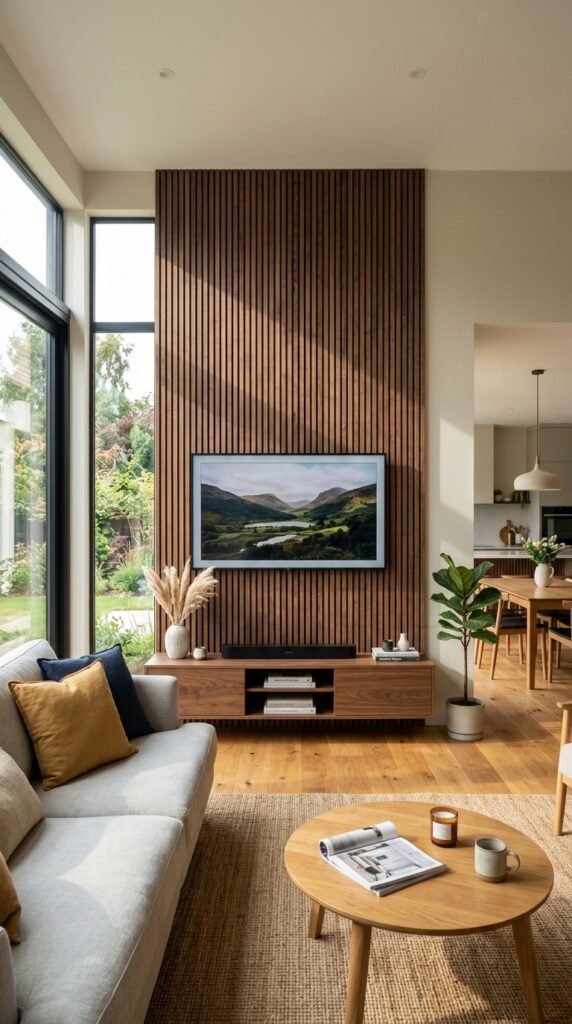
Wood slats, shiplap, or even peel-and-stick brick panels behind a TV or sofa can separate that zone visually from the rest of the room. Texture catches light differently than flat paint, so the eye naturally reads it as a distinct area. DIY slat walls are a popular weekend project using furring strips and a few cans of stain, keeping the total cost fairly low.
19. Use Furniture Height to Signal Zones
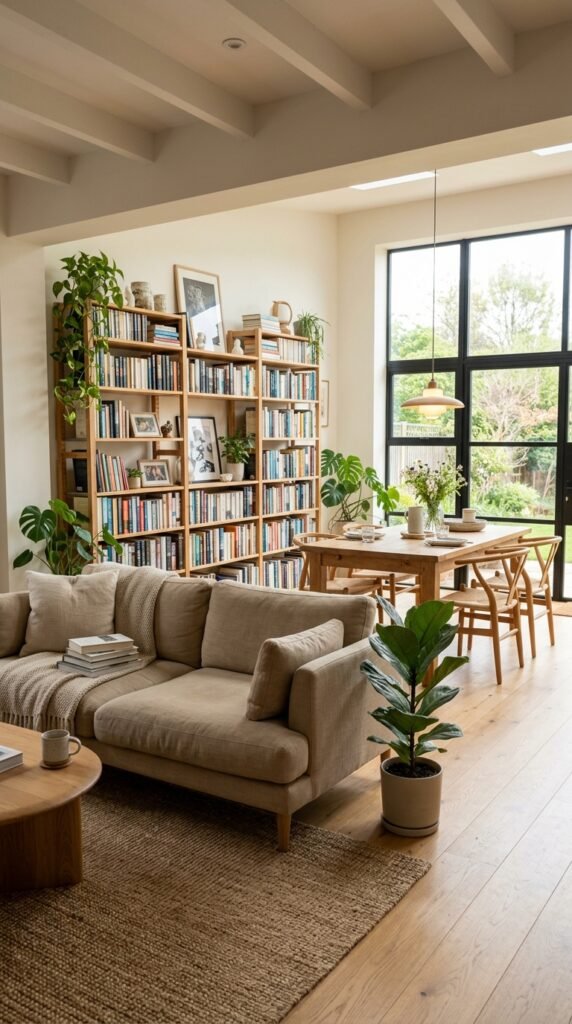
Mixing furniture heights helps zones read clearly even from across the room. Keep your living room seating low and let a taller hutch or shelving unit mark the dining or kitchen edge. This layering trick adds visual rhythm too, so the space feels designed rather than just filled. Try rearranging pieces you already own to test different height combinations before buying anything new.
20. Add a Runner Rug to Guide Movement
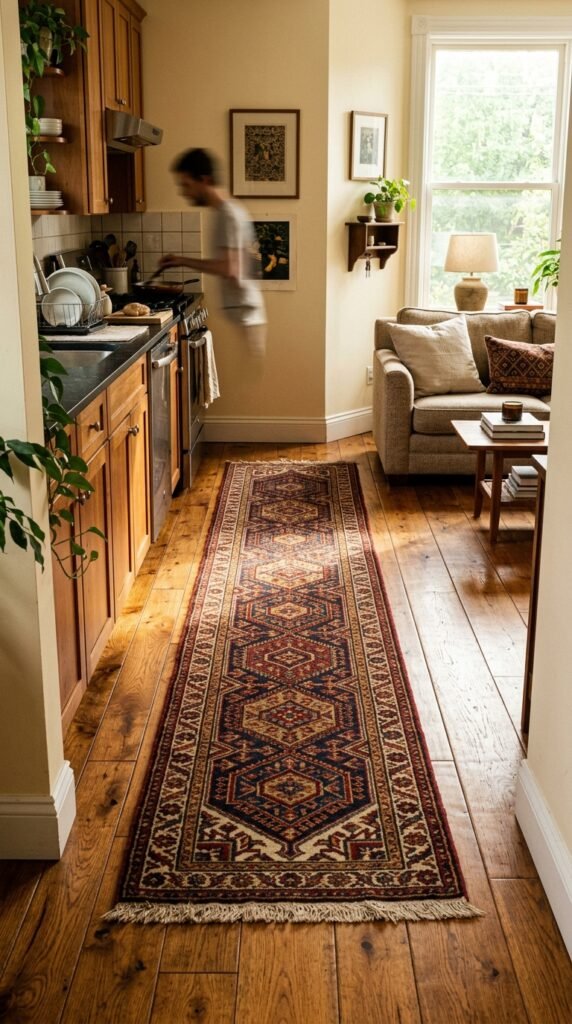
A runner rug placed along a natural walkway subtly tells people where to move and where zones begin. Use one between the kitchen and living room, or leading toward a reading nook. Thin, flat-weave runners are affordable and easy to clean. This is a small detail, but it adds a finished, intentional feel to the transition points in your home.
21. Use Curtains or Drapes to Frame a Window Nook
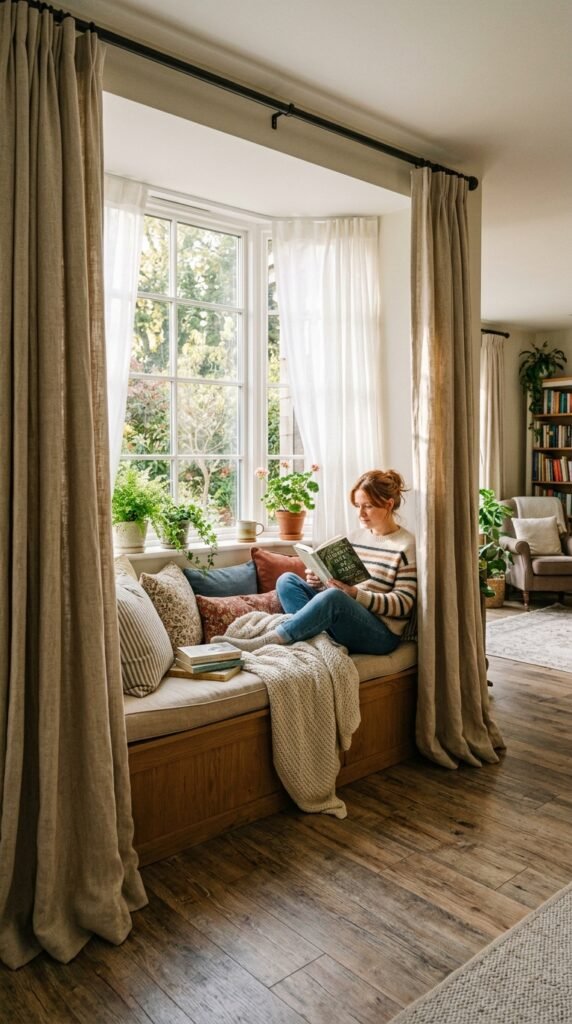
Floor-length curtains around a window seat or nook create a soft, framed zone within a bigger room. Even without closing them, the fabric draws a visual box around that spot. Pair with a cushion and a small side table for a complete reading corner. Budget-friendly curtain panels from home stores, paired with a simple tension rod, can pull this look together in an afternoon.
22. Use a Different Ceiling Fan or Light Style Per Zone
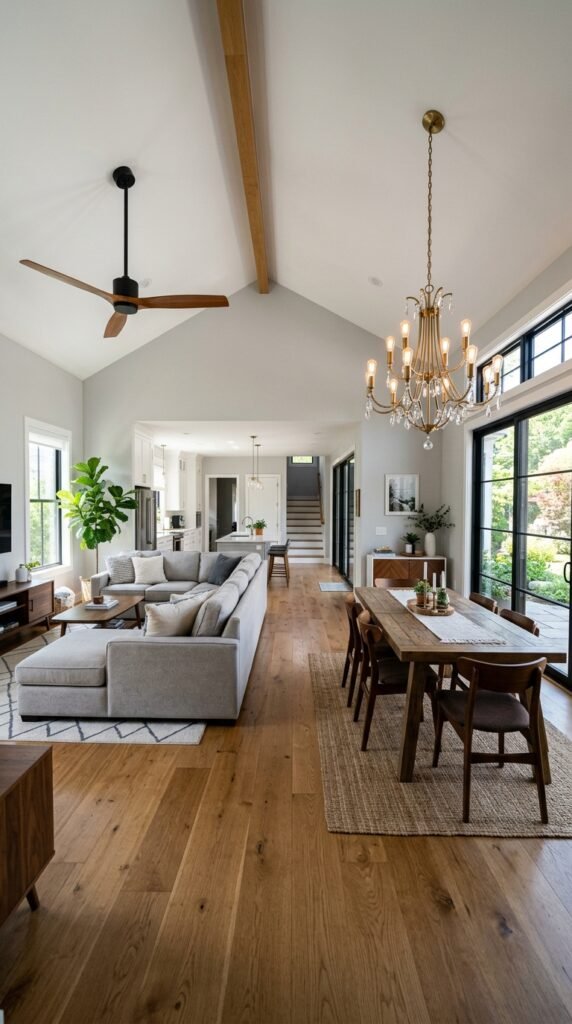
Swapping fixture styles by zone reinforces the sense of separate rooms. A simple flush-mount fan over the lounge and a chandelier over the dining table makes each area feel purpose-built. This works even in rental-friendly ways—many fixtures now come with plug-in or swap-friendly mounts. It’s a small update that changes how the whole room reads at first glance.
23. Group Seating Around a Coffee Table
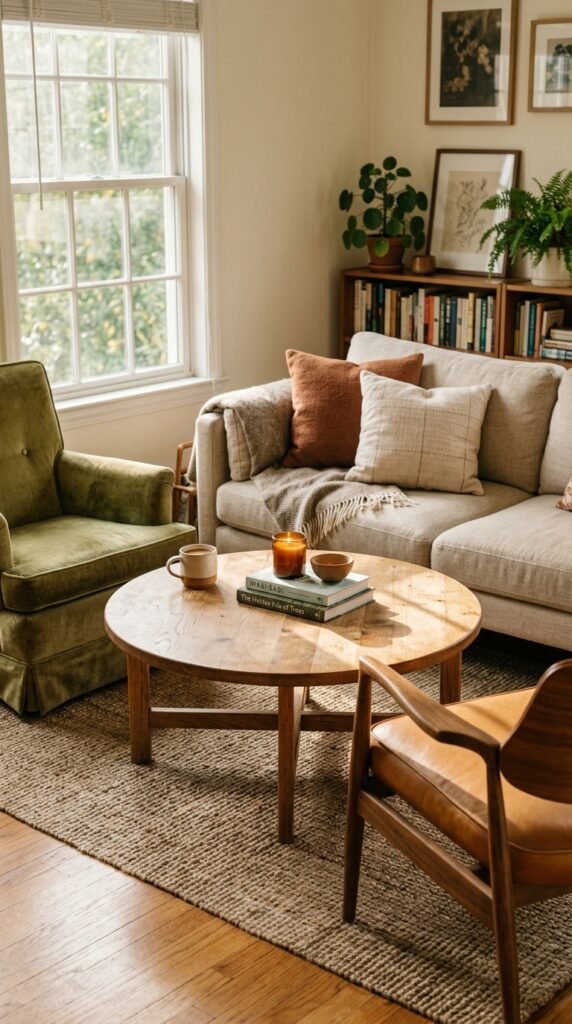
A coffee table at the center of your seating arrangement pulls everything inward and marks the lounge zone clearly. Keep it close enough for easy reach but leave enough space to walk around. Secondhand coffee tables are everywhere and easy to refresh with paint or new hardware, making this an easy, low-cost way to ground your living area.
24. Use Open Shelving to Separate Kitchen and Dining
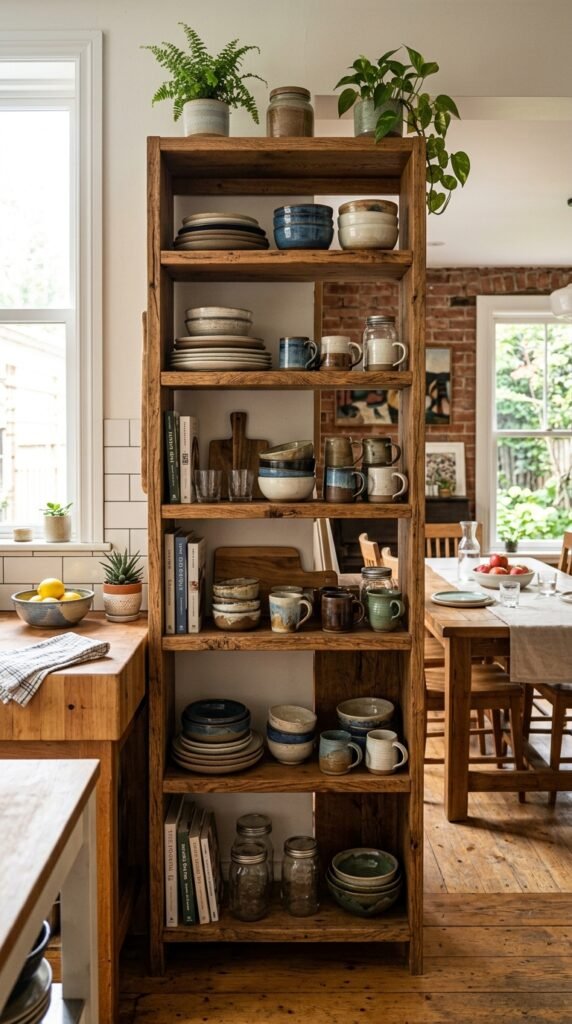
Open shelves let light and sightlines pass through while still marking a boundary. Fill them with dishware, glasses, or small plants for function and style. This works especially well in narrow kitchens that flow into dining spaces. Many flat-pack furniture brands sell affordable shelving units that can be mounted in an afternoon without major tools.
25. Add a Folding Screen for Flexible Privacy
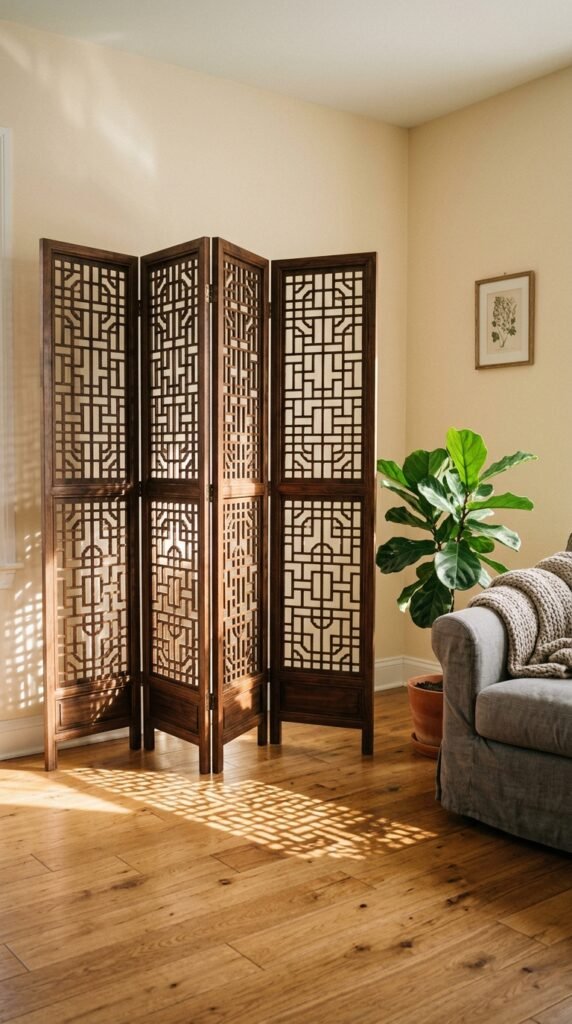
A folding screen is one of the most flexible zone dividers around. Unfold it to create a private corner for a home office or guest bed, then fold it away when you need the open space back. Secondhand screens are common at thrift stores and easy to update with paint or fabric. This is an especially good option for renters who can’t make permanent changes.
26. Use Distinct Color Palettes Per Zone
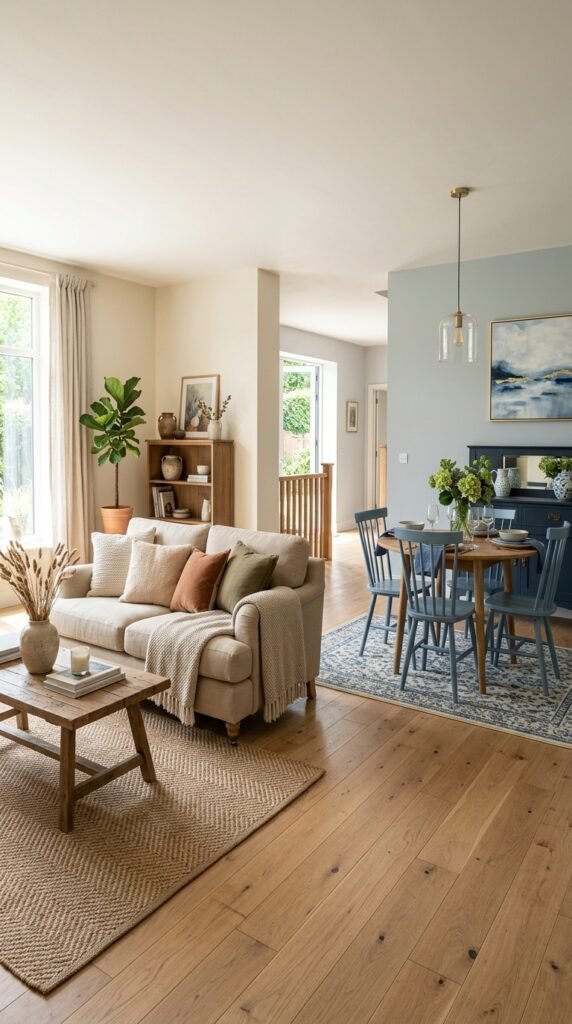
Give each zone its own small color story while keeping an overall consistent palette. Warm neutrals in the lounge, cooler tones in the dining nook. This doesn’t mean clashing colors—just subtle shifts in accent pieces like pillows, table runners, or artwork. It’s an affordable way to signal “different purpose” without any structural change at all.
27. Frame a Home Office Nook With a Rug and Lamp
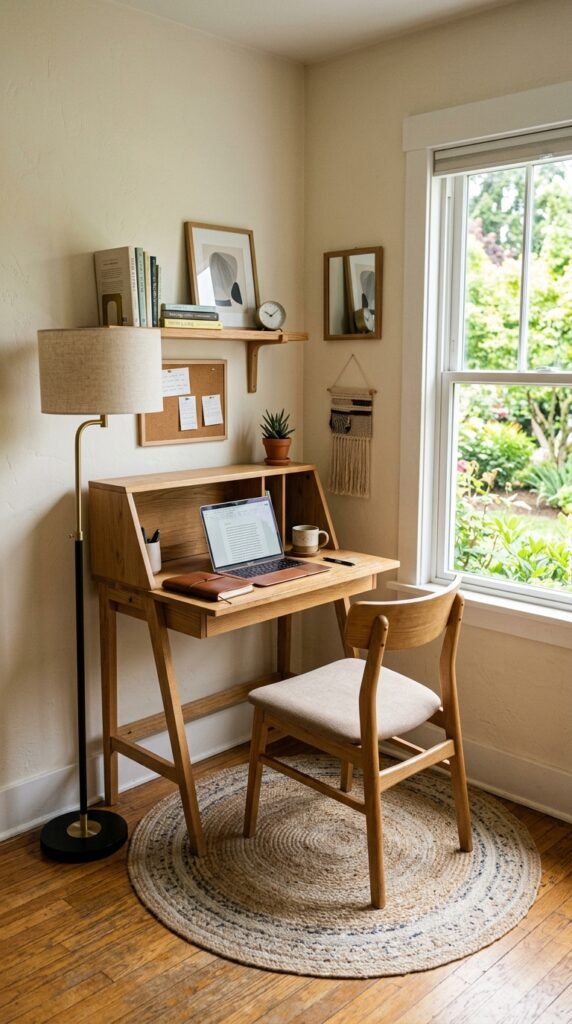
A desk pushed into a corner can feel like an afterthought until you frame it properly. A small rug underneath and a floor lamp beside it instantly make the corner feel like its own workspace. Add a plant or a piece of art above the desk to finish the look. This setup costs very little and can be assembled from pieces you likely already own.
Conclusion
Zoning an open floor plan comes down to layering small, deliberate choices—rugs, lighting, color, and furniture placement all working together. None of these ideas require knocking down walls or spending a fortune. Start with one or two changes, like a new rug or a repositioned sofa, and build from there. Over time, your open space will feel like several well-defined rooms while keeping the light, airy connection that made you love the layout in the first place.